How to create Product Catalog
This guide outlines a step-by-step approach to designing and customizing a digital product catalog, taking inspiration from methods used to create digital menus. It covers essential aspects such as organizing your catalog items, customizing the appearance for your brand, and using digital tools to make your catalog easily shareable via QCODE.MY. By following this structured process, you can efficiently build, finalize and distribute a user-friendly product catalog tailored to your business needs
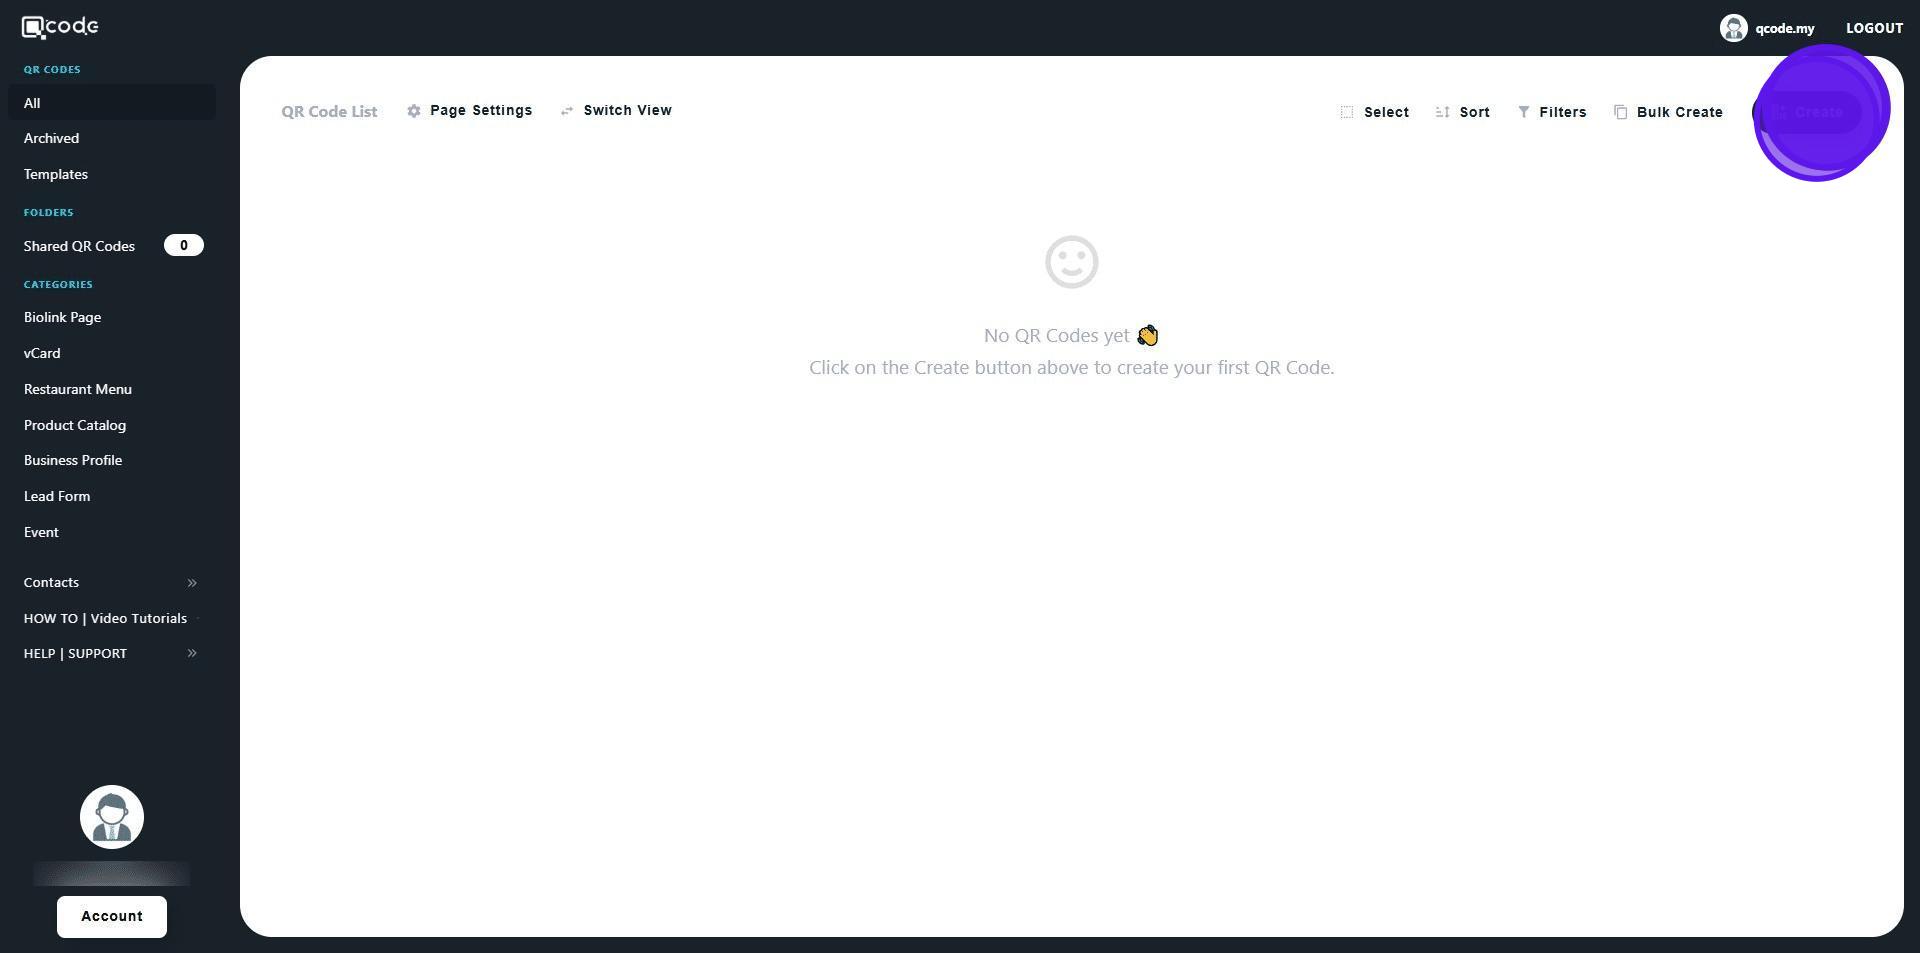
1. Navigate to https://qcode.my/dashboard/qrcodes
2. Click on Create start creating your Product Catalog
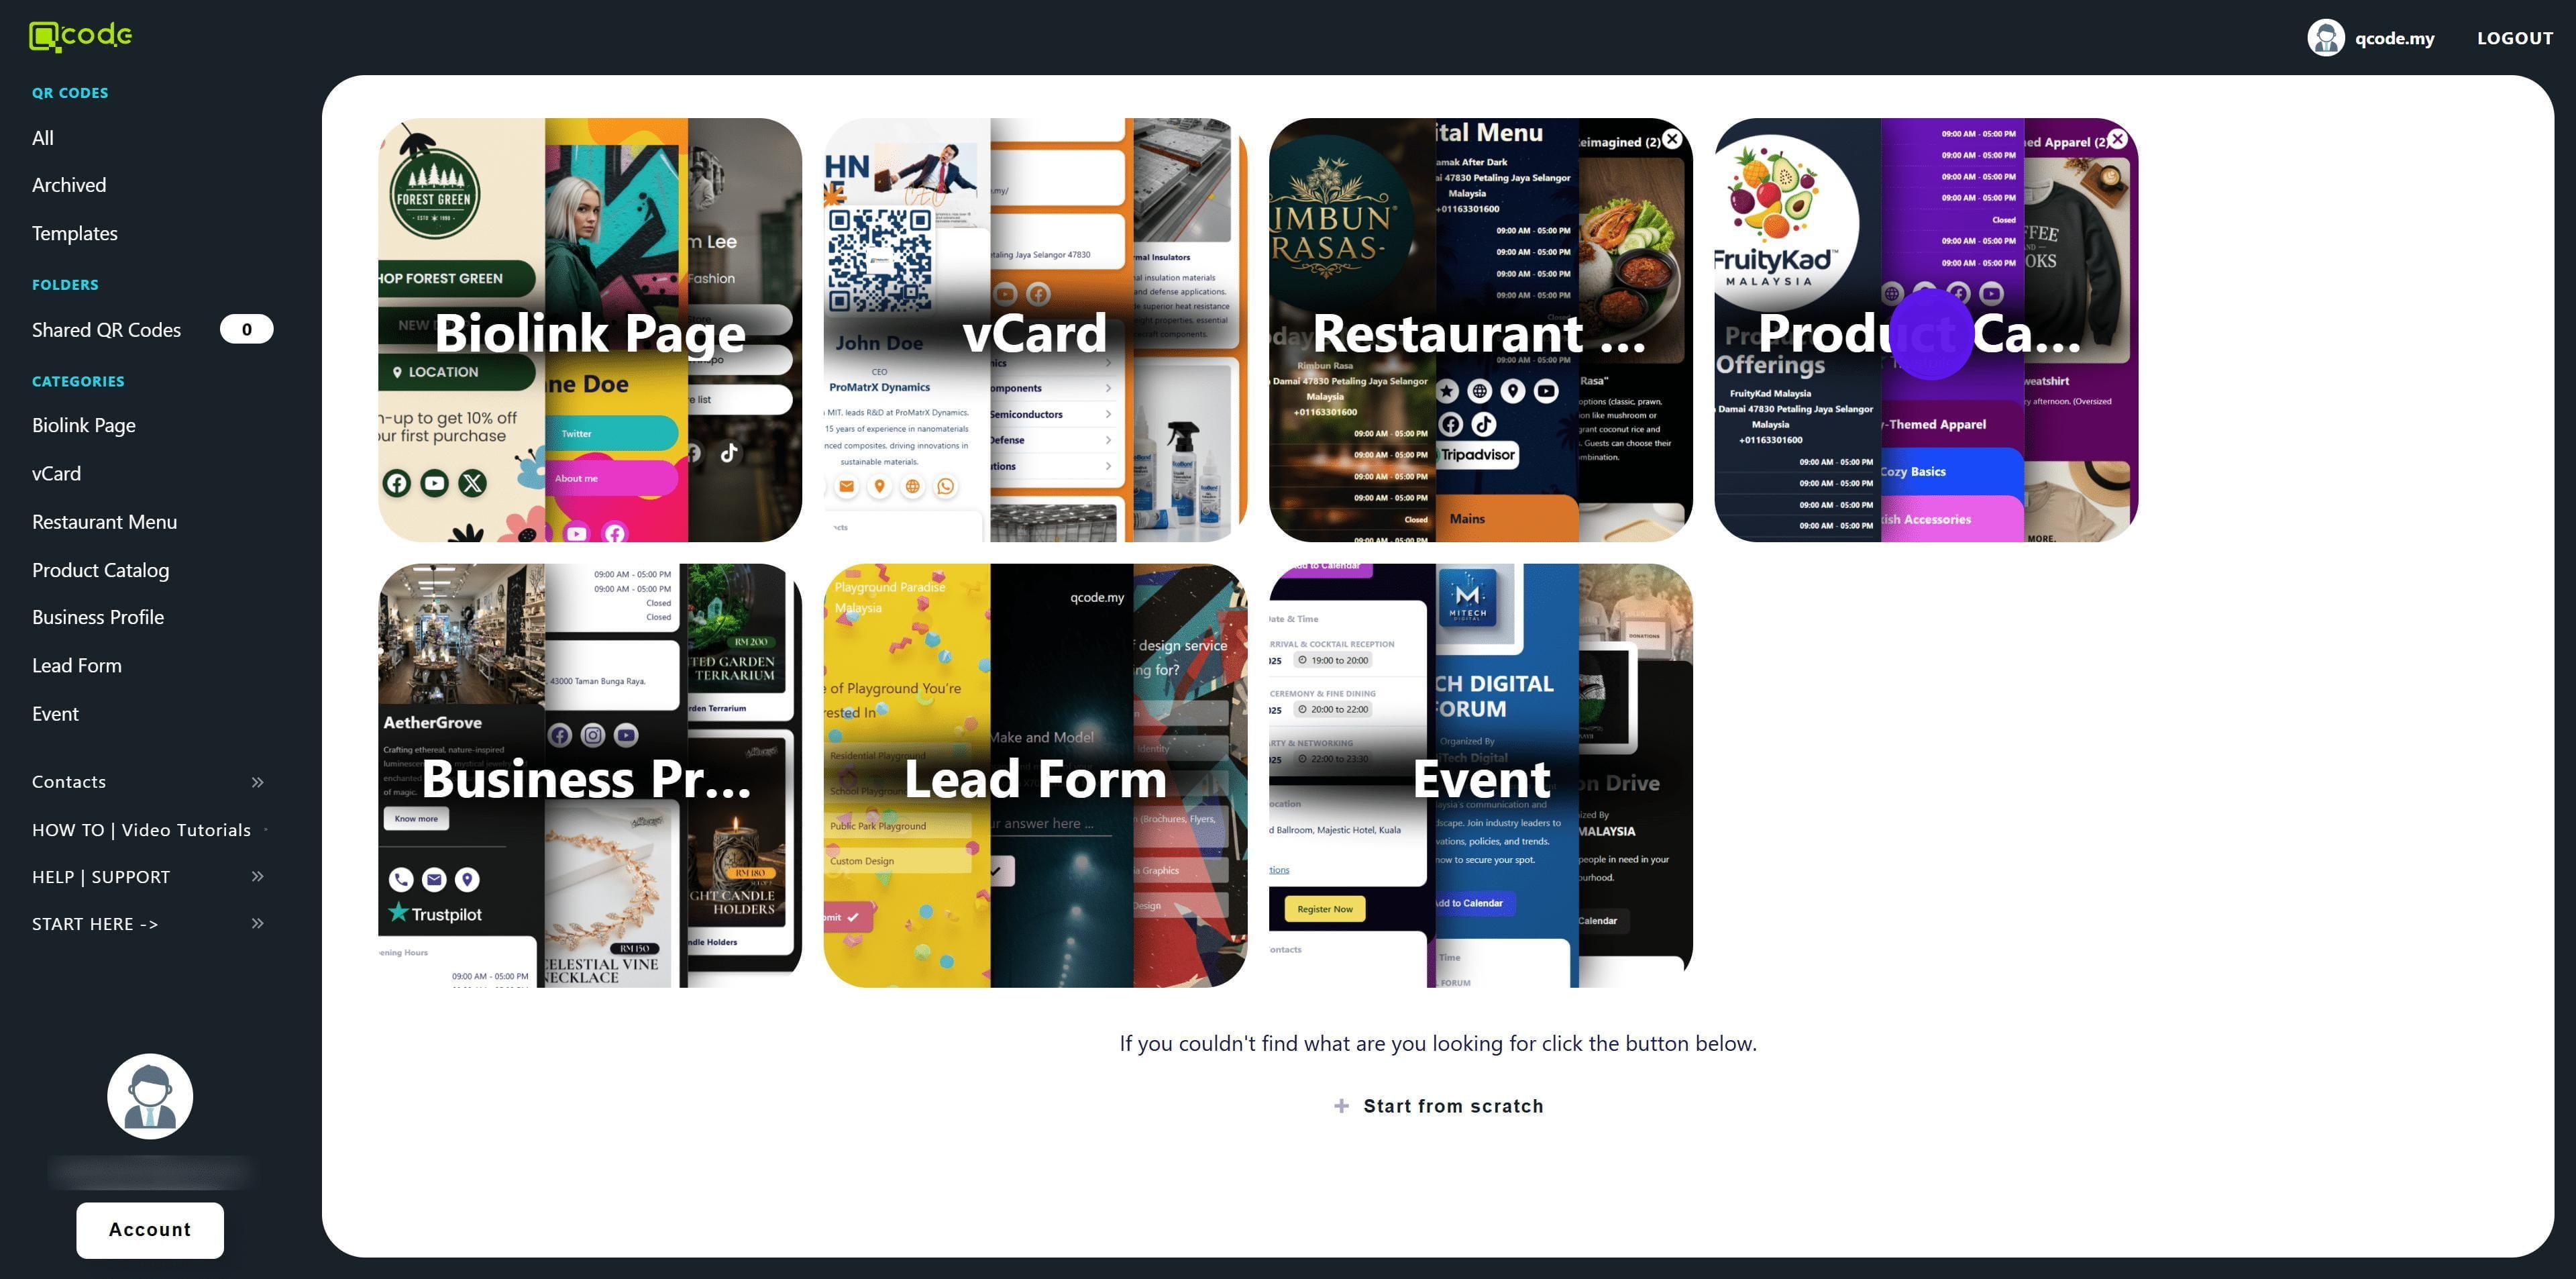
3. You can choose from a selection of templates by clicking on the following button
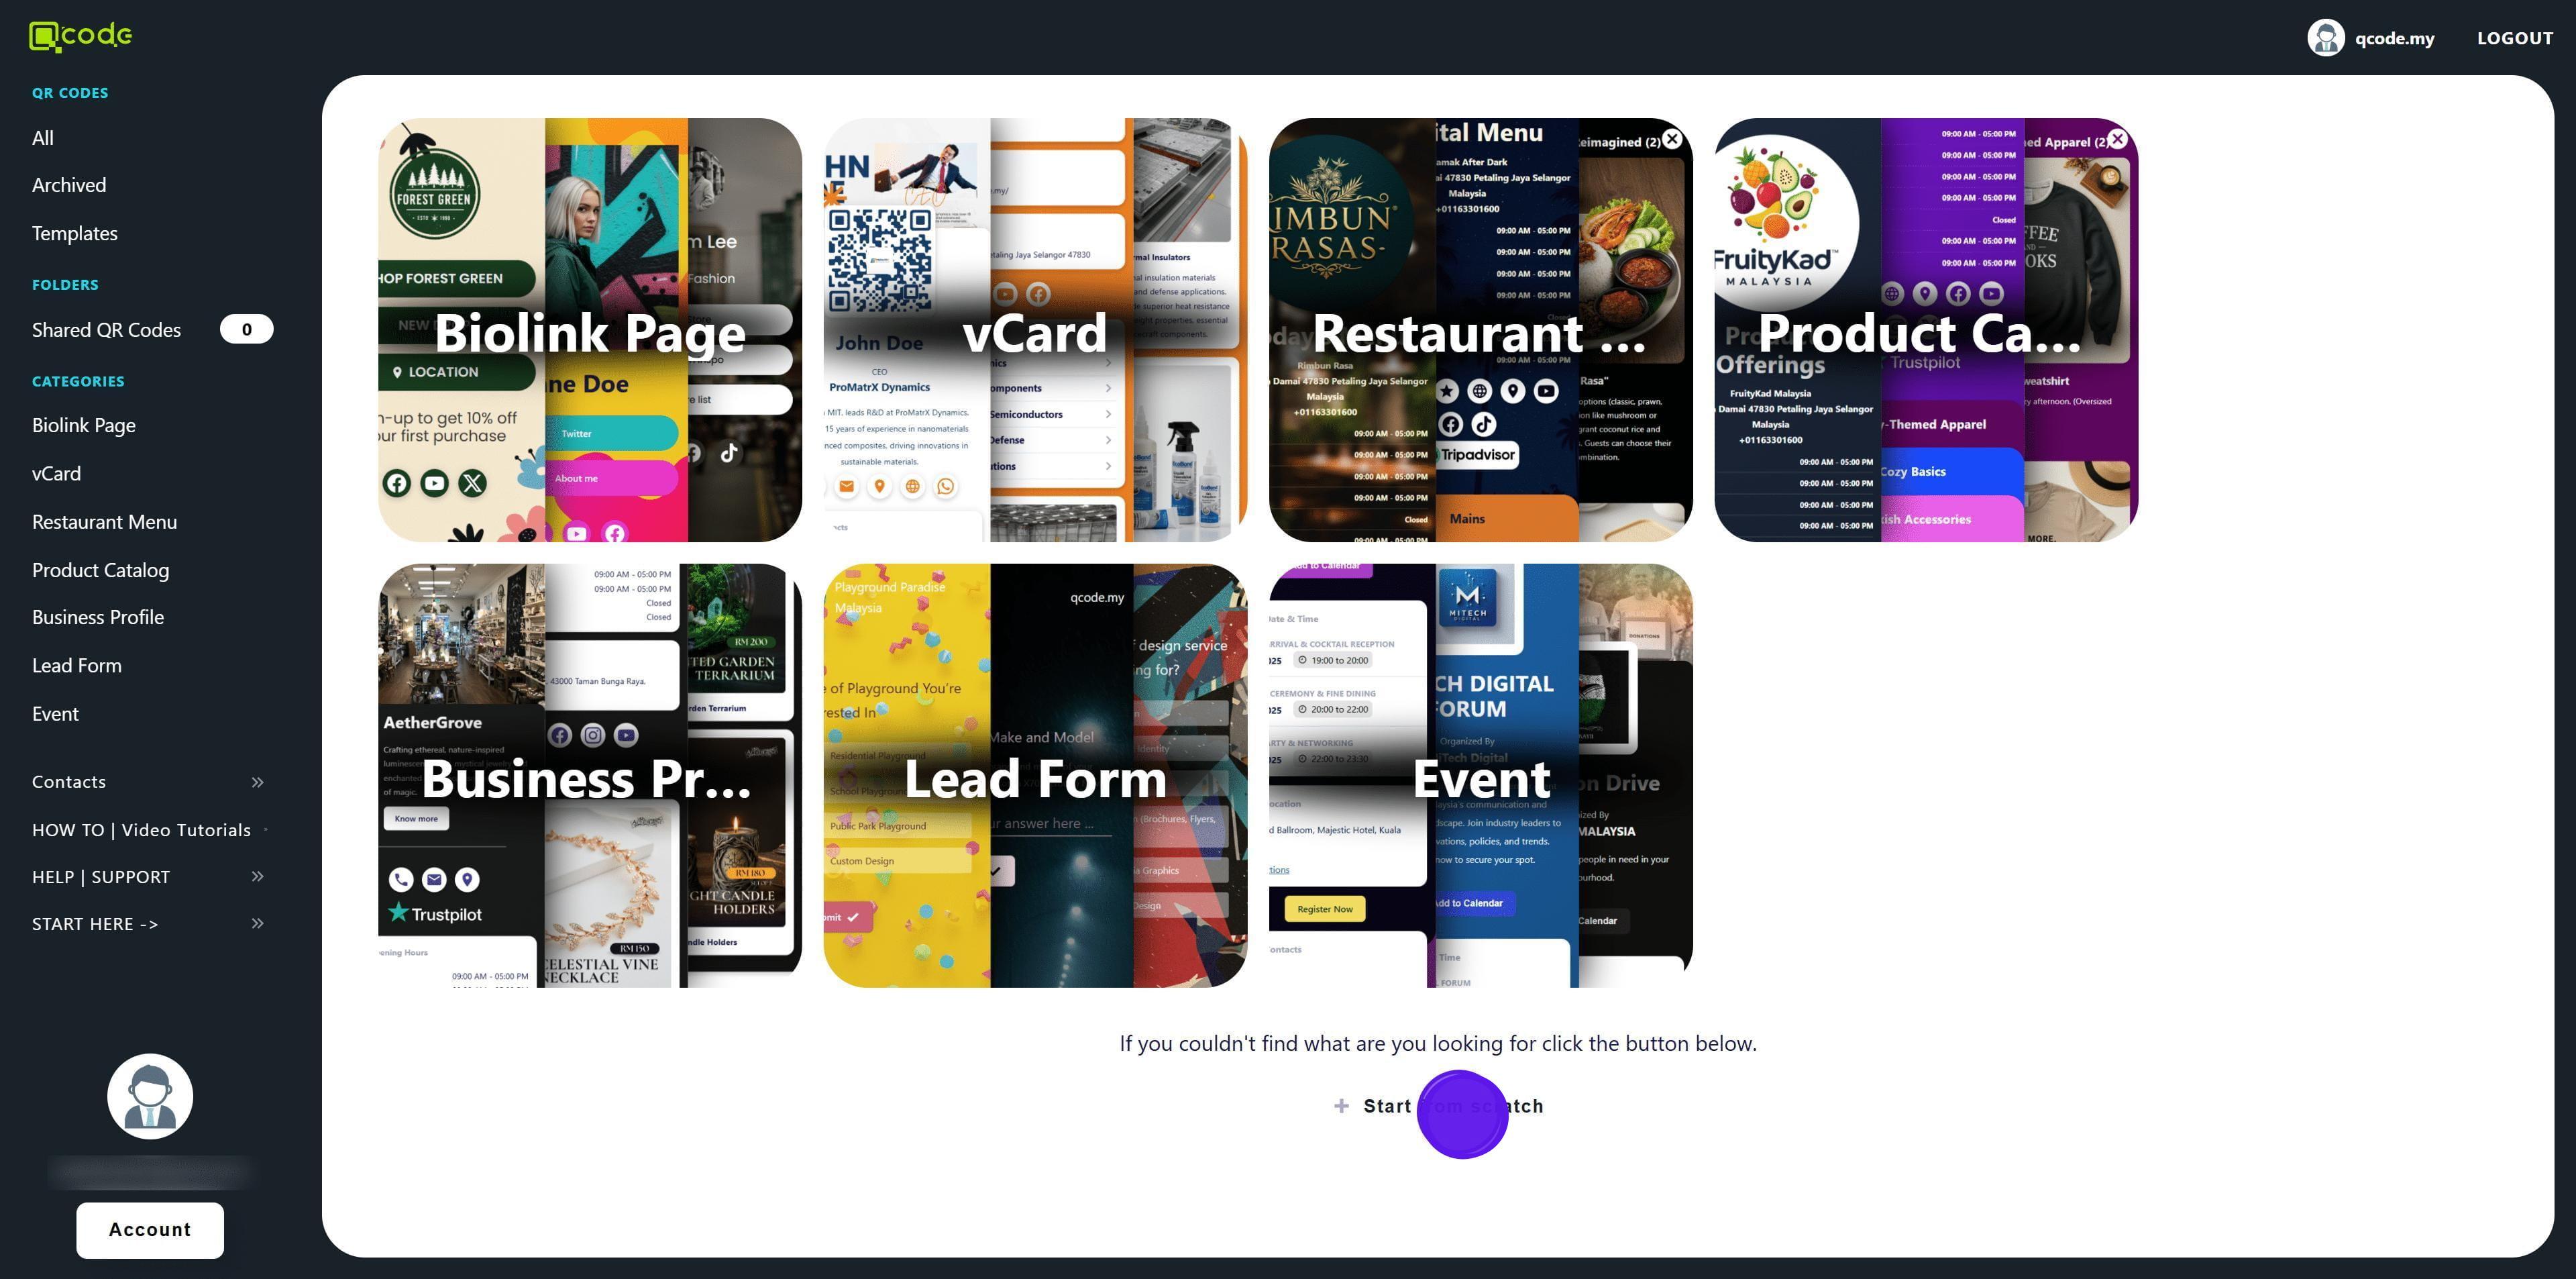
4. Click on Start from scratch
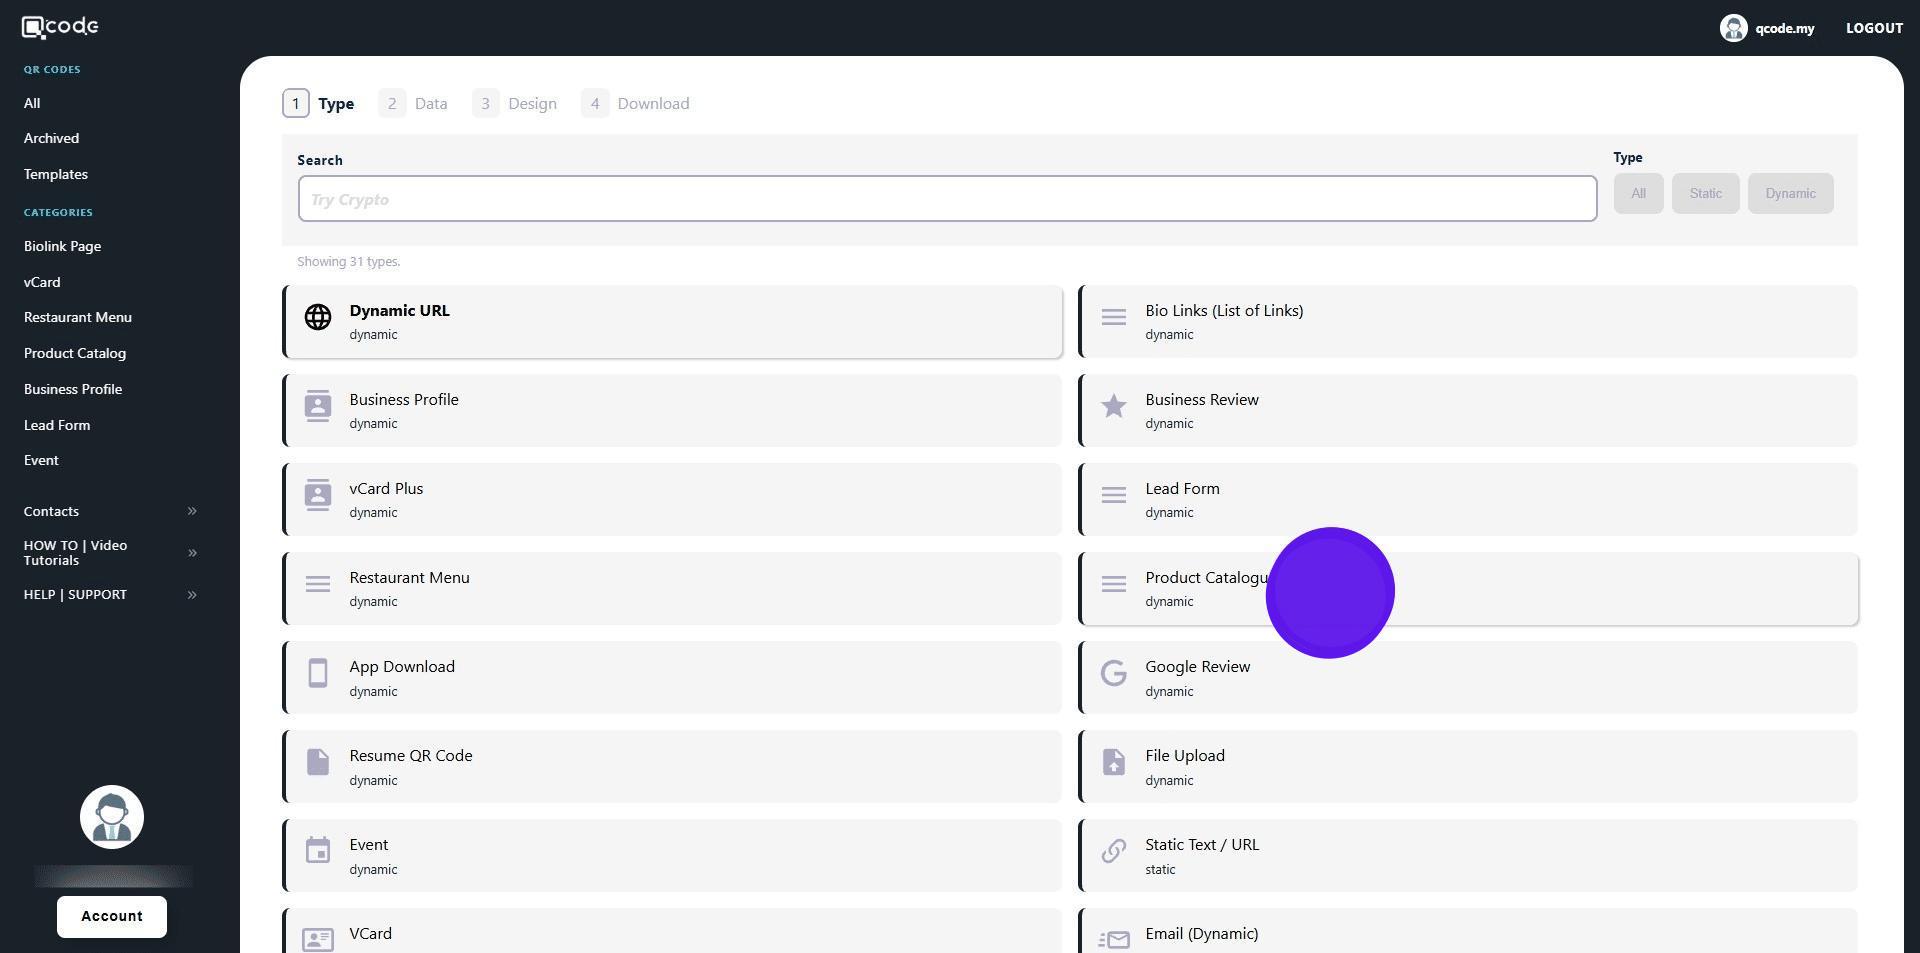
5. Select Product Catalog
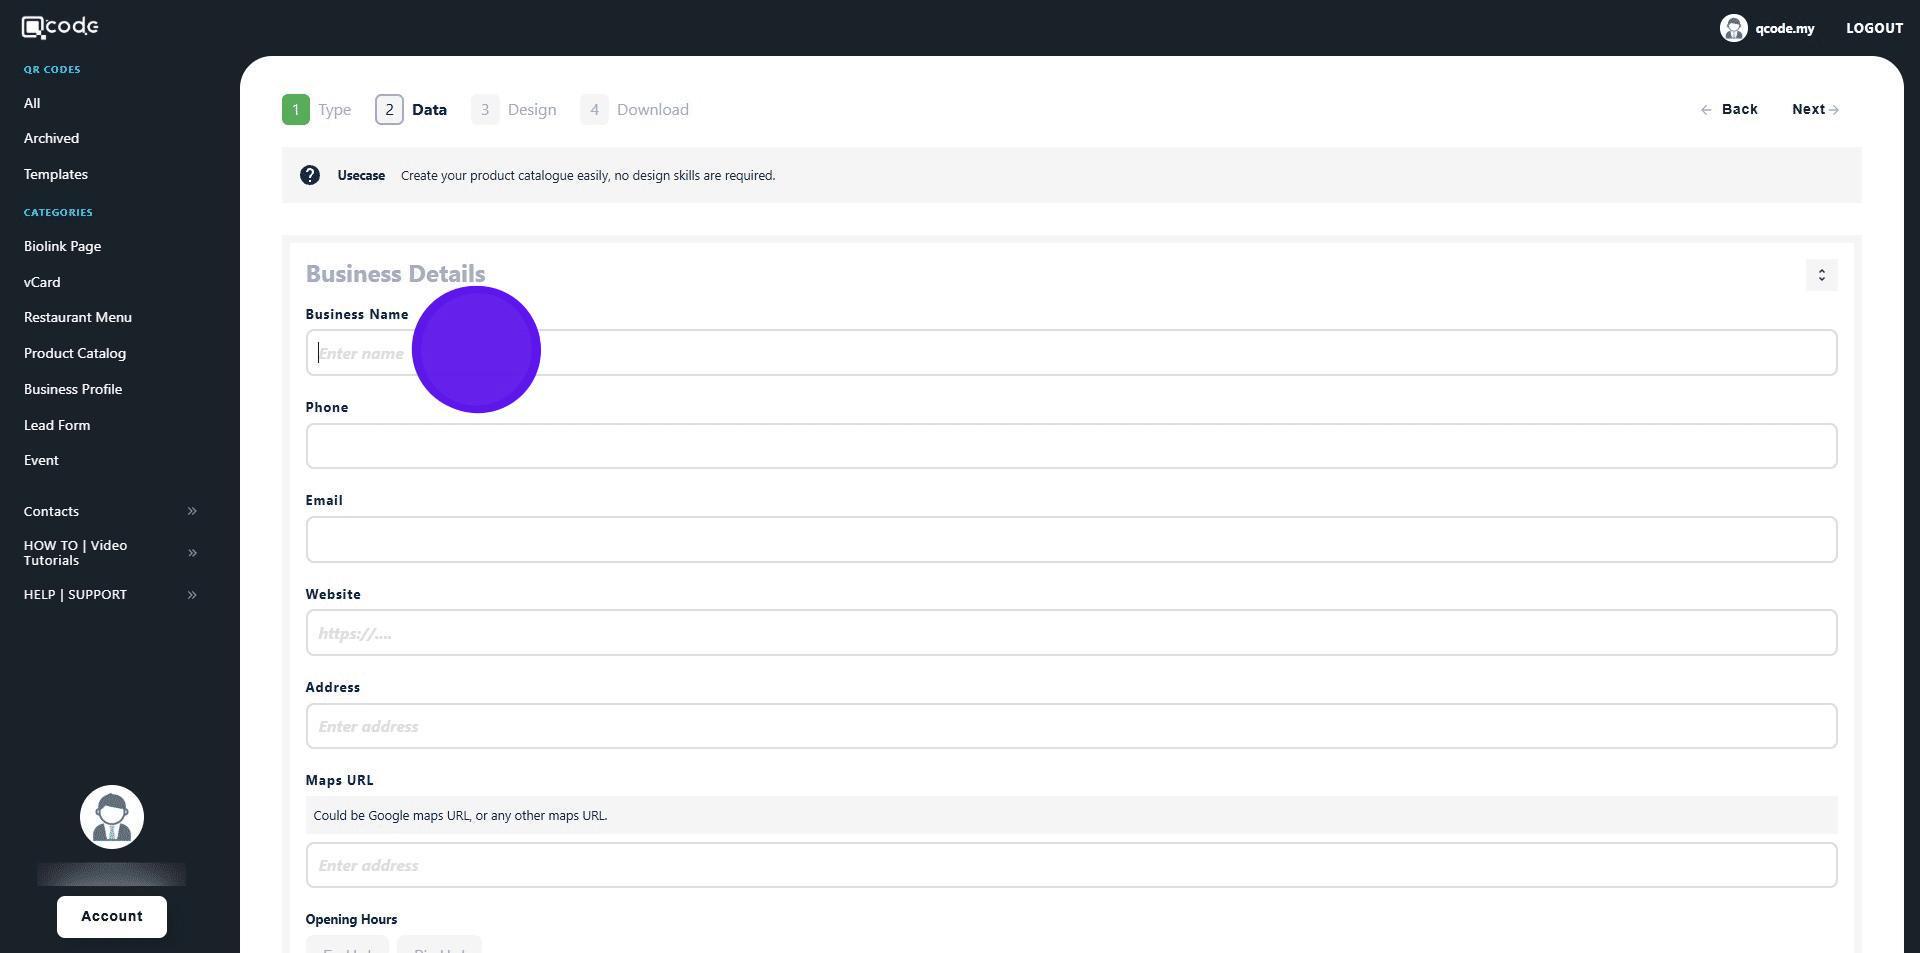
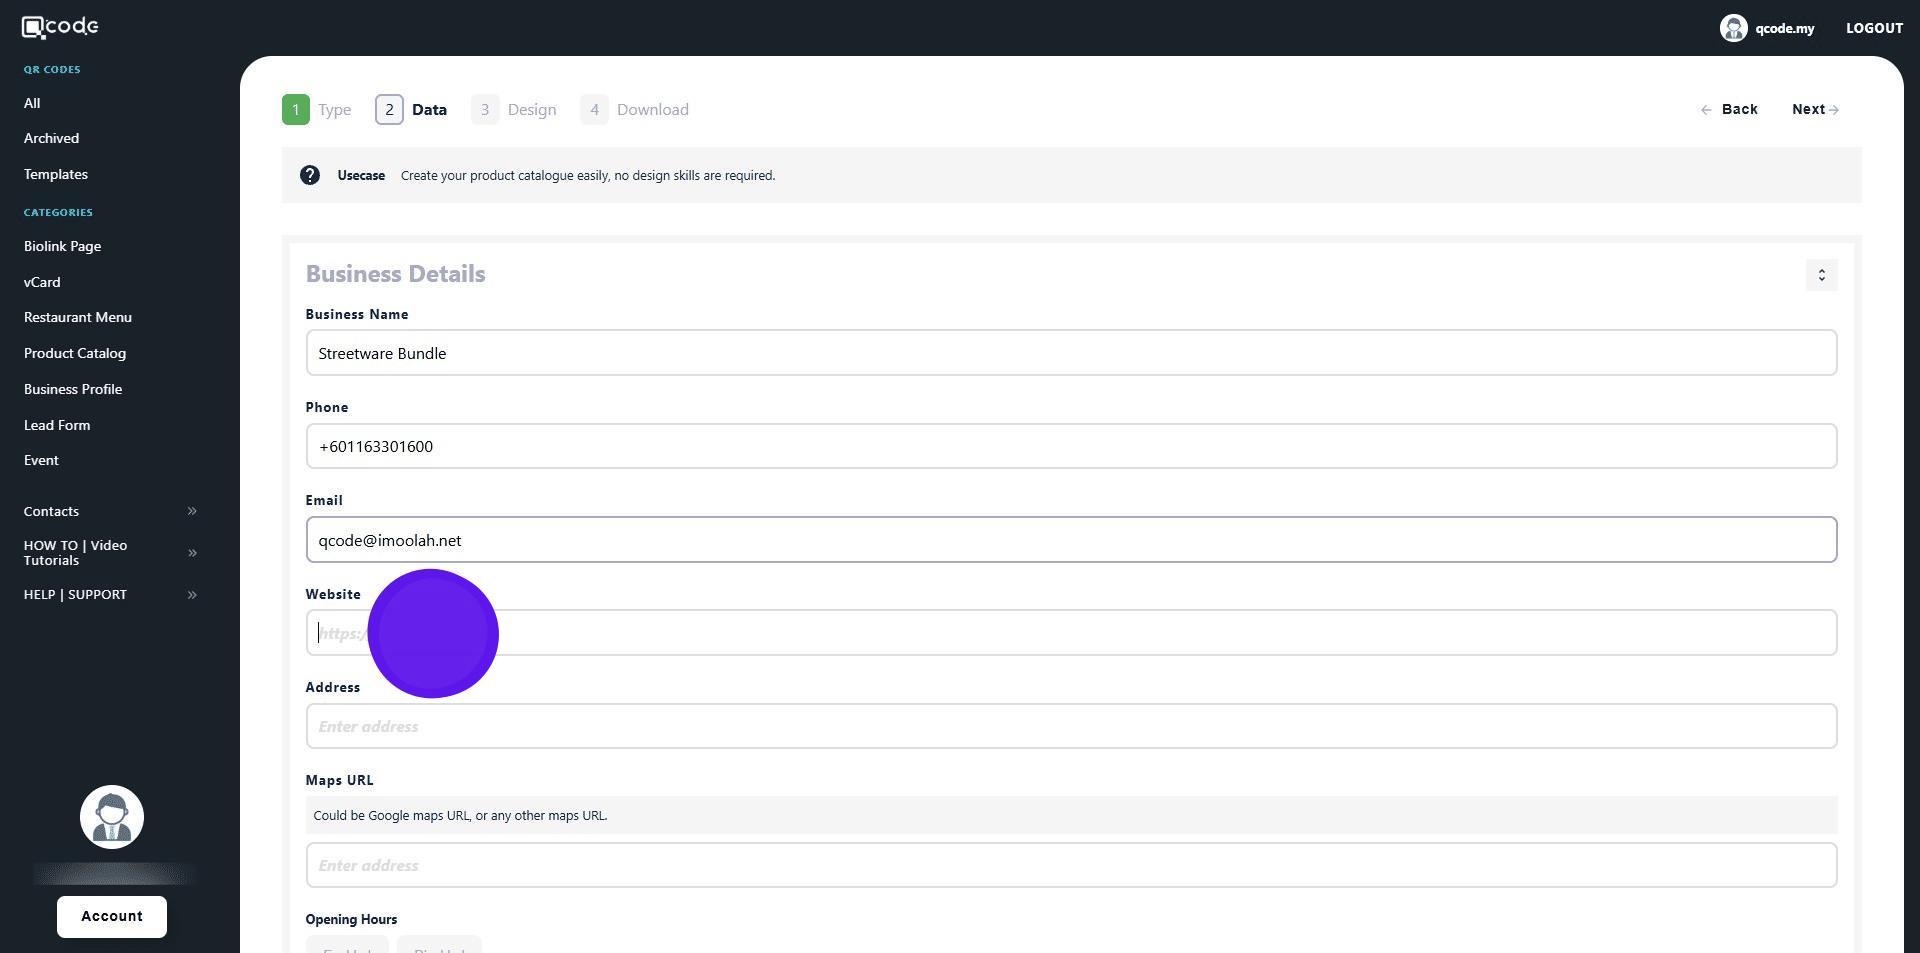
6. Type in your Business name here
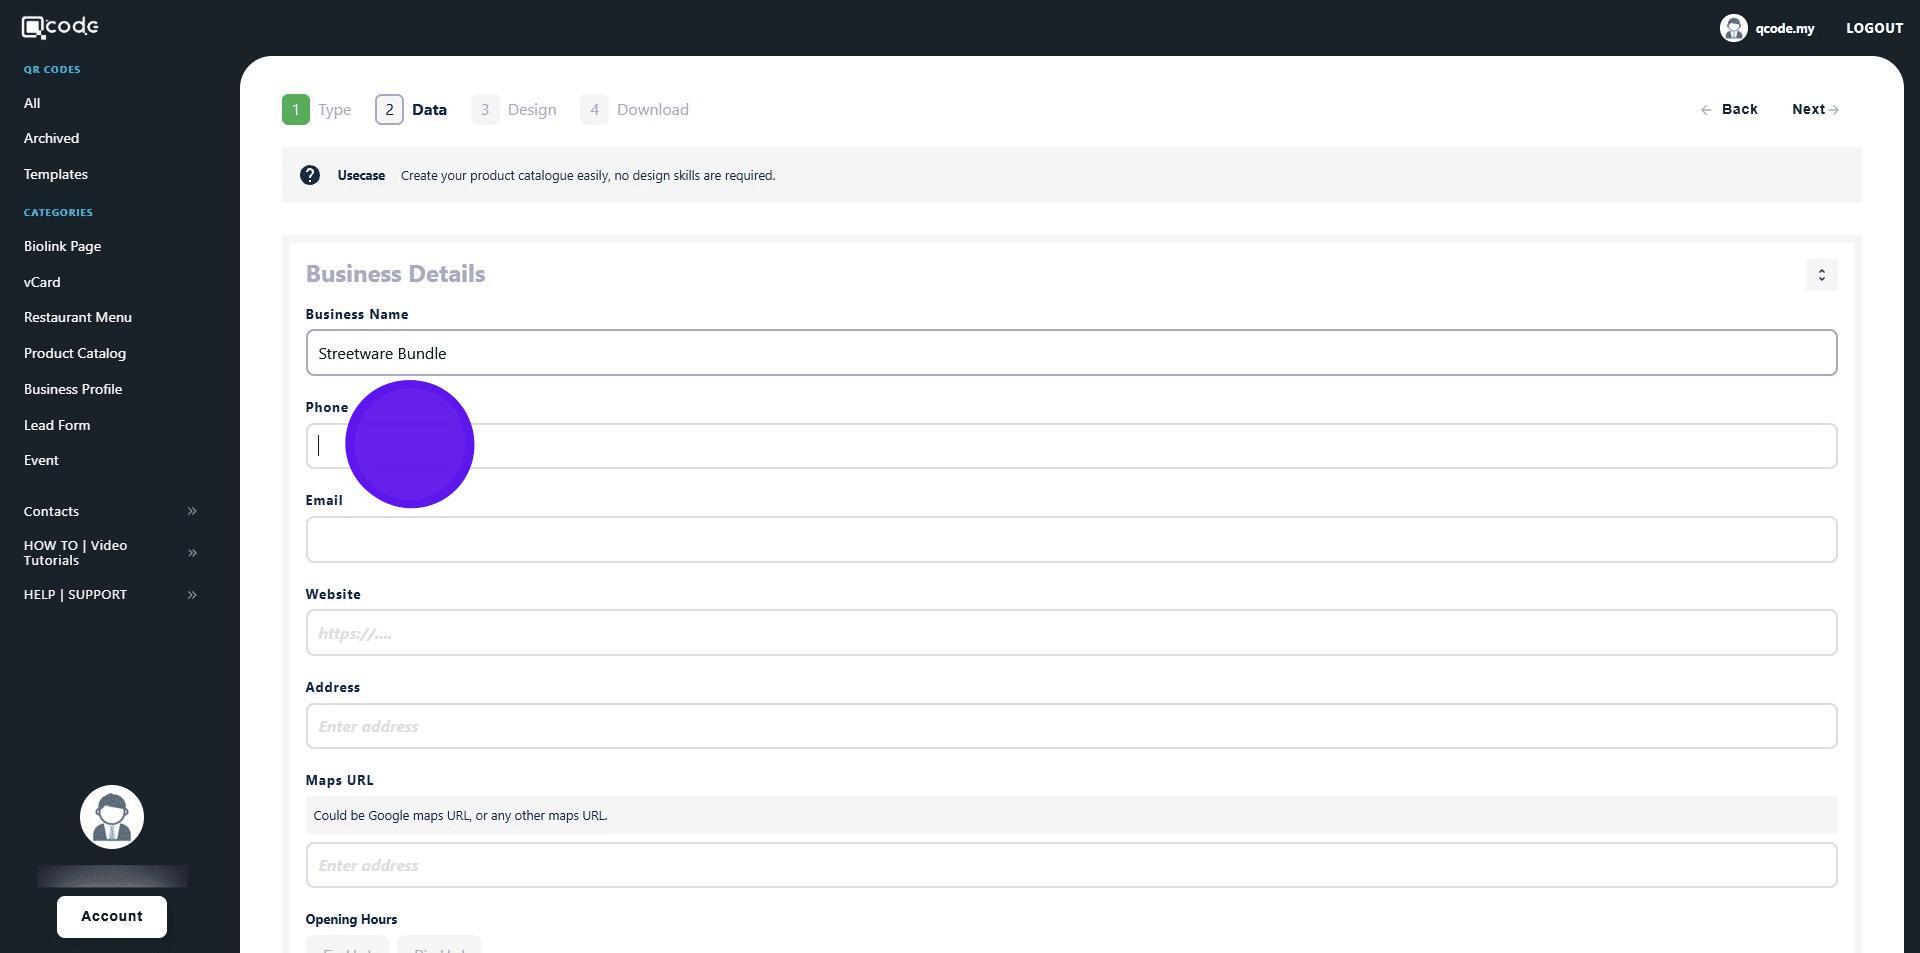
7. Type in your Phone number here (must include country code +)
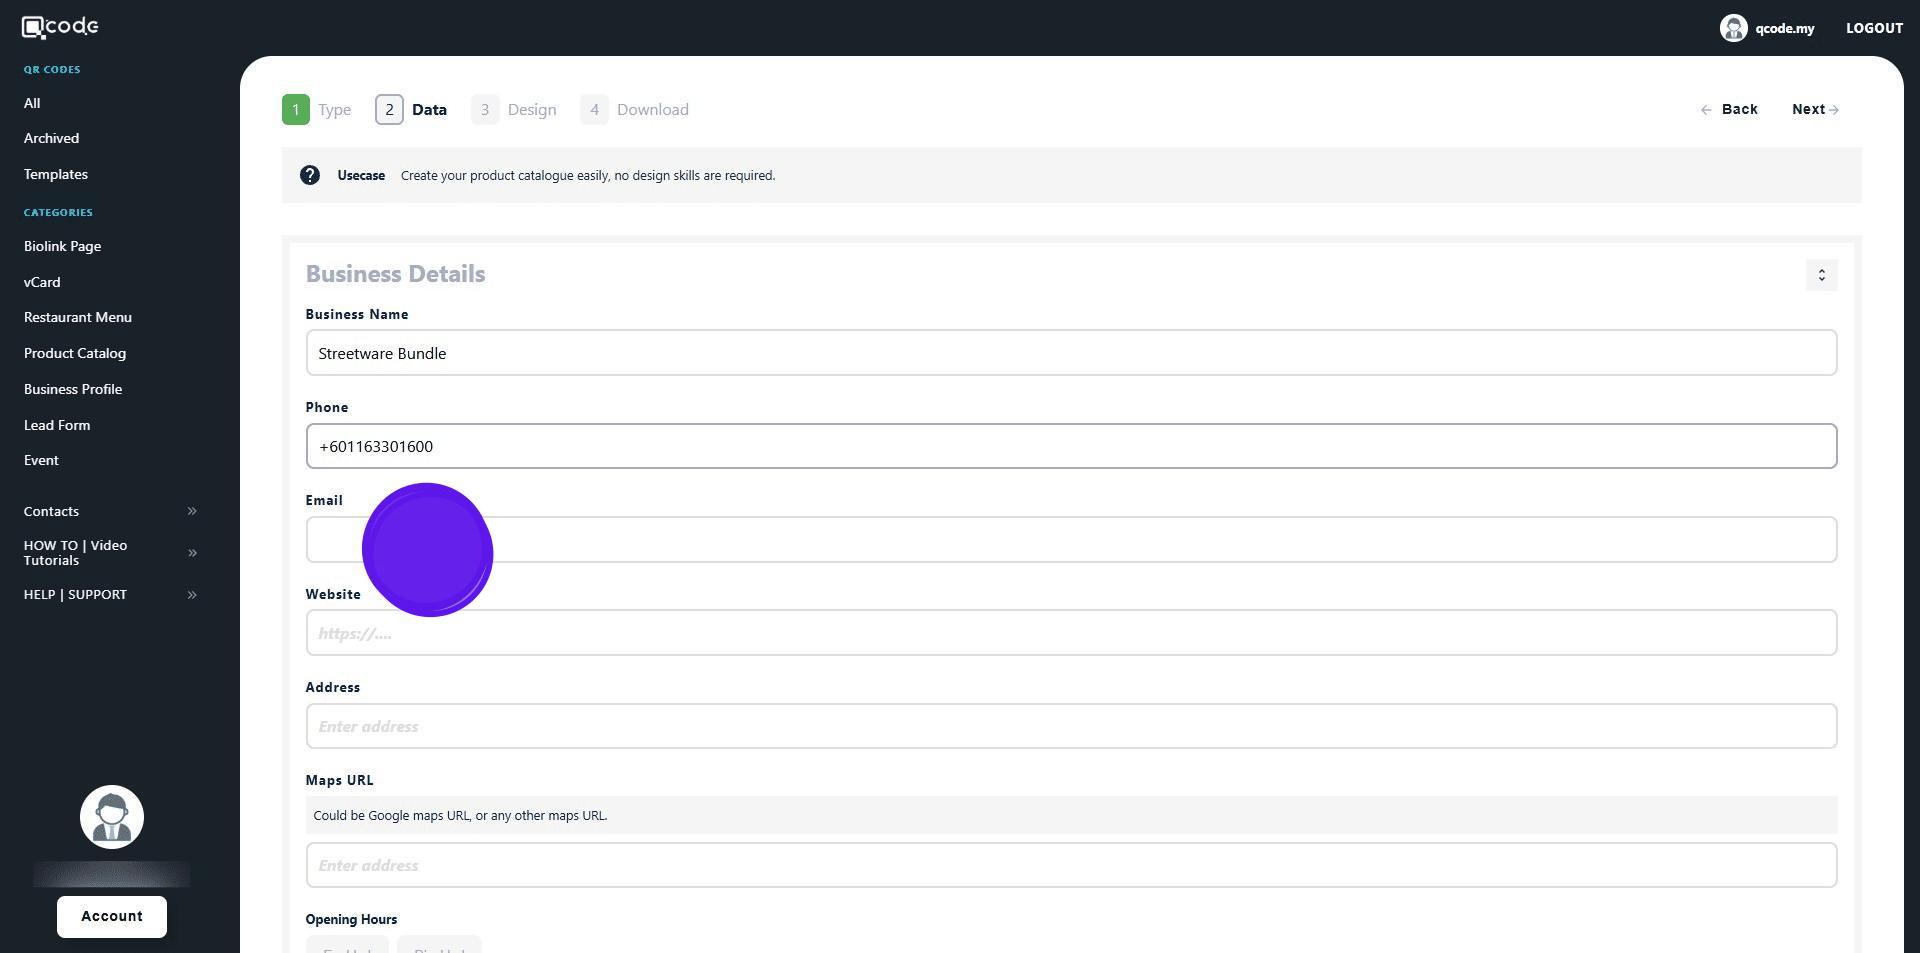
8. Type in your Email here
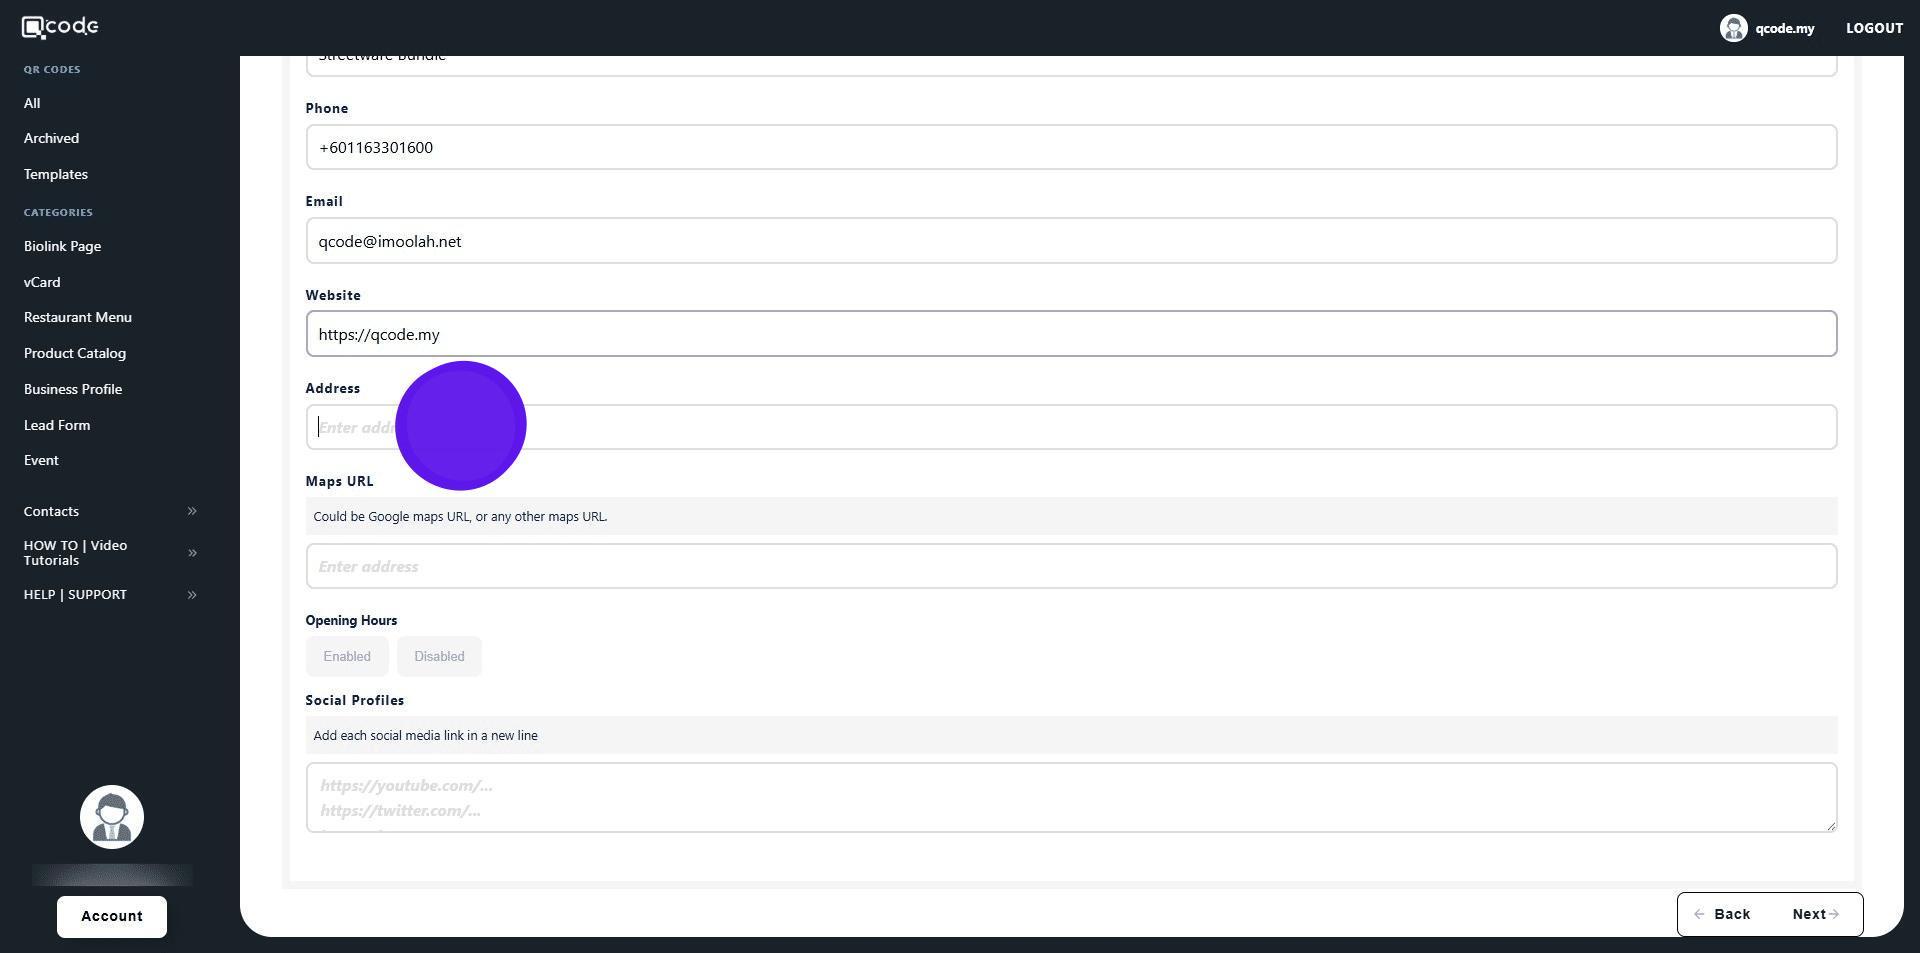
9. insert your Website URL here (must include https://)
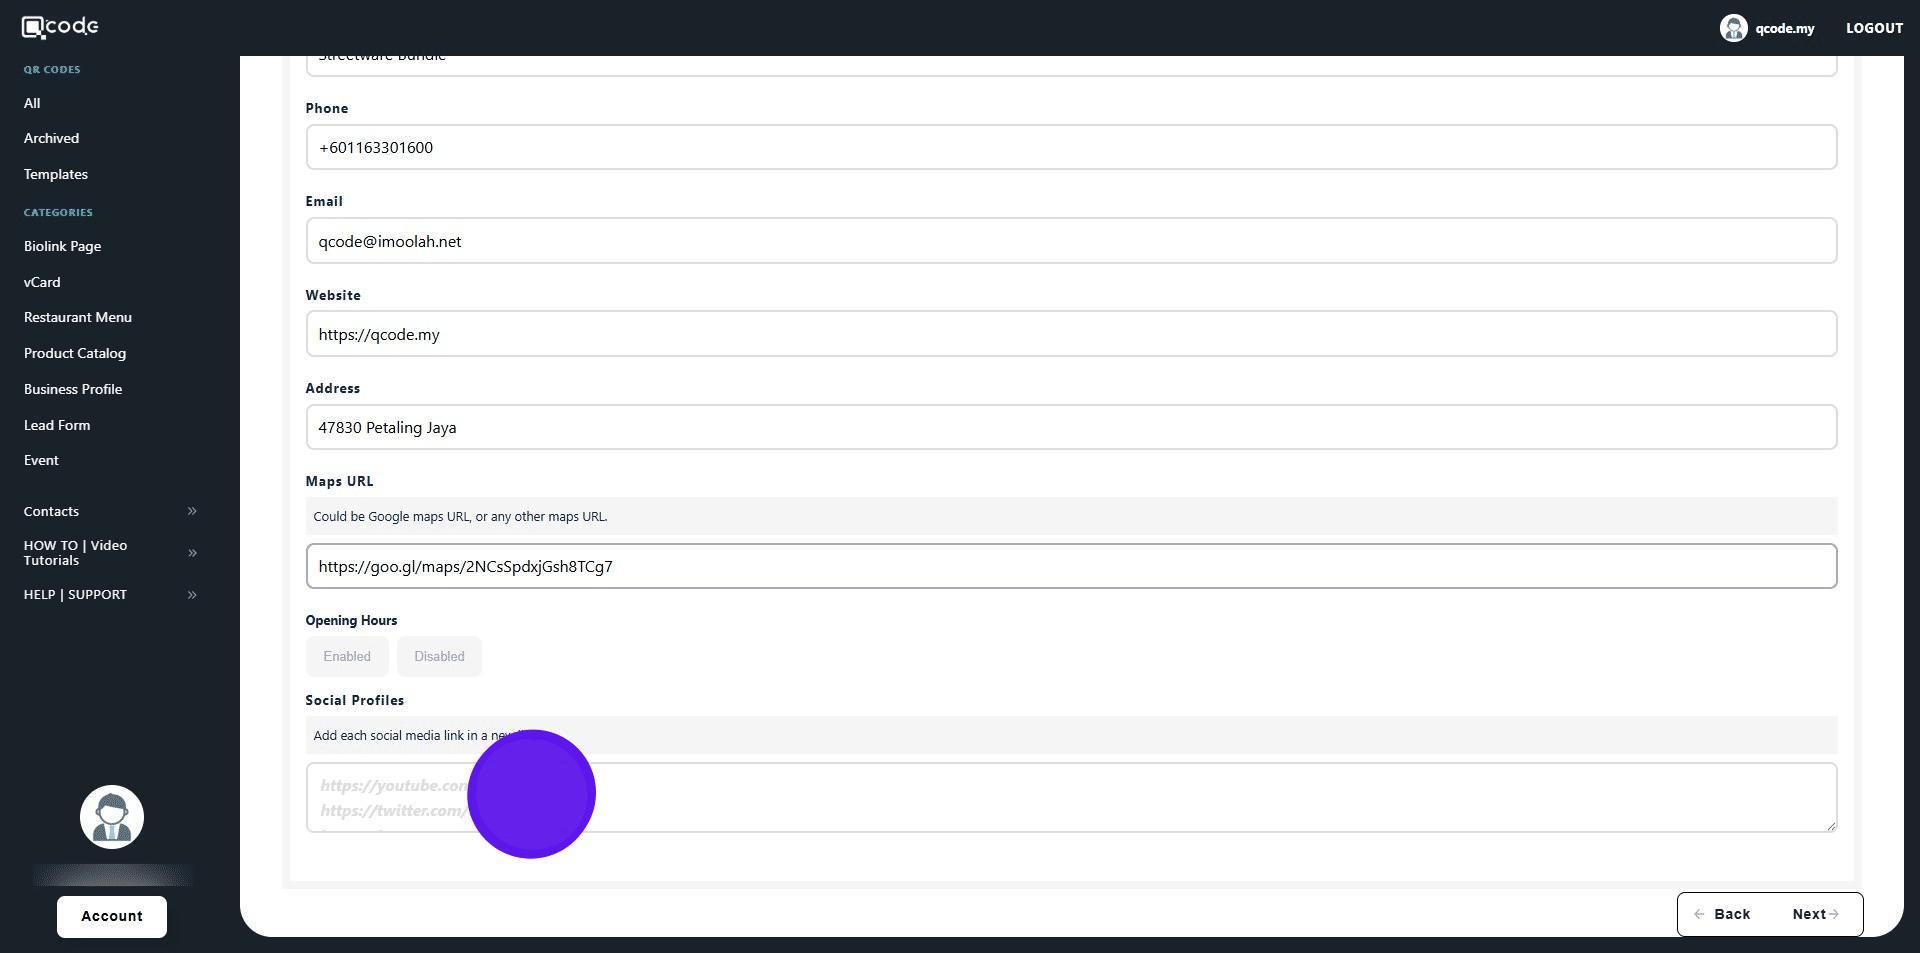
10. Type in your Address here
11. Insert your Maps URL here

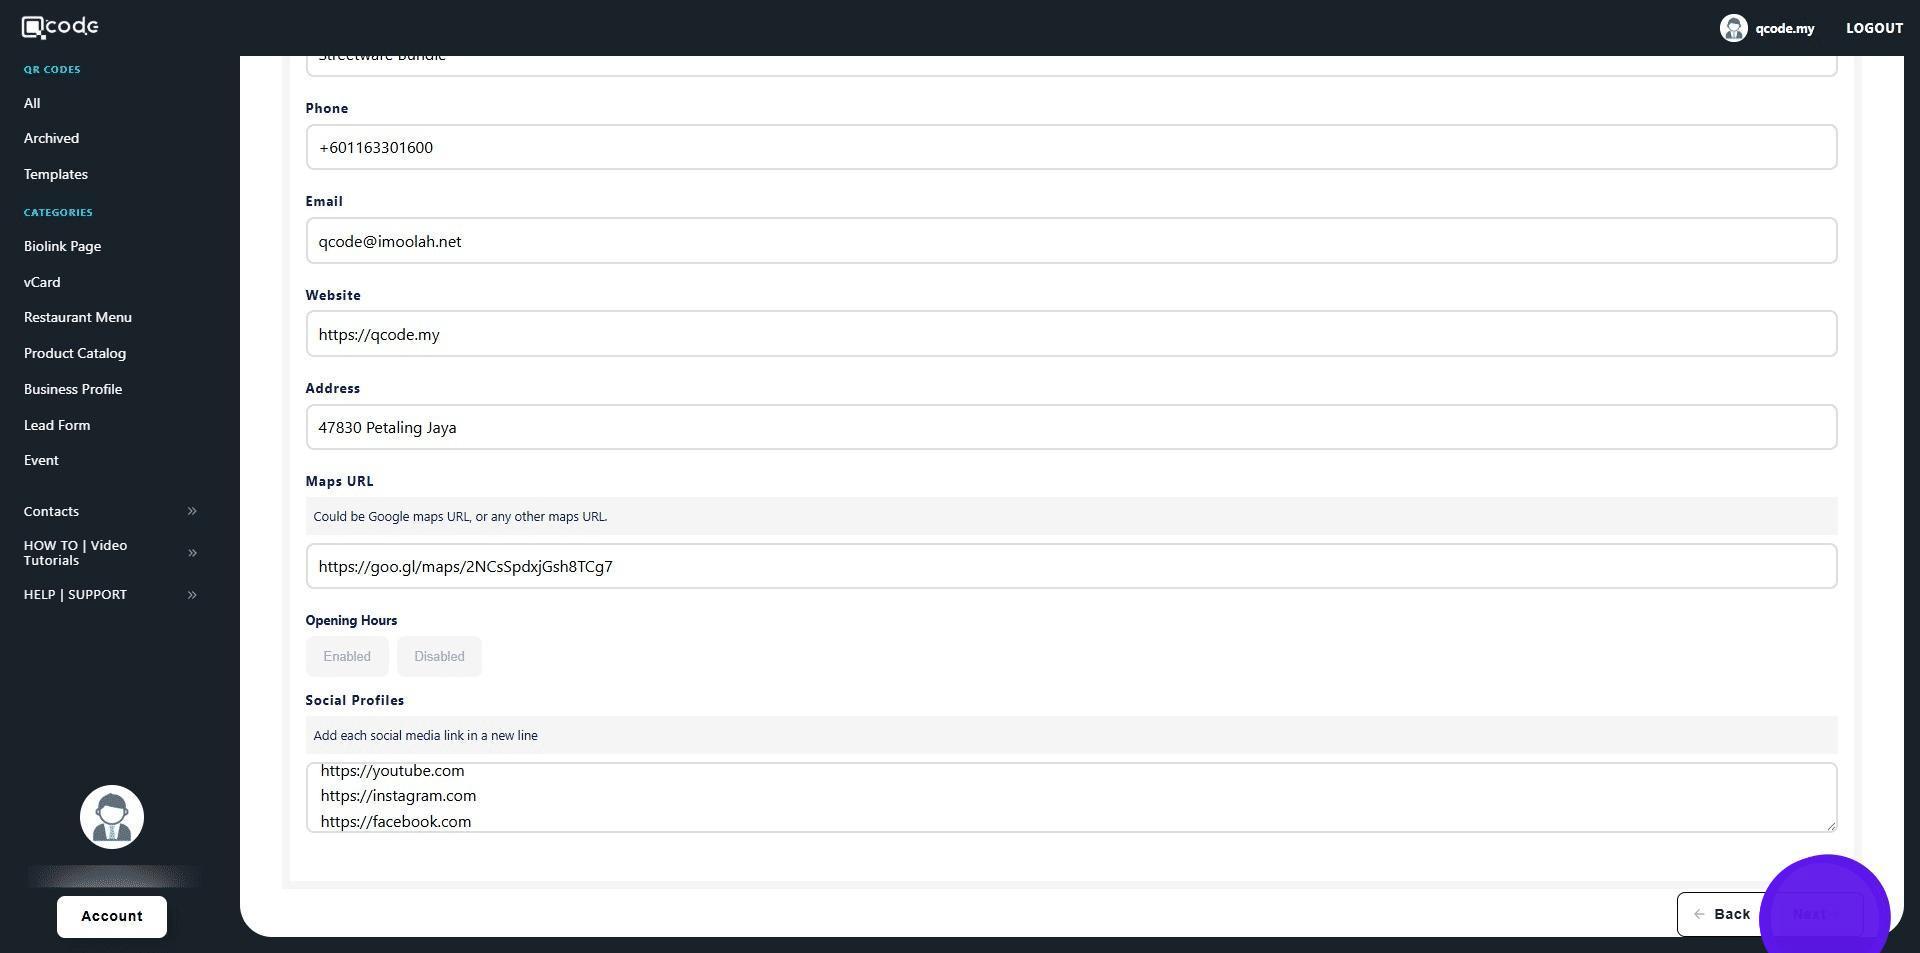
12. Add in your Social media profile(s) here
13. Click on Next to move to the next page
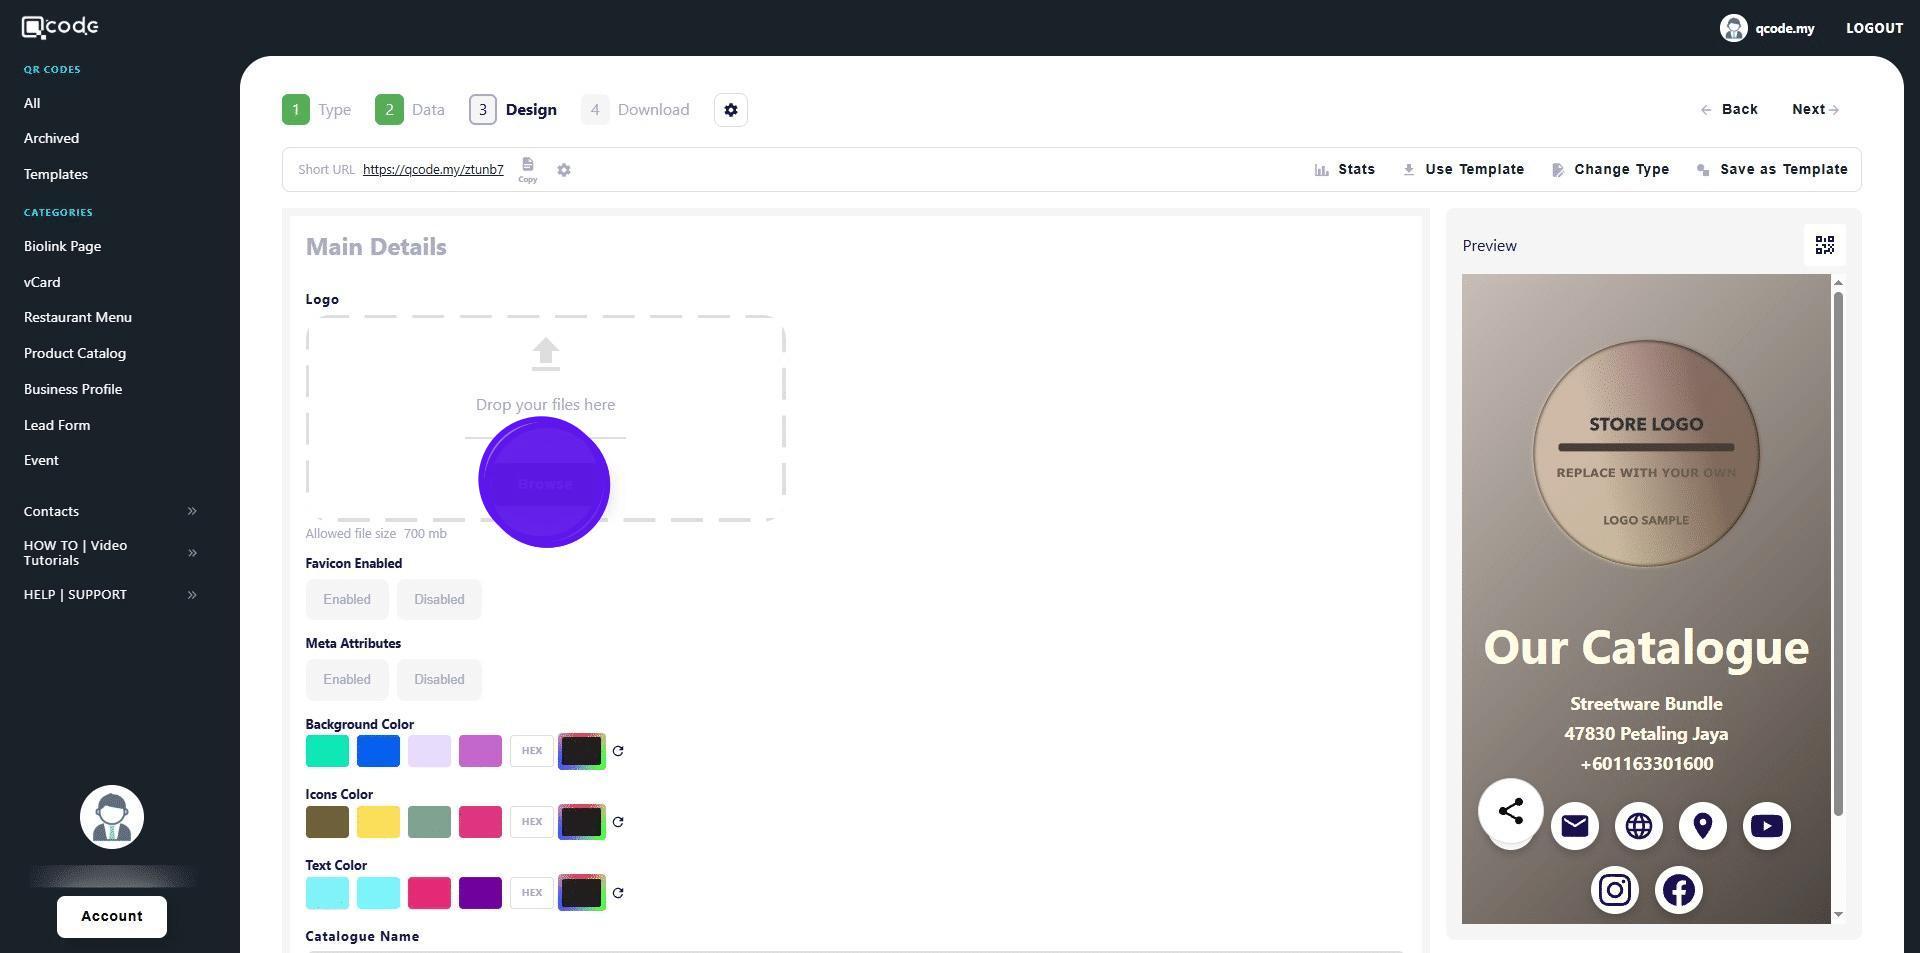
14. Click on Browse to upload your logo
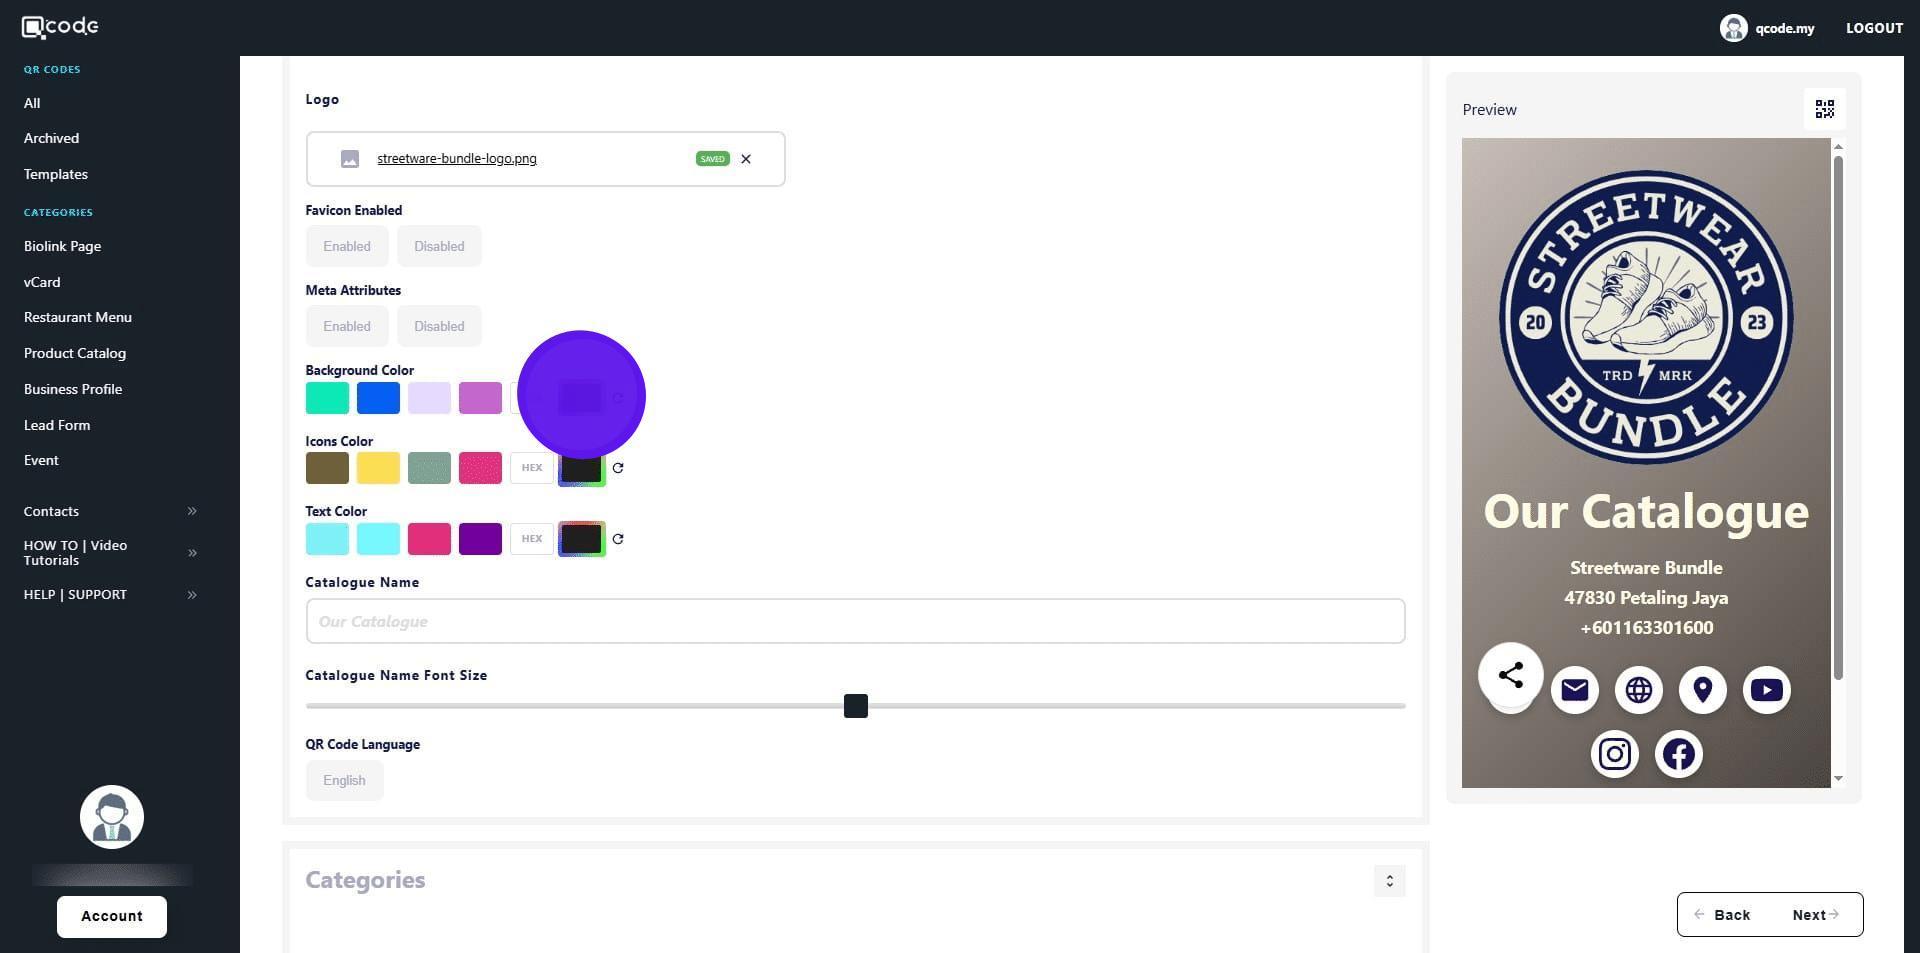
15. Click here to change Background Color
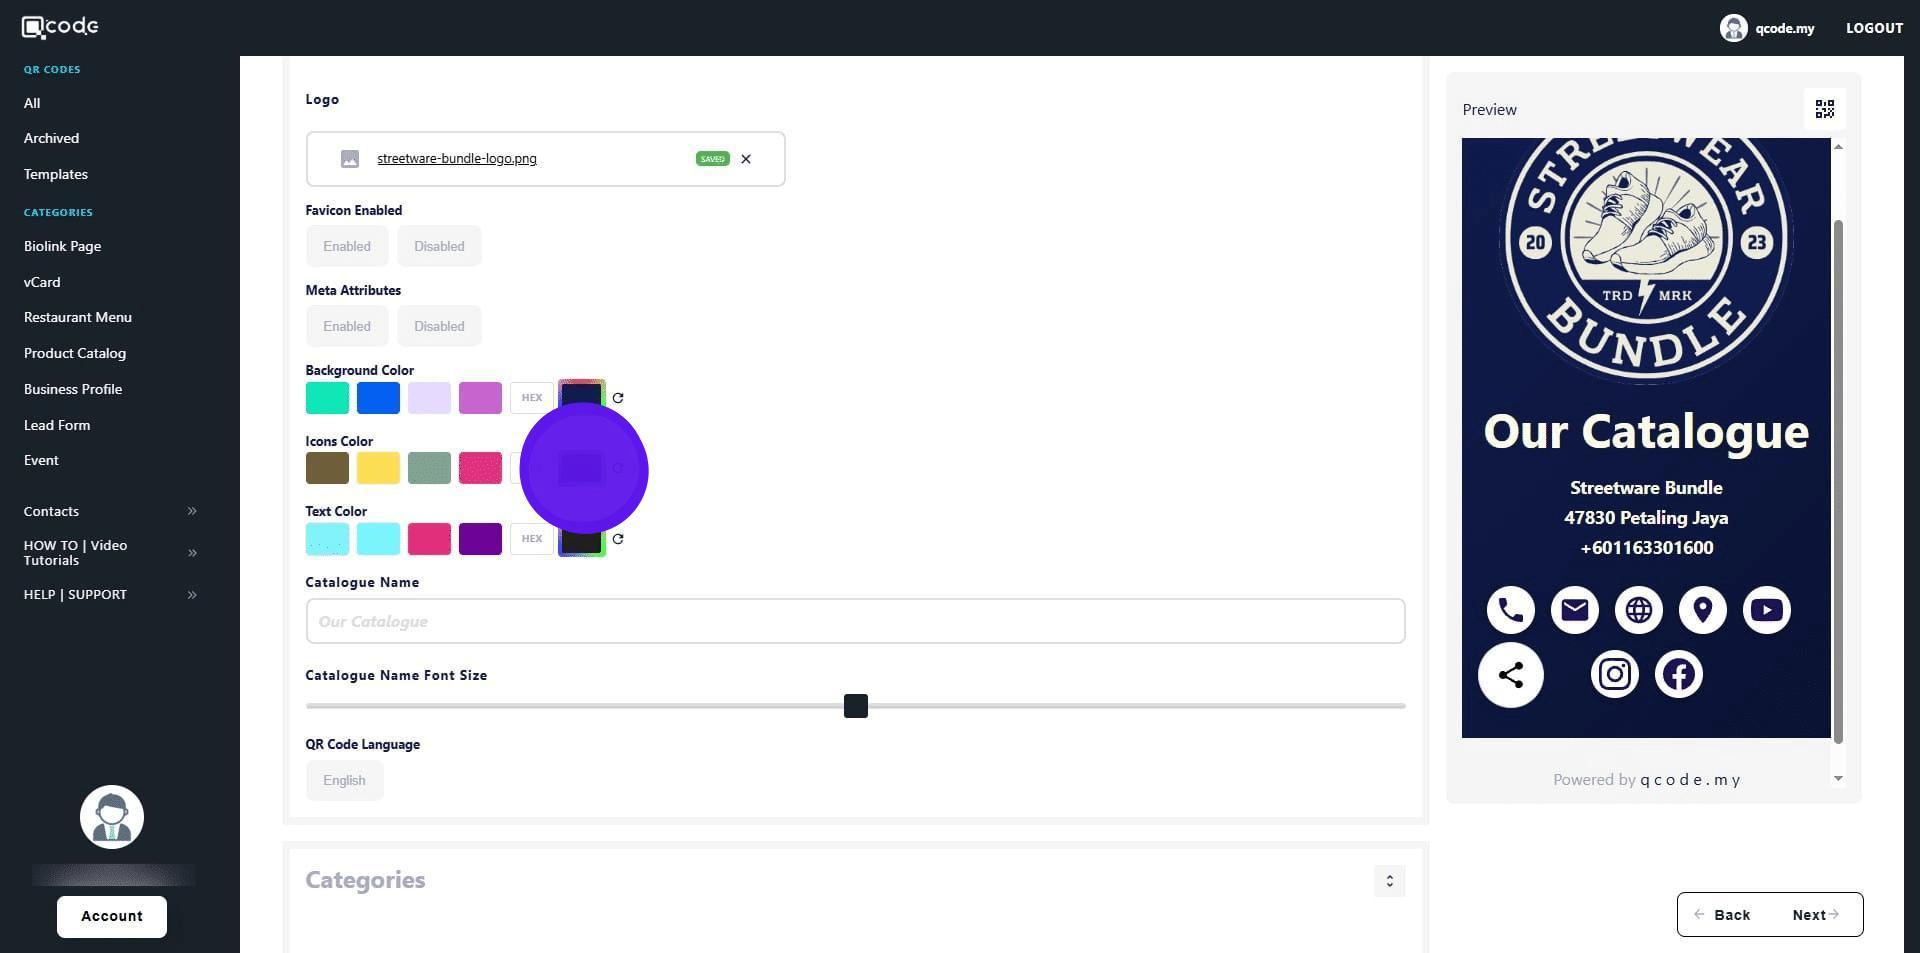
16. Click here to change Icons Color
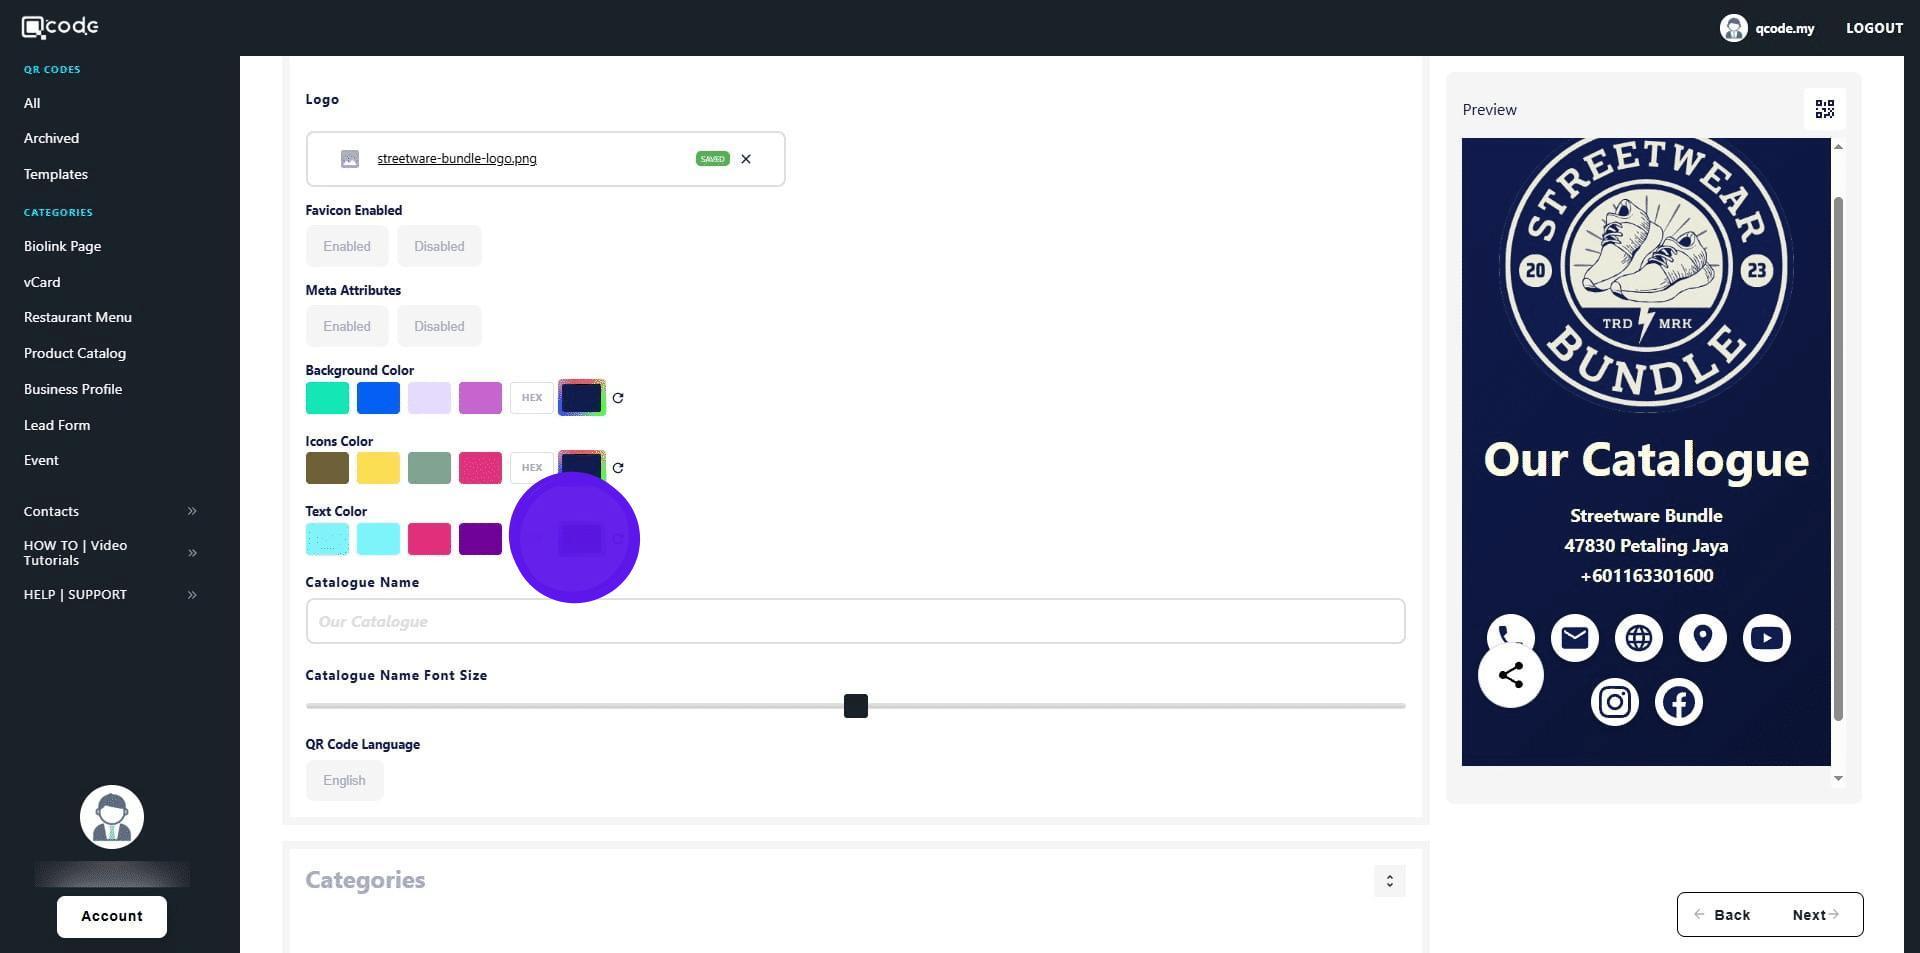
17. Click here to change Text Color
18. Type in the name for your Product Catalog here
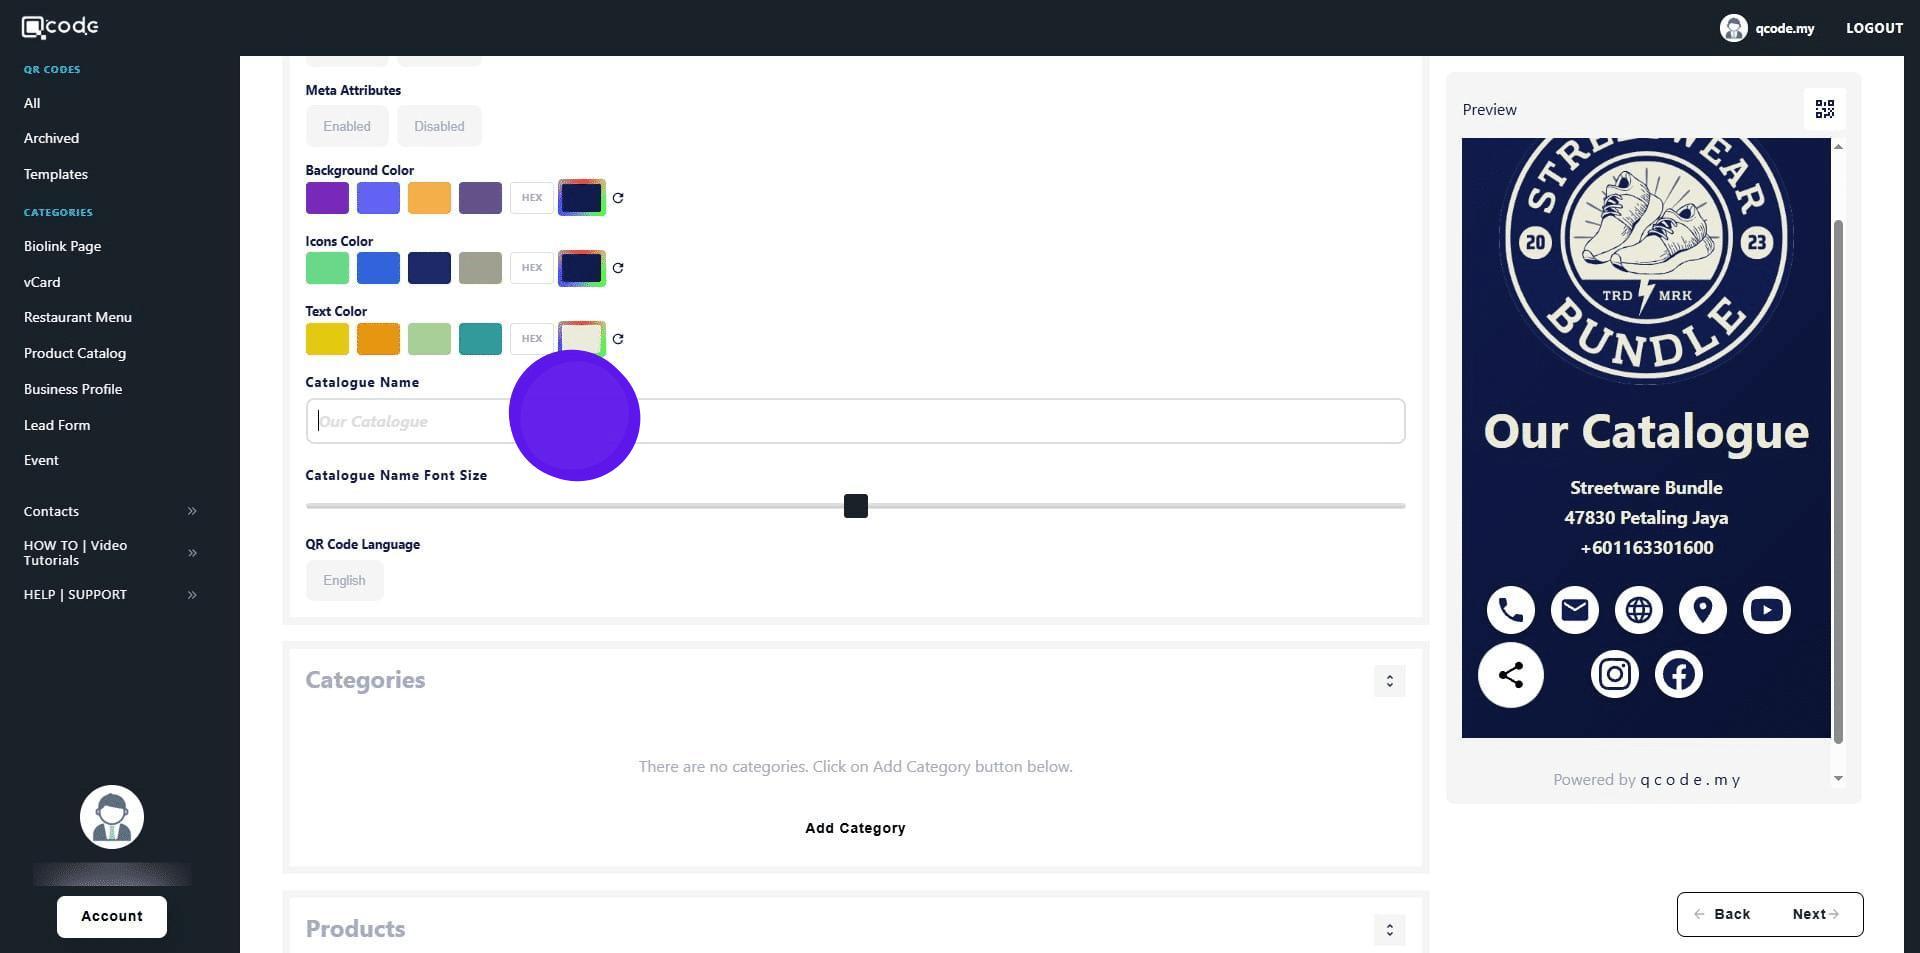
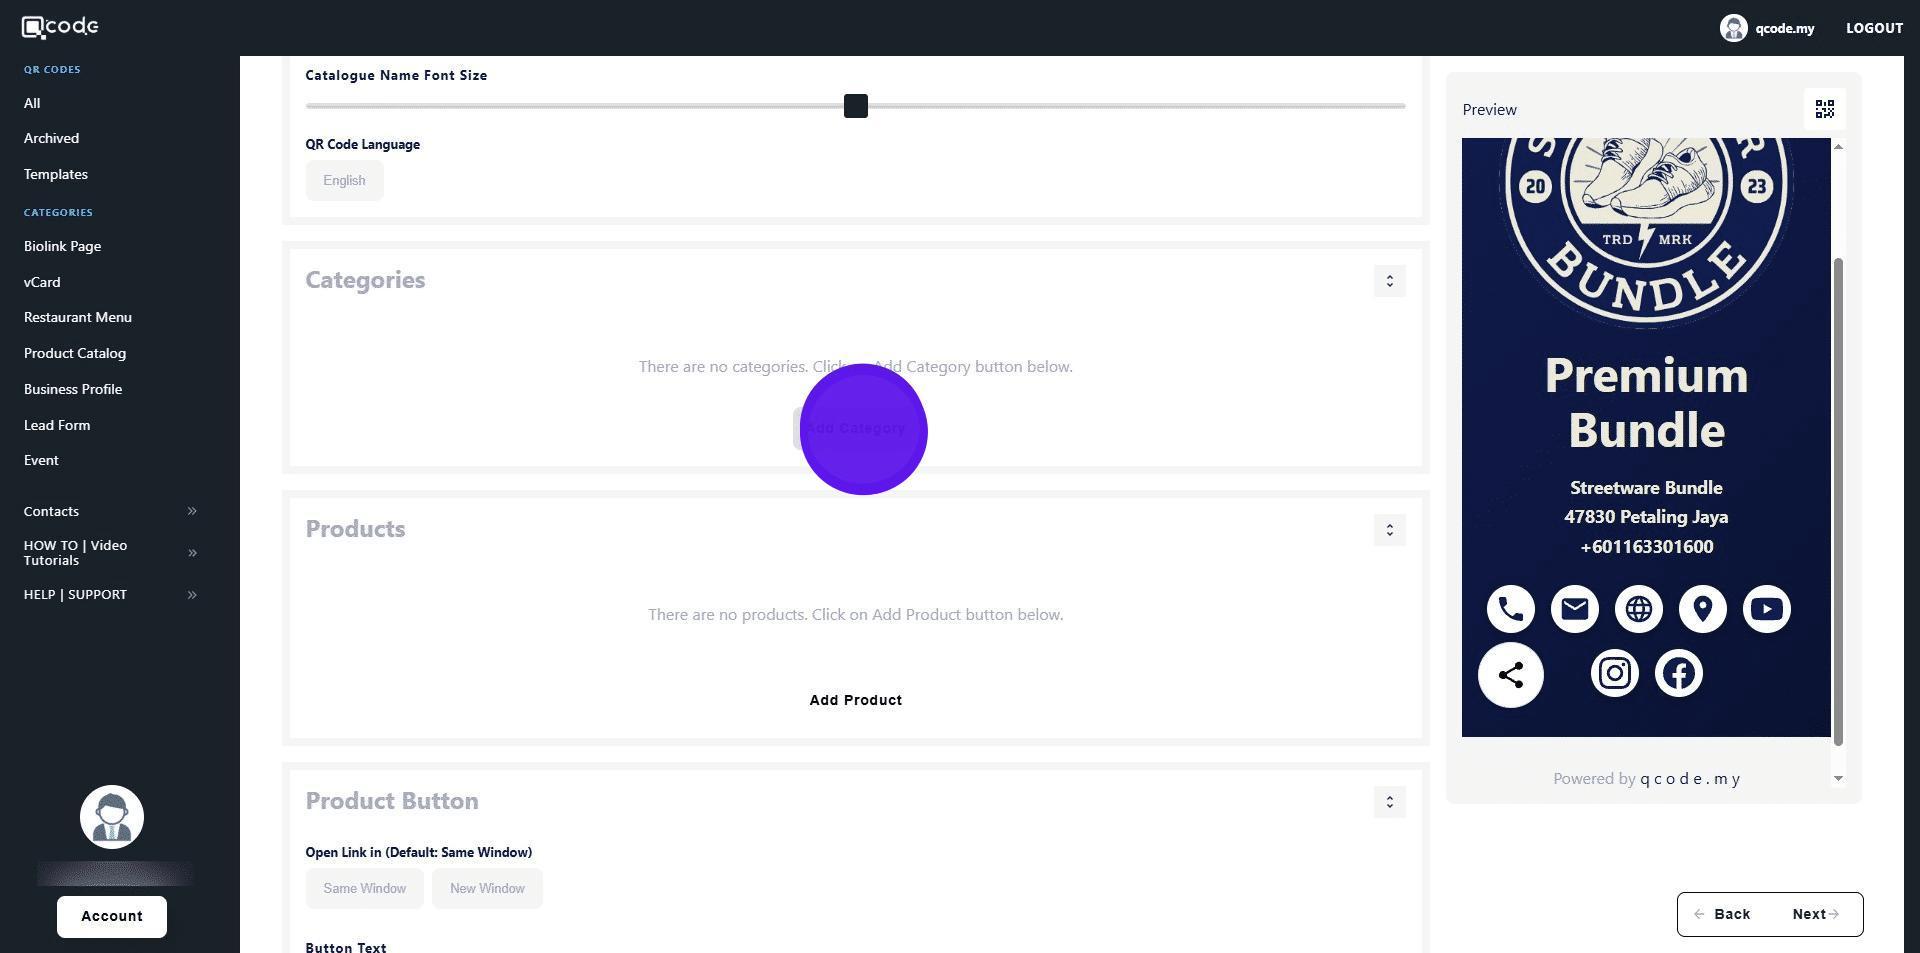
19. Click on Add Category to add a product category
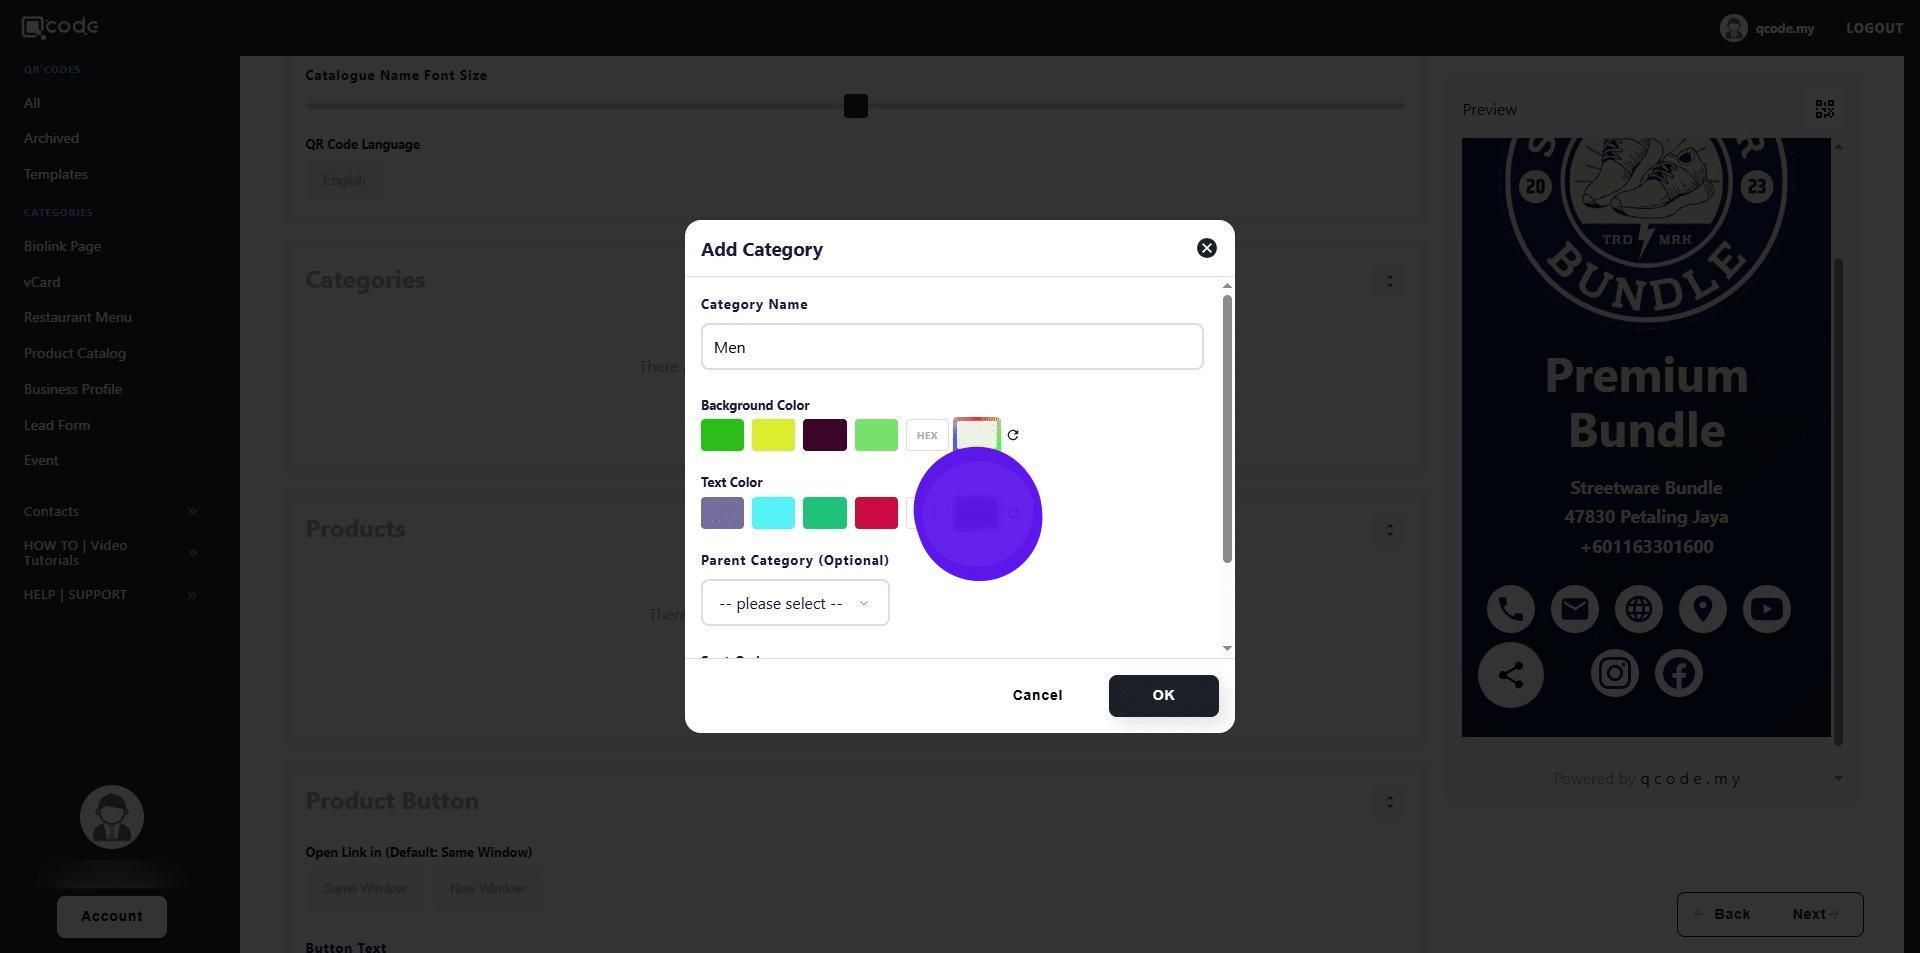
20. Type in the name of your product category here
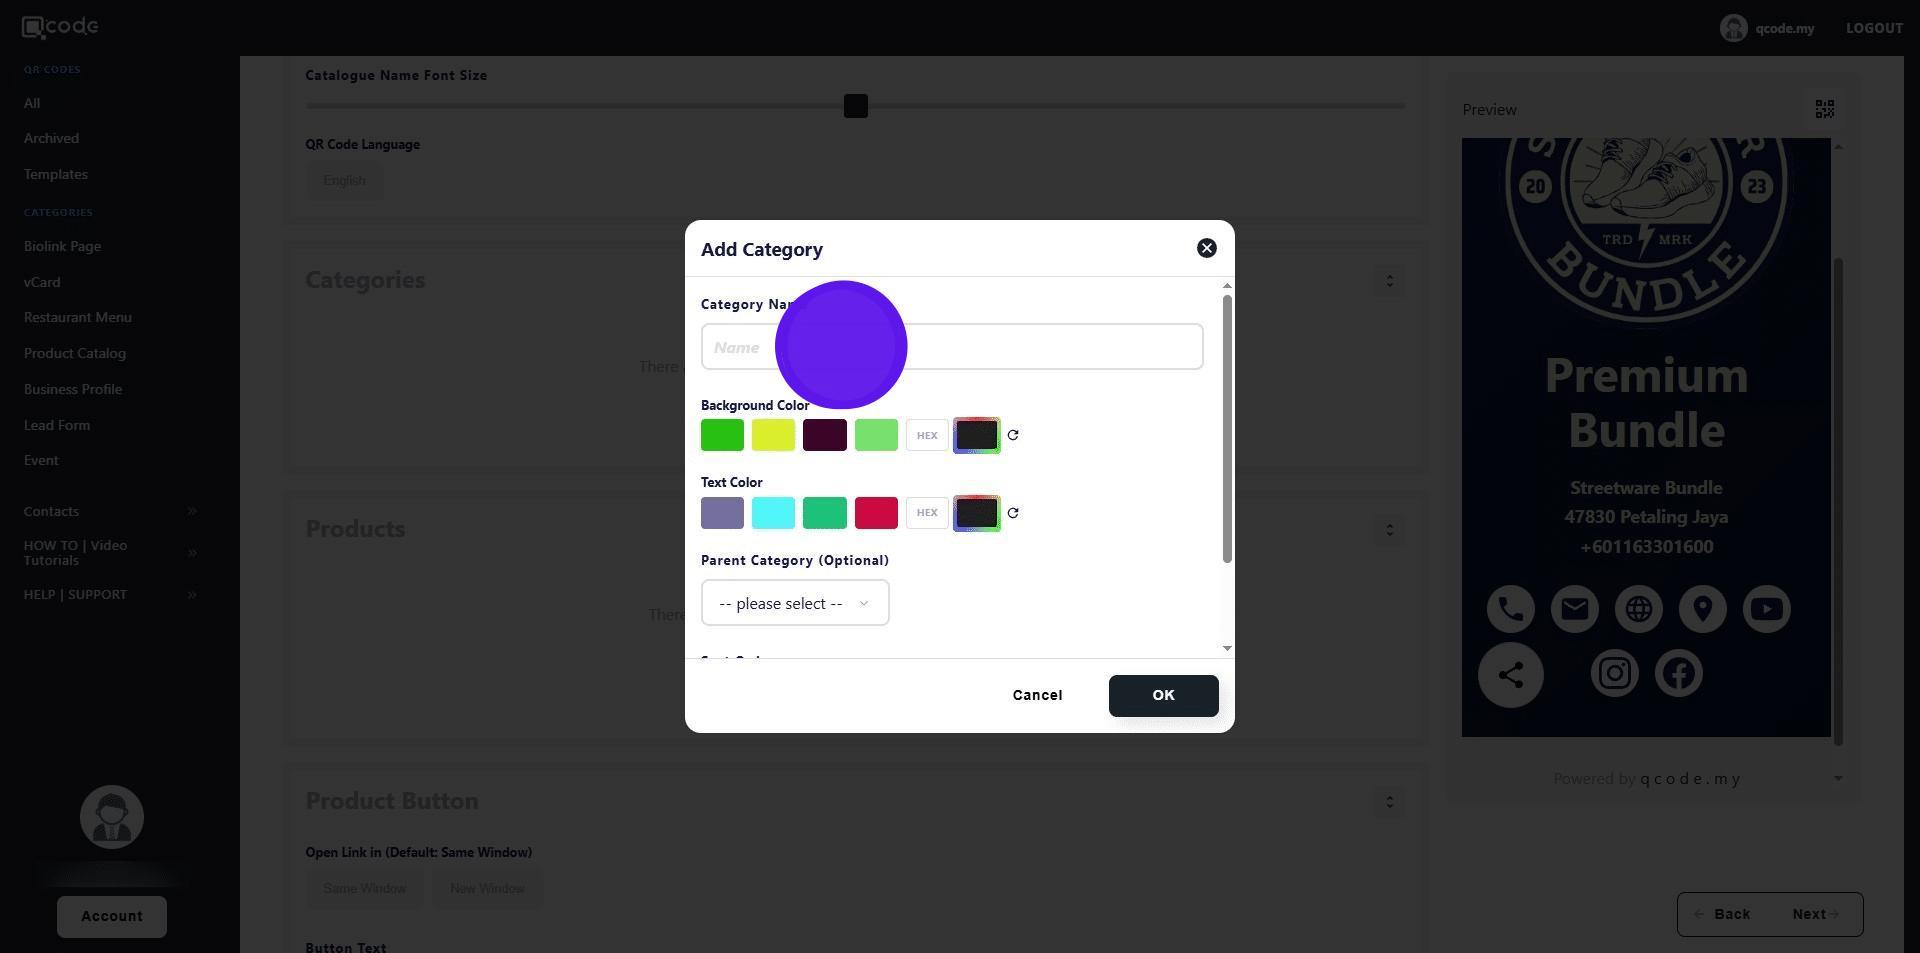
21. Click here to change the Background Color of the product category button
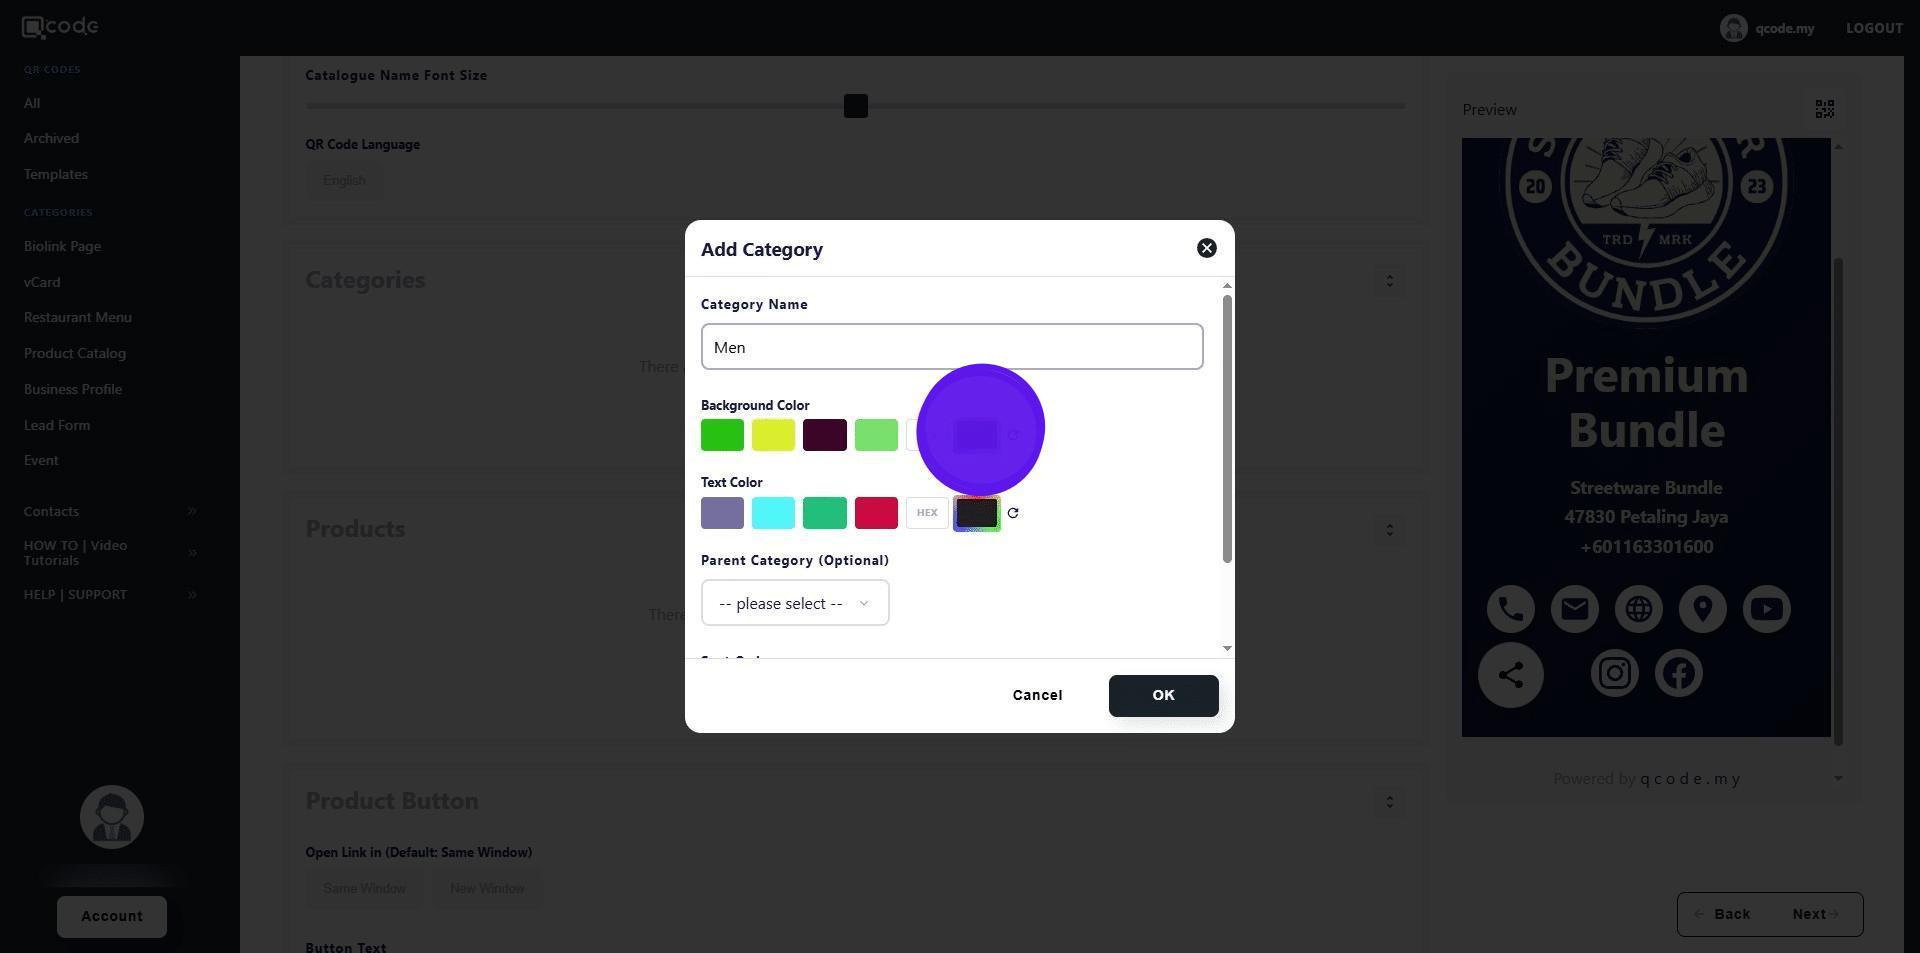
22. Click here to change the Text Color of the product category button
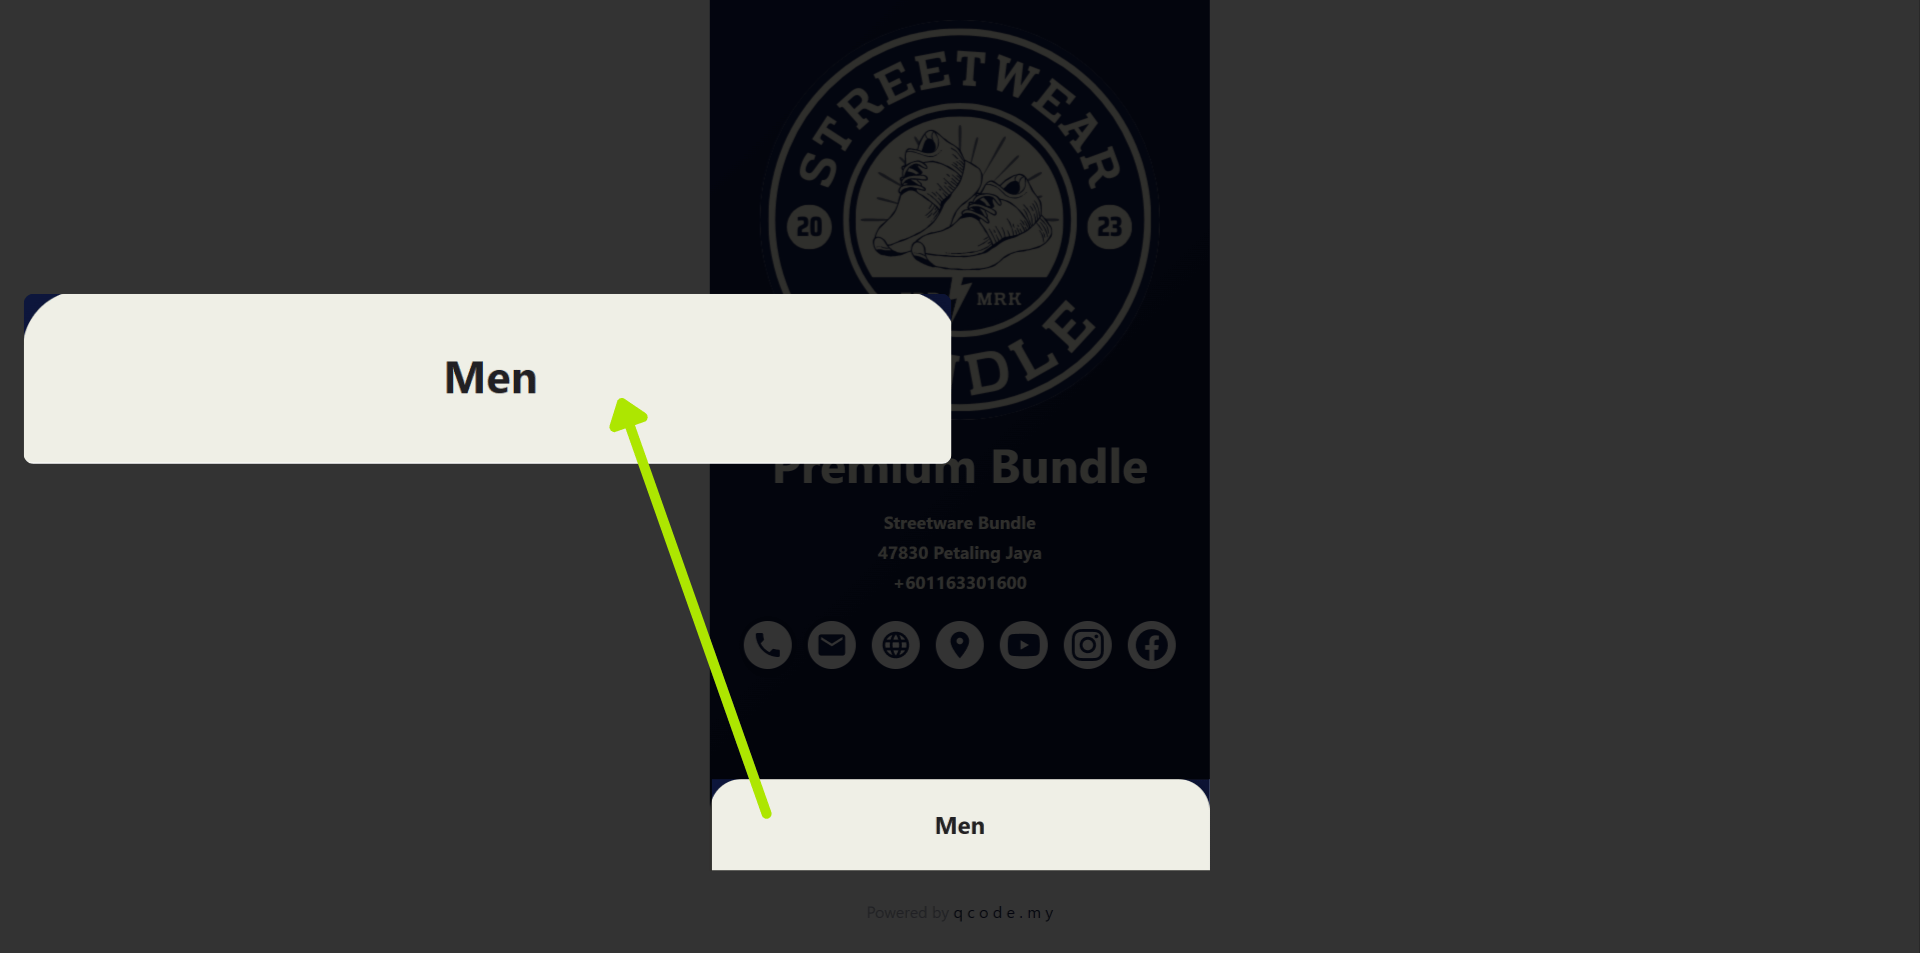
23. The colors of the product category button will be applied here
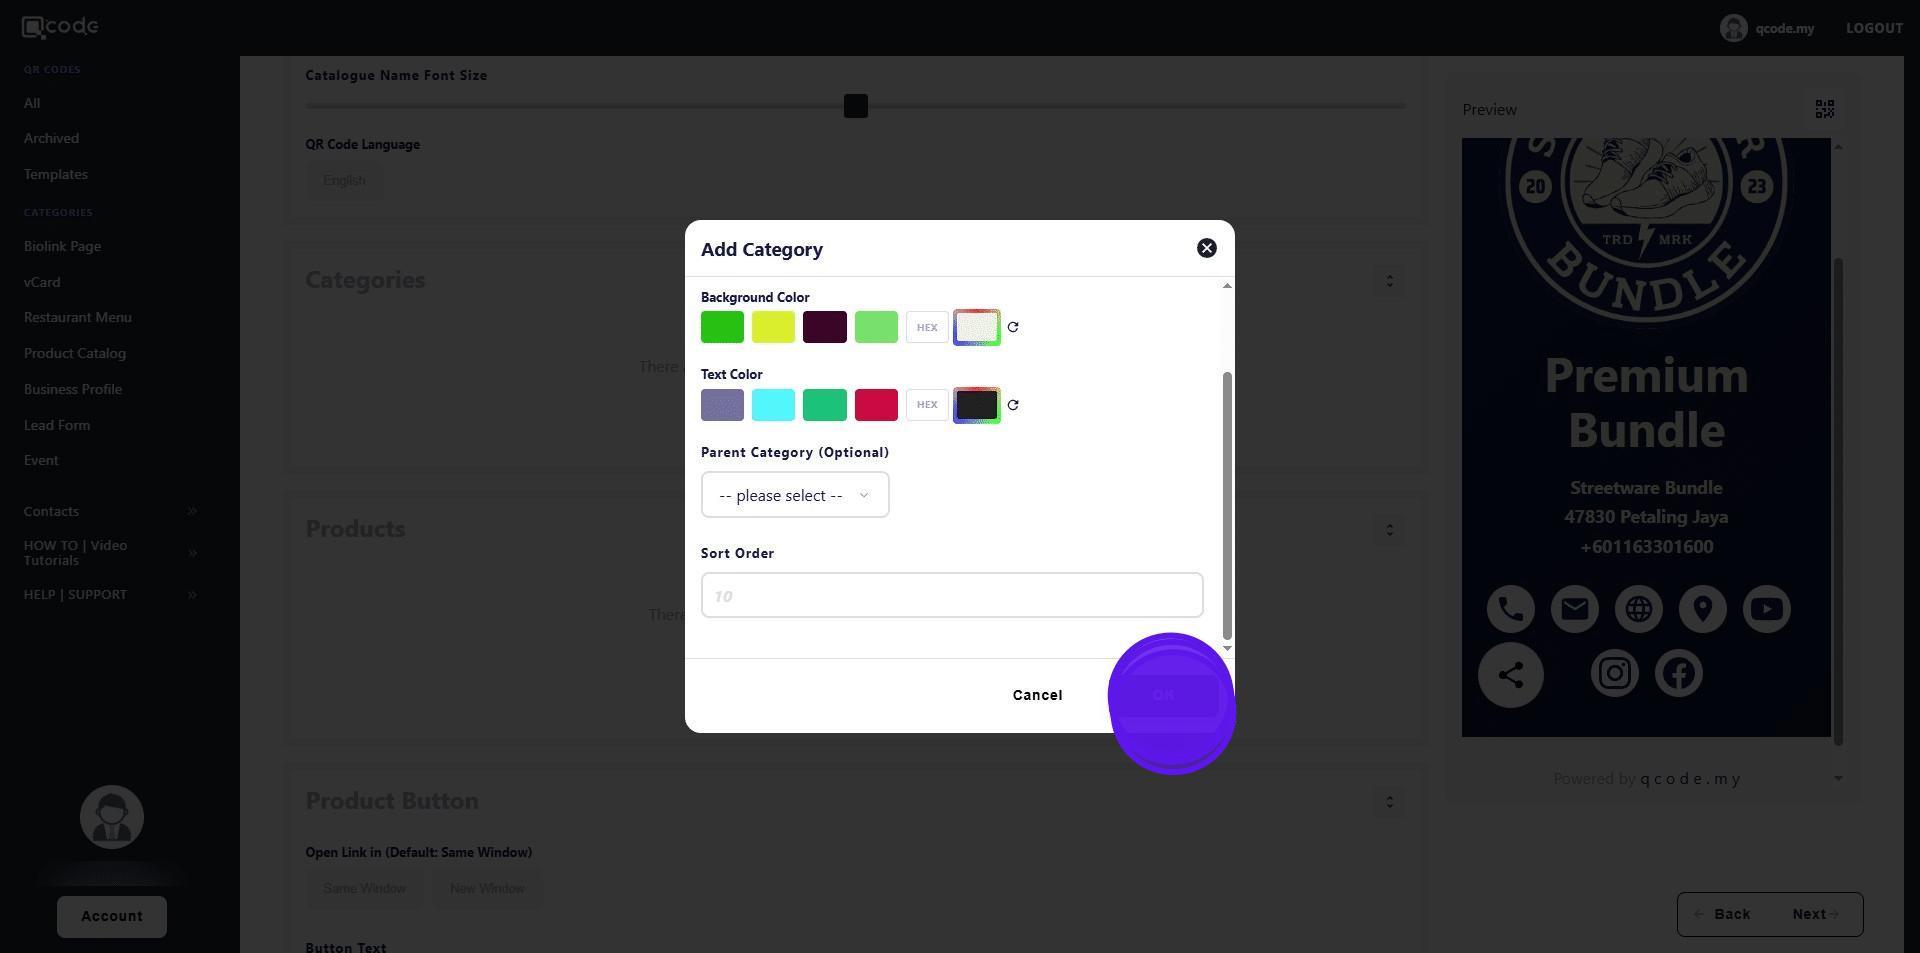
24. Click on OK to finish adding a product category
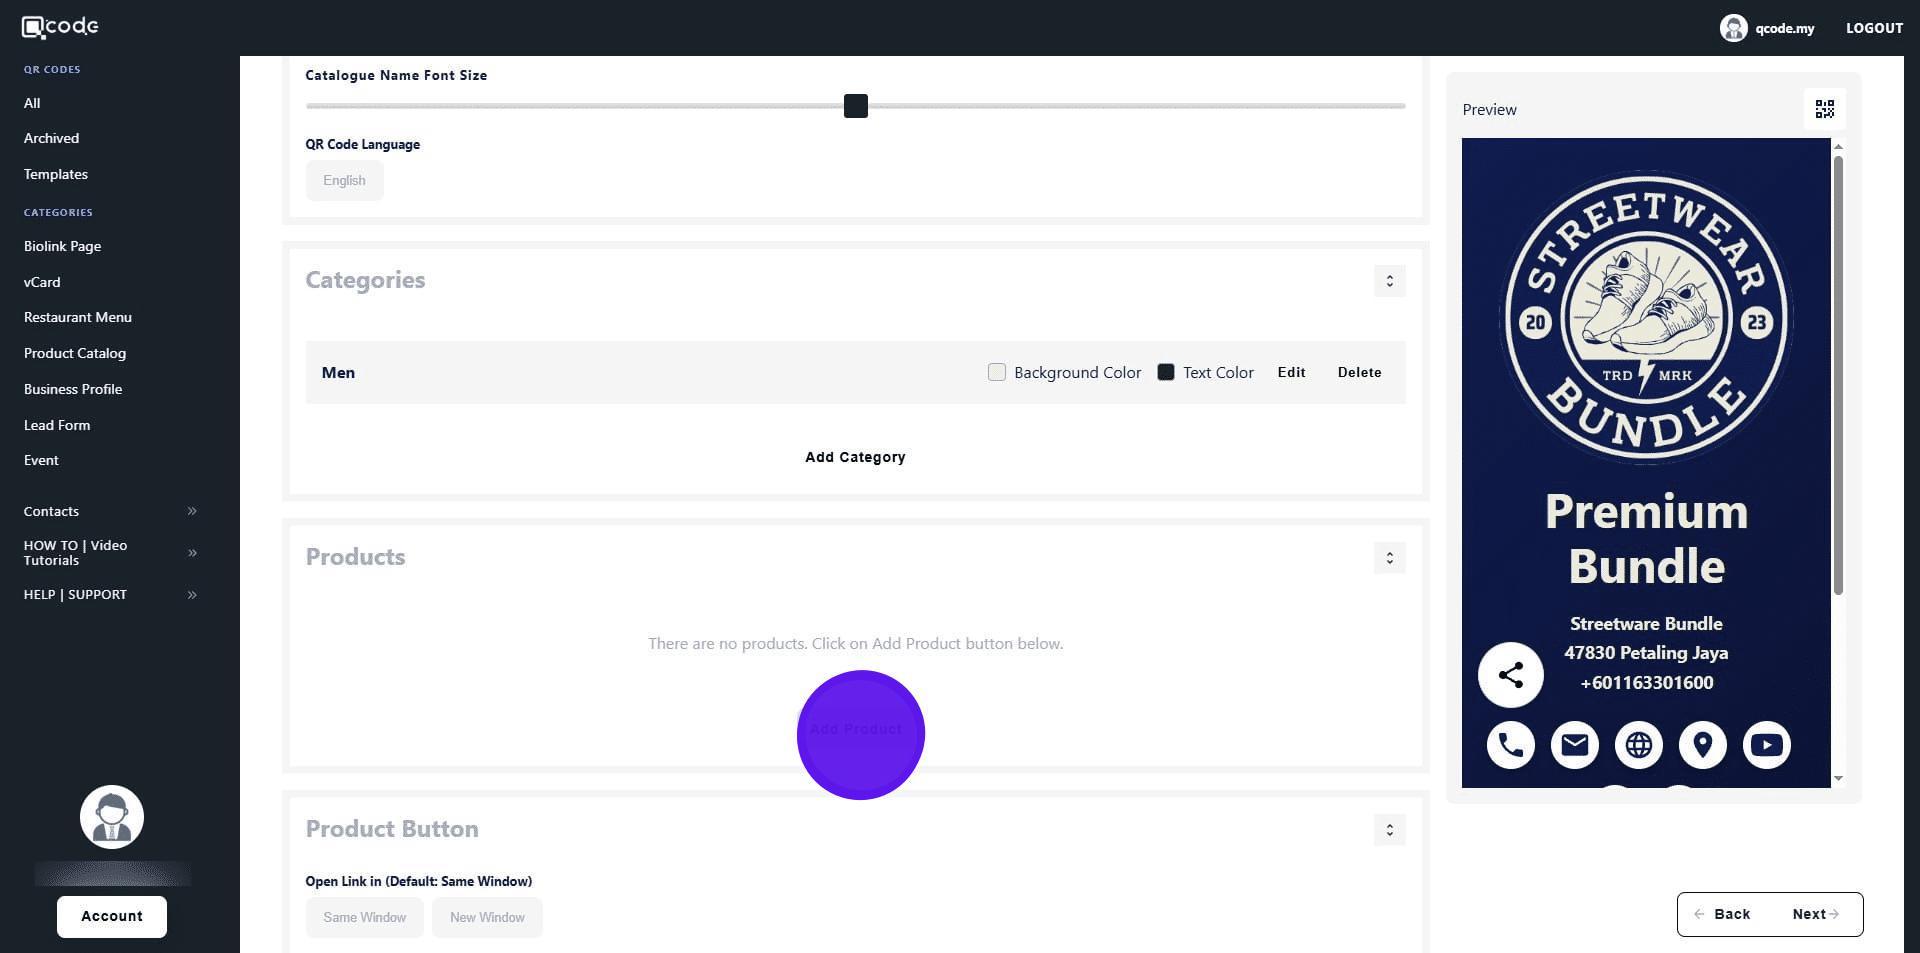
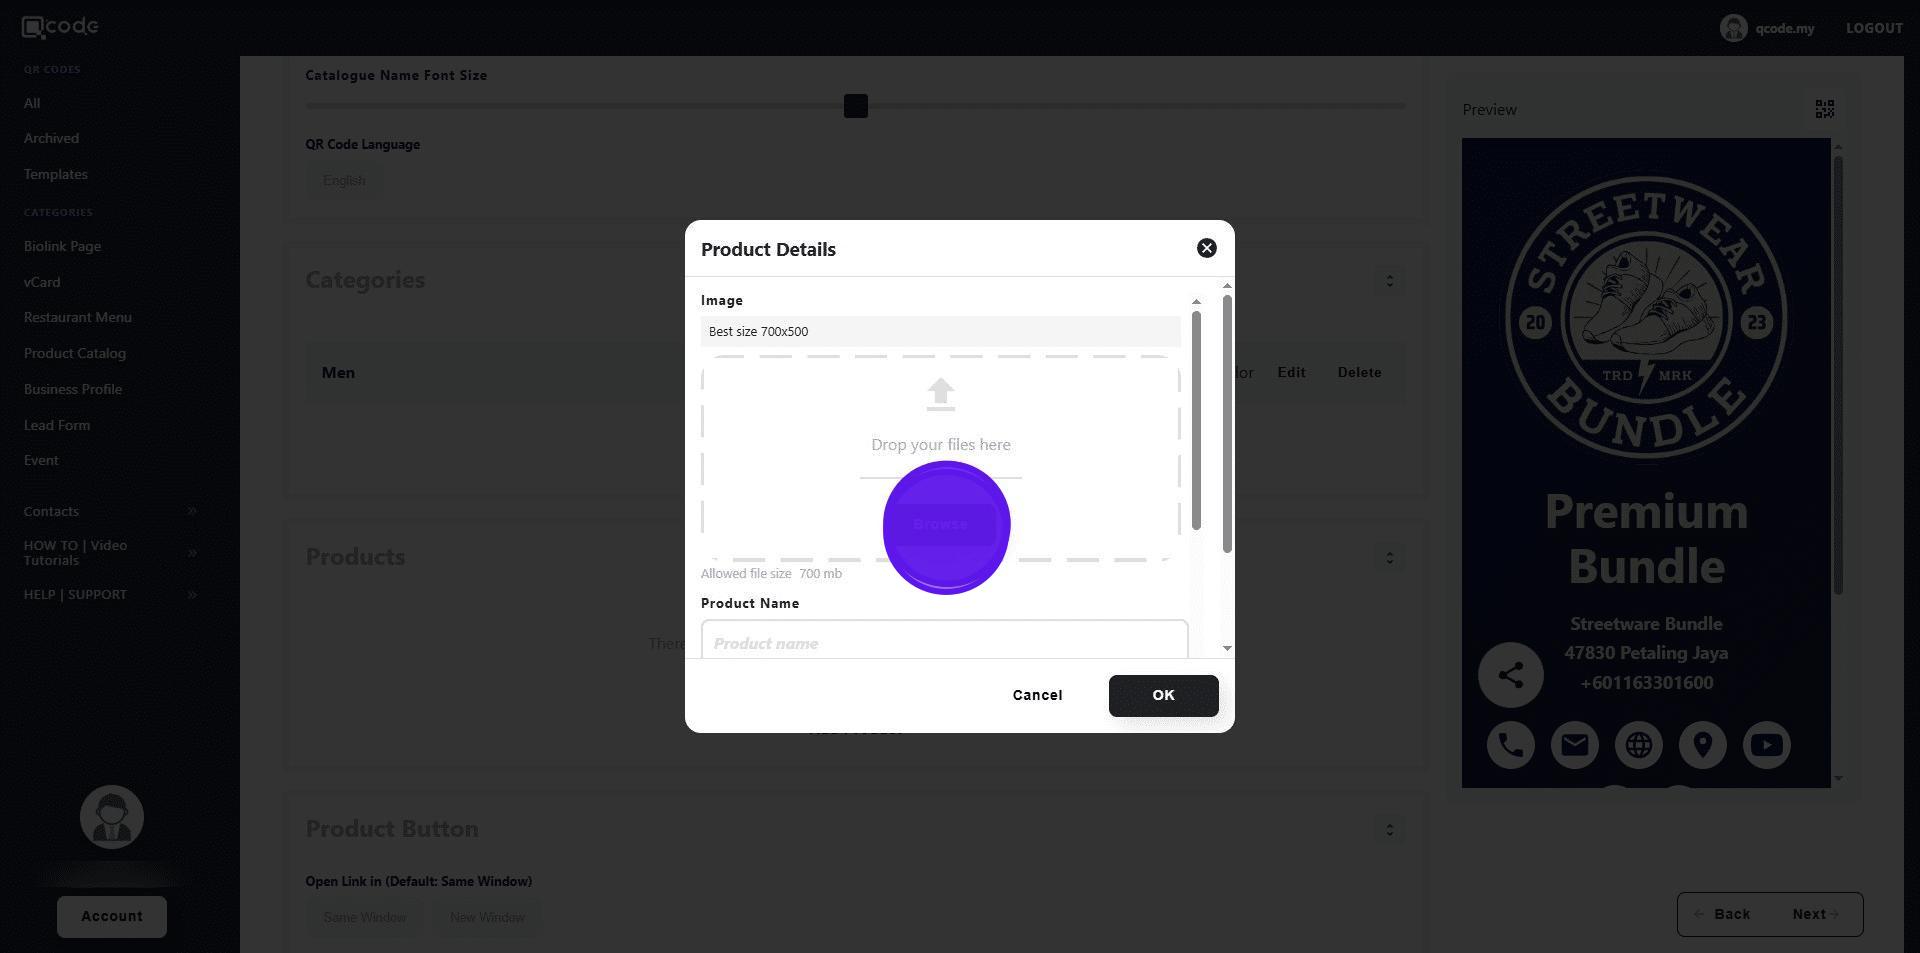
25. Click on Add Product to start adding your first product
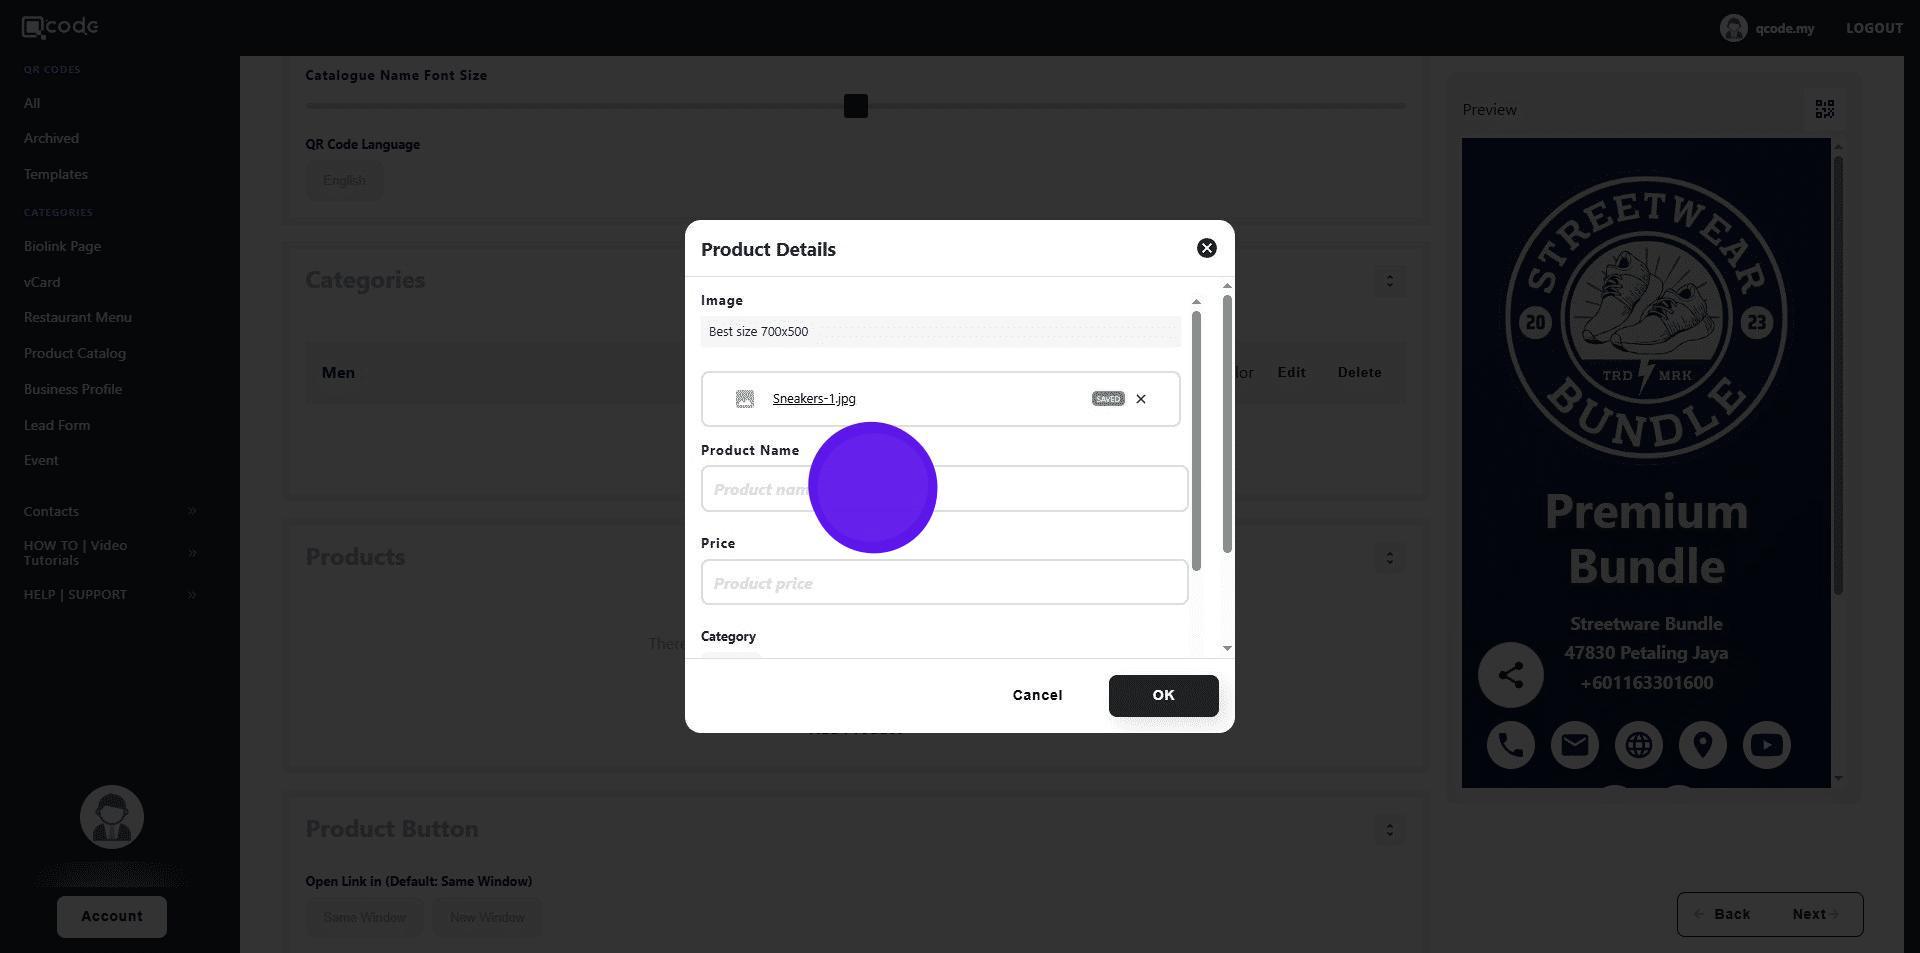
26. Click on Browse to upload your product image
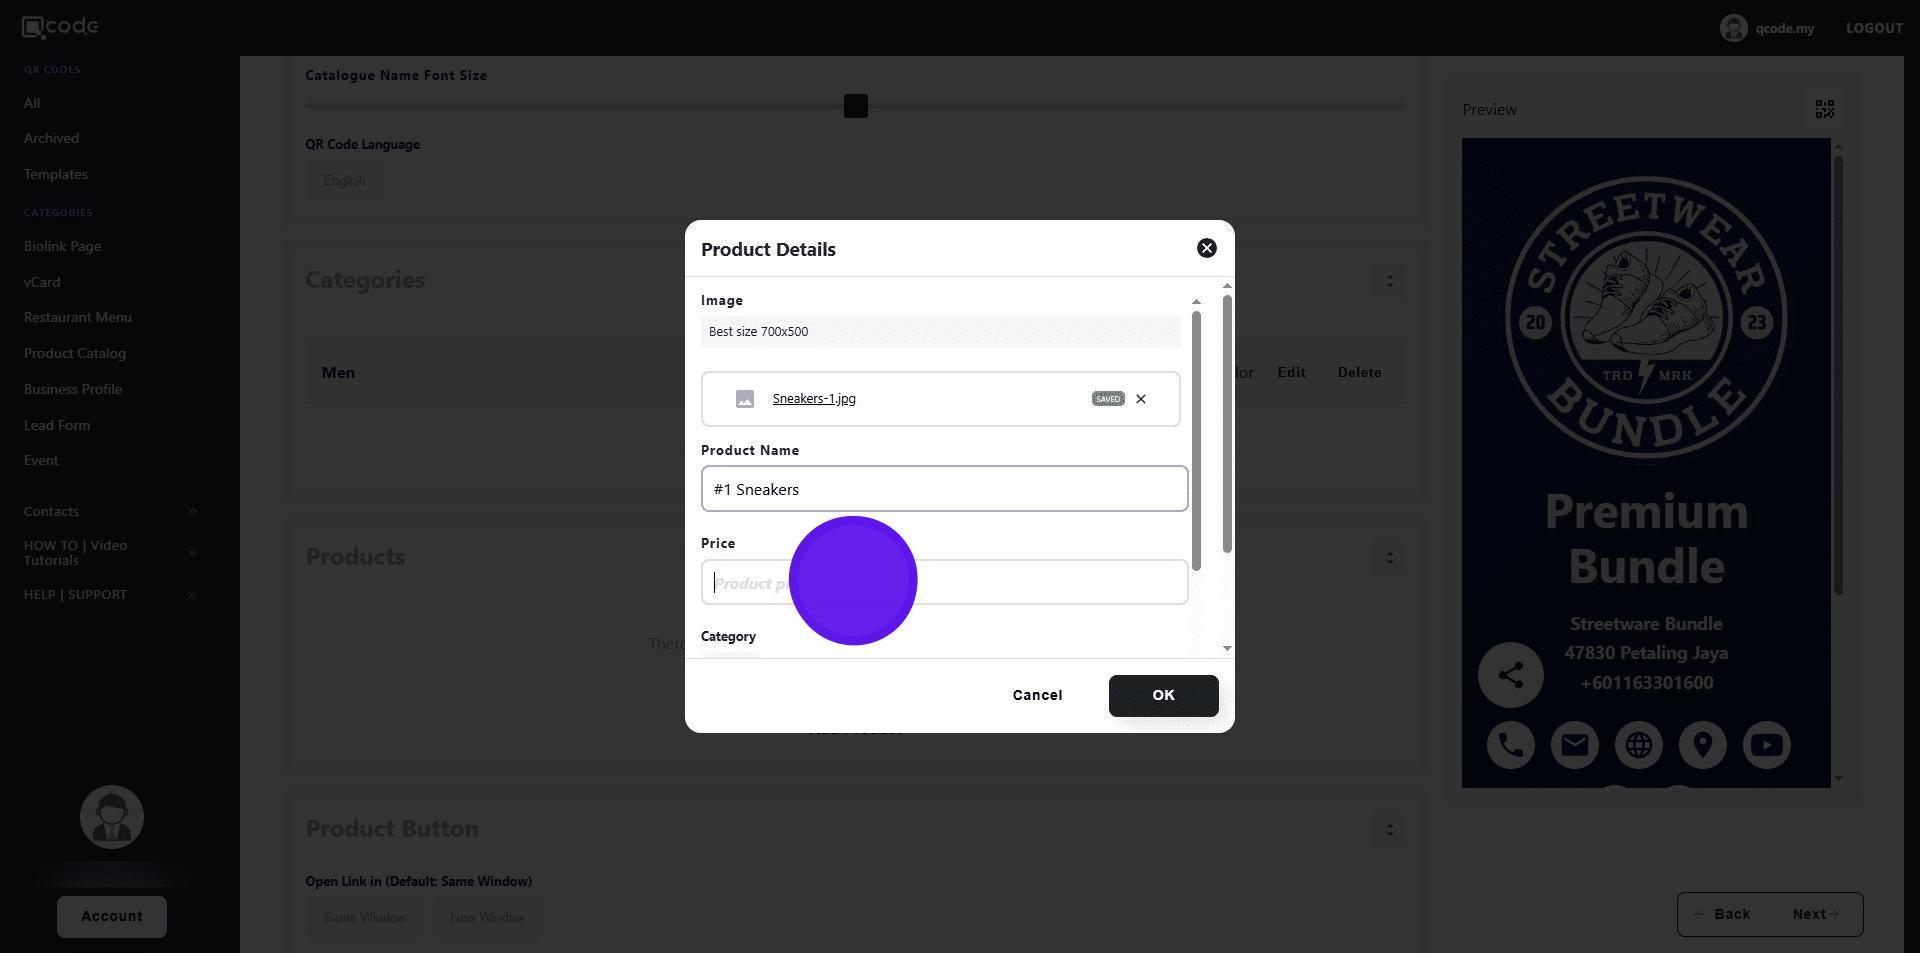
27. Type in the name of your product here
28. Type in the price of your product here
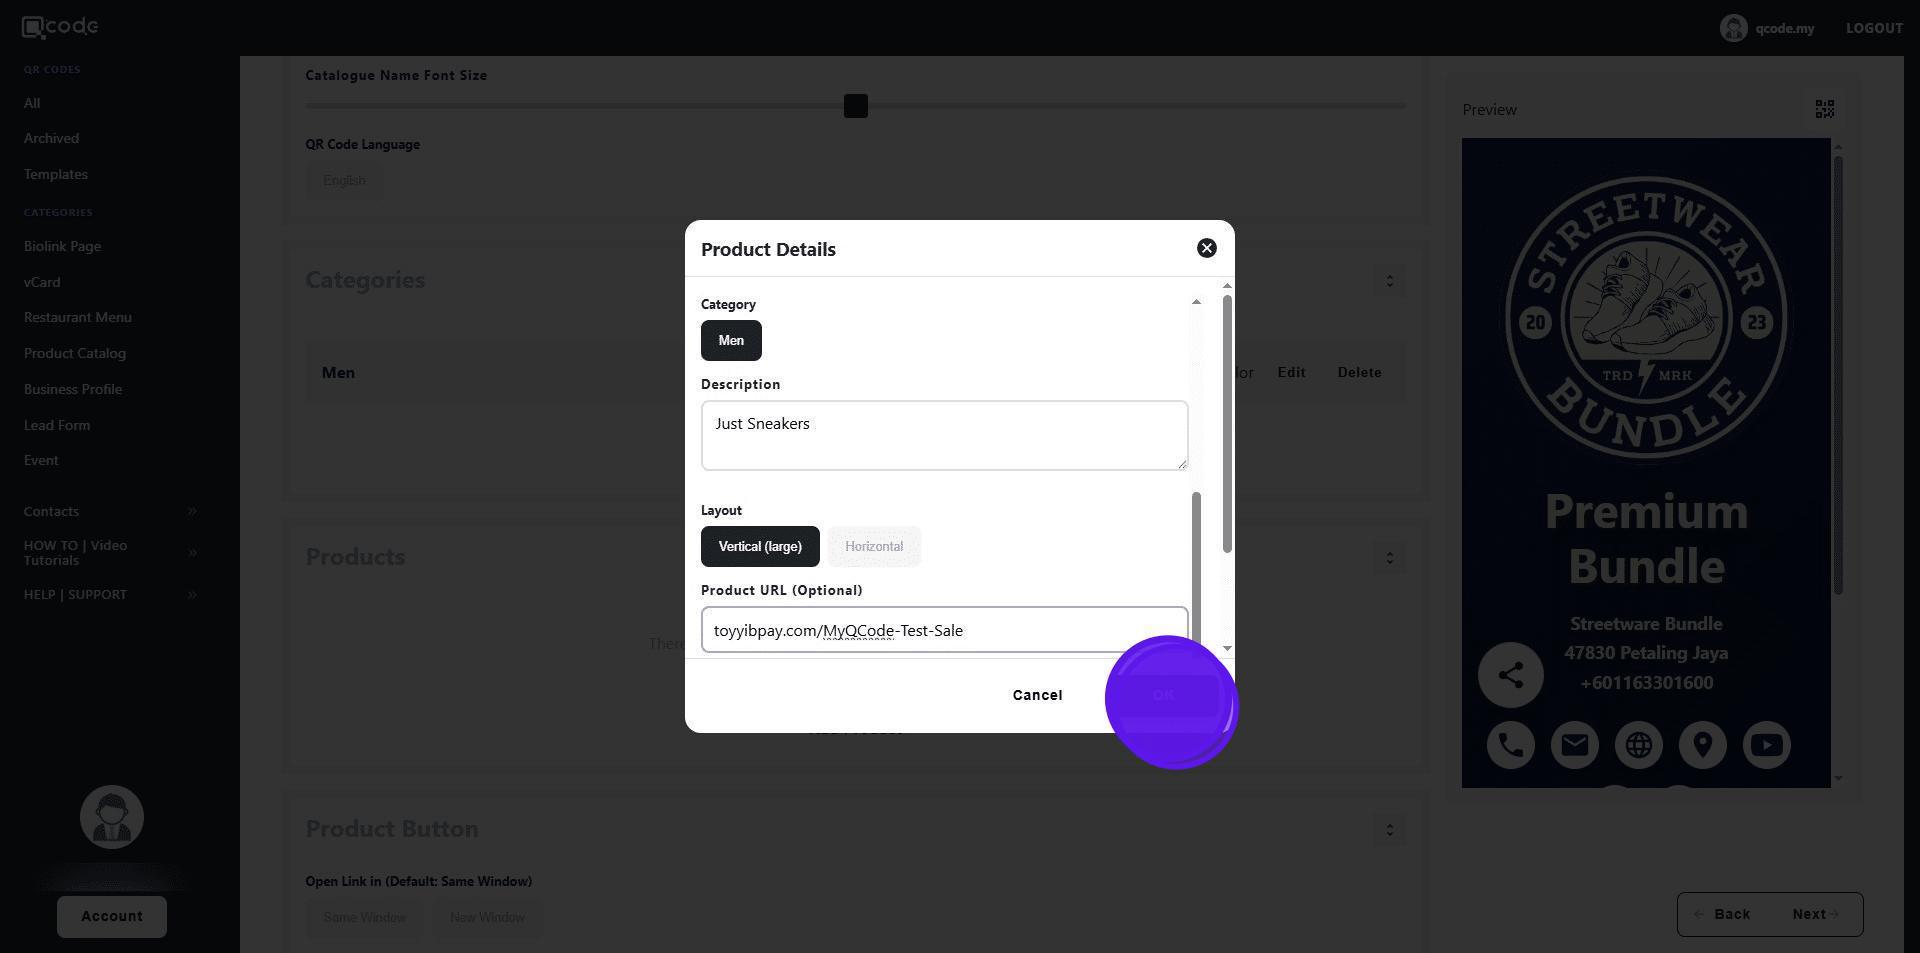
29. Choose a product category for your product
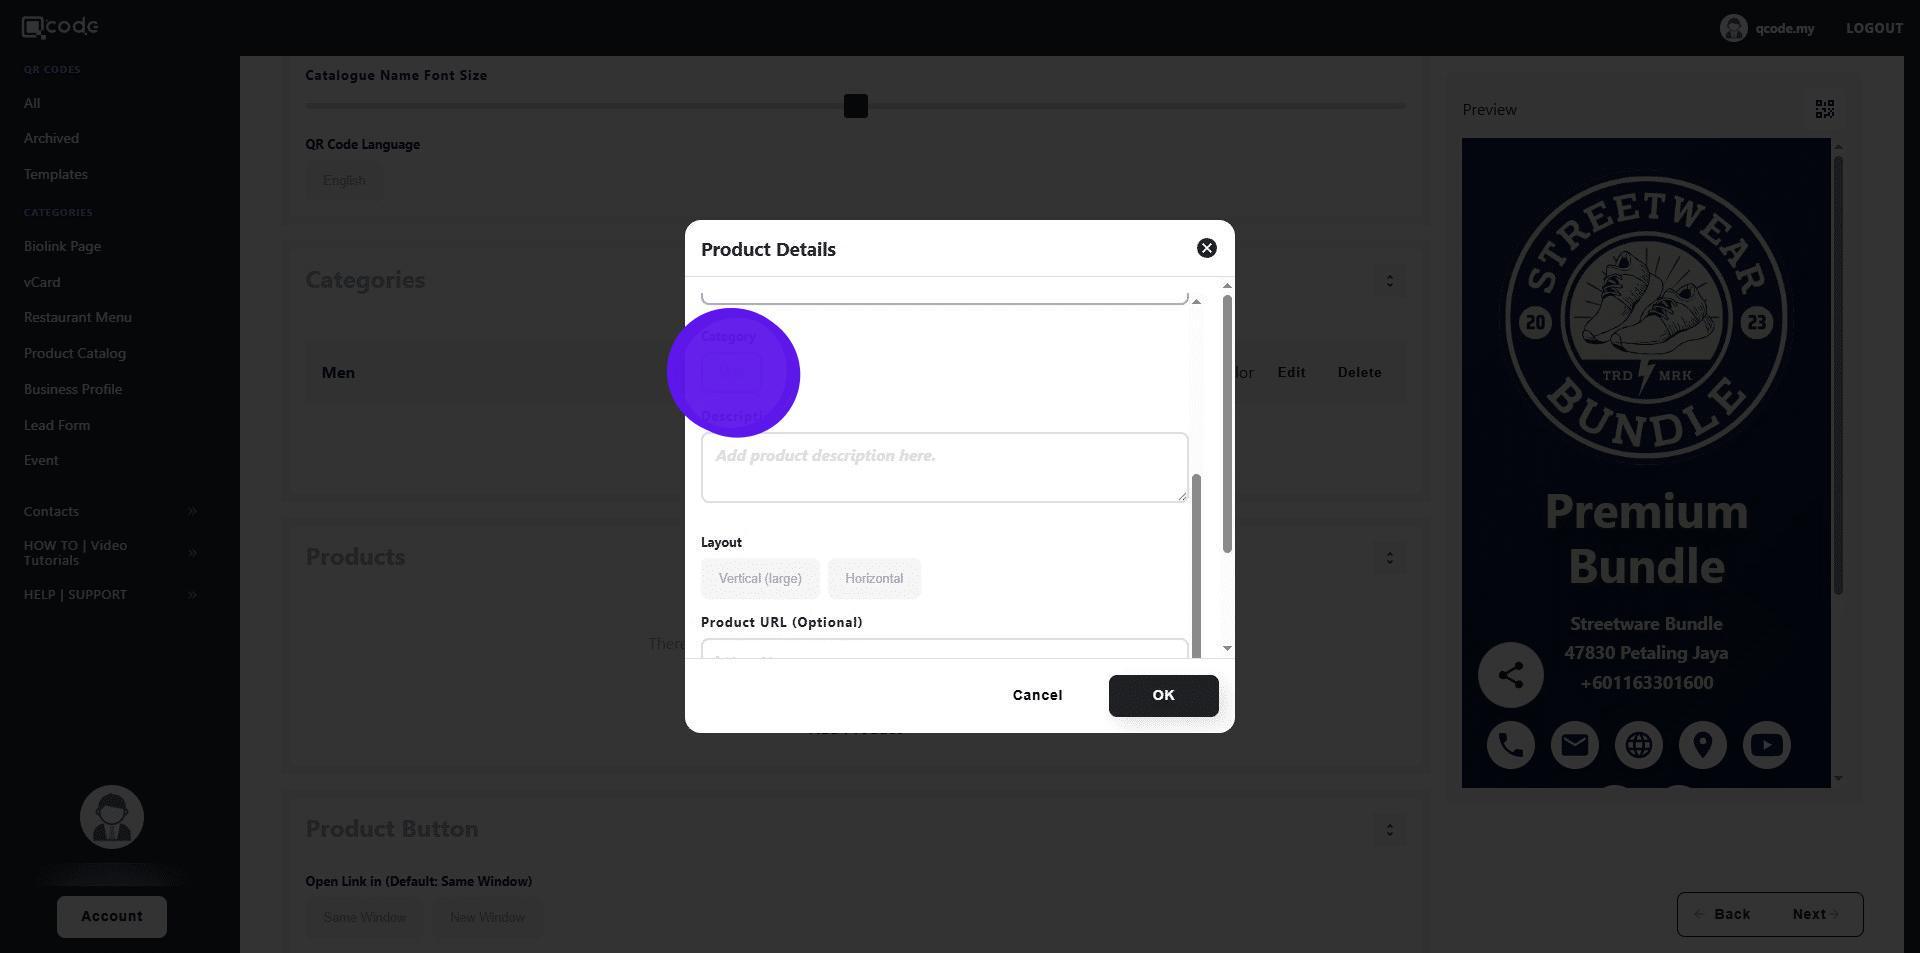
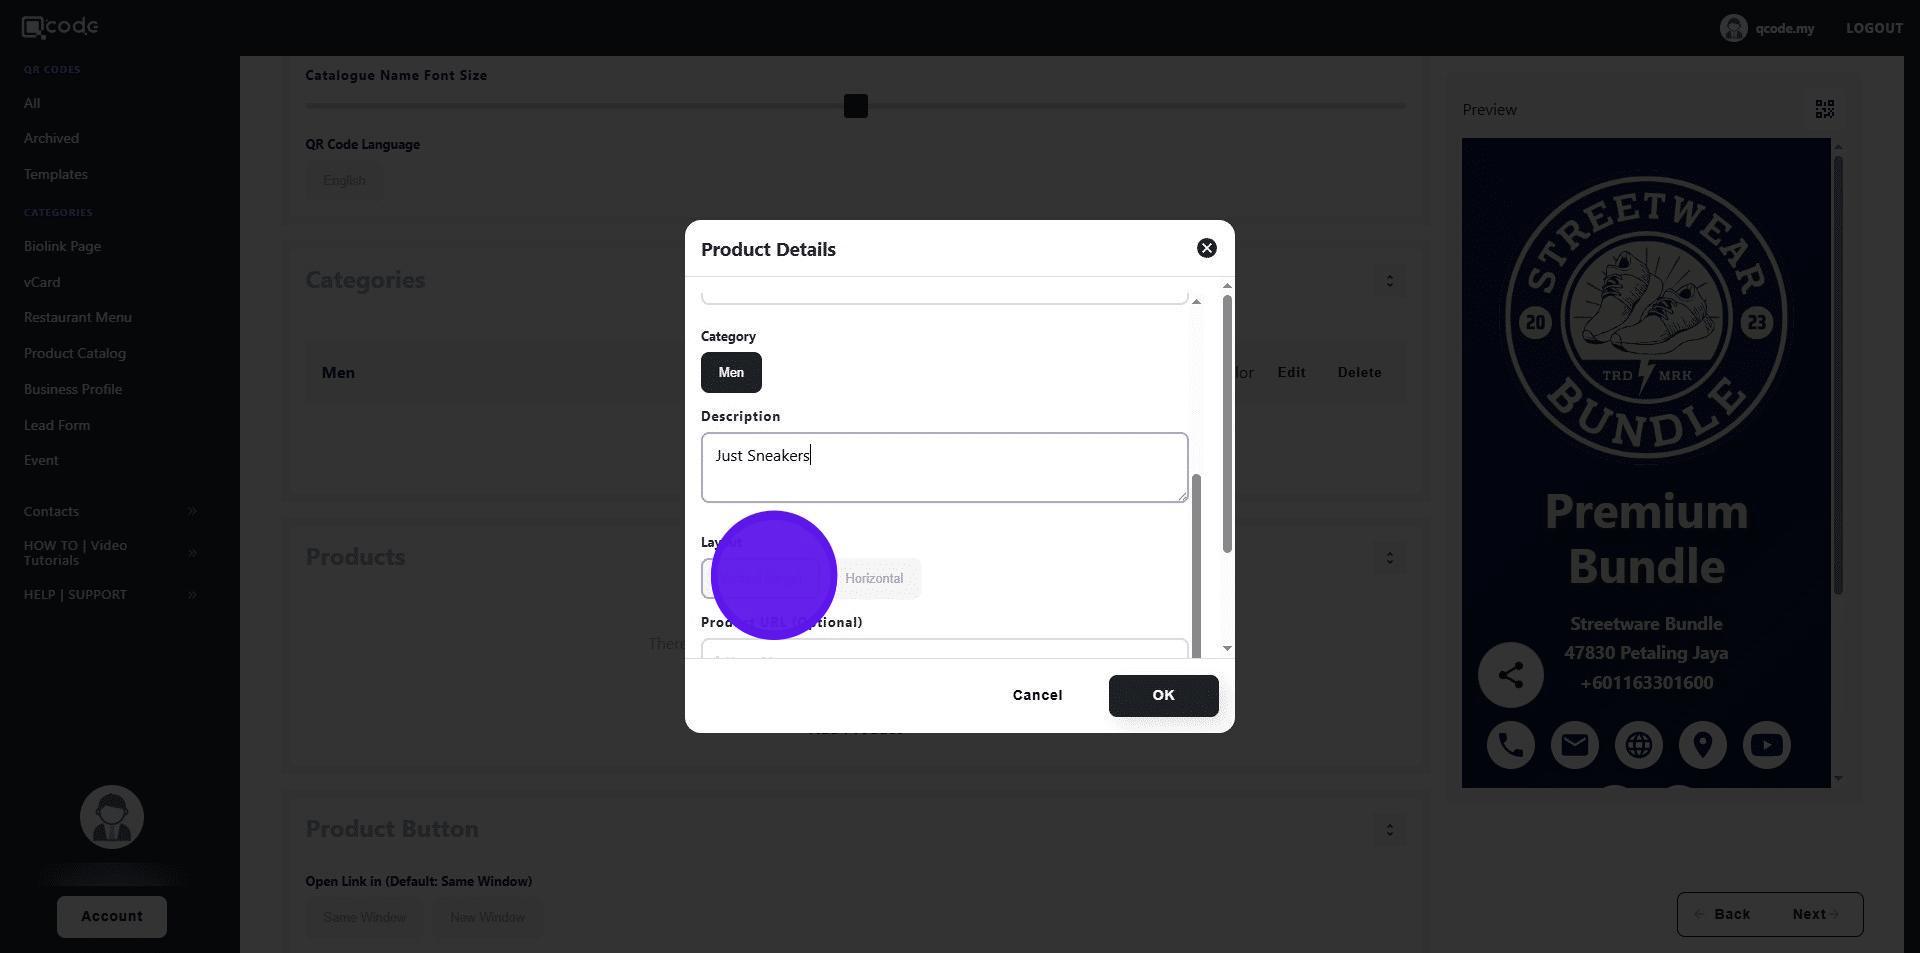
30. Type in the product description here

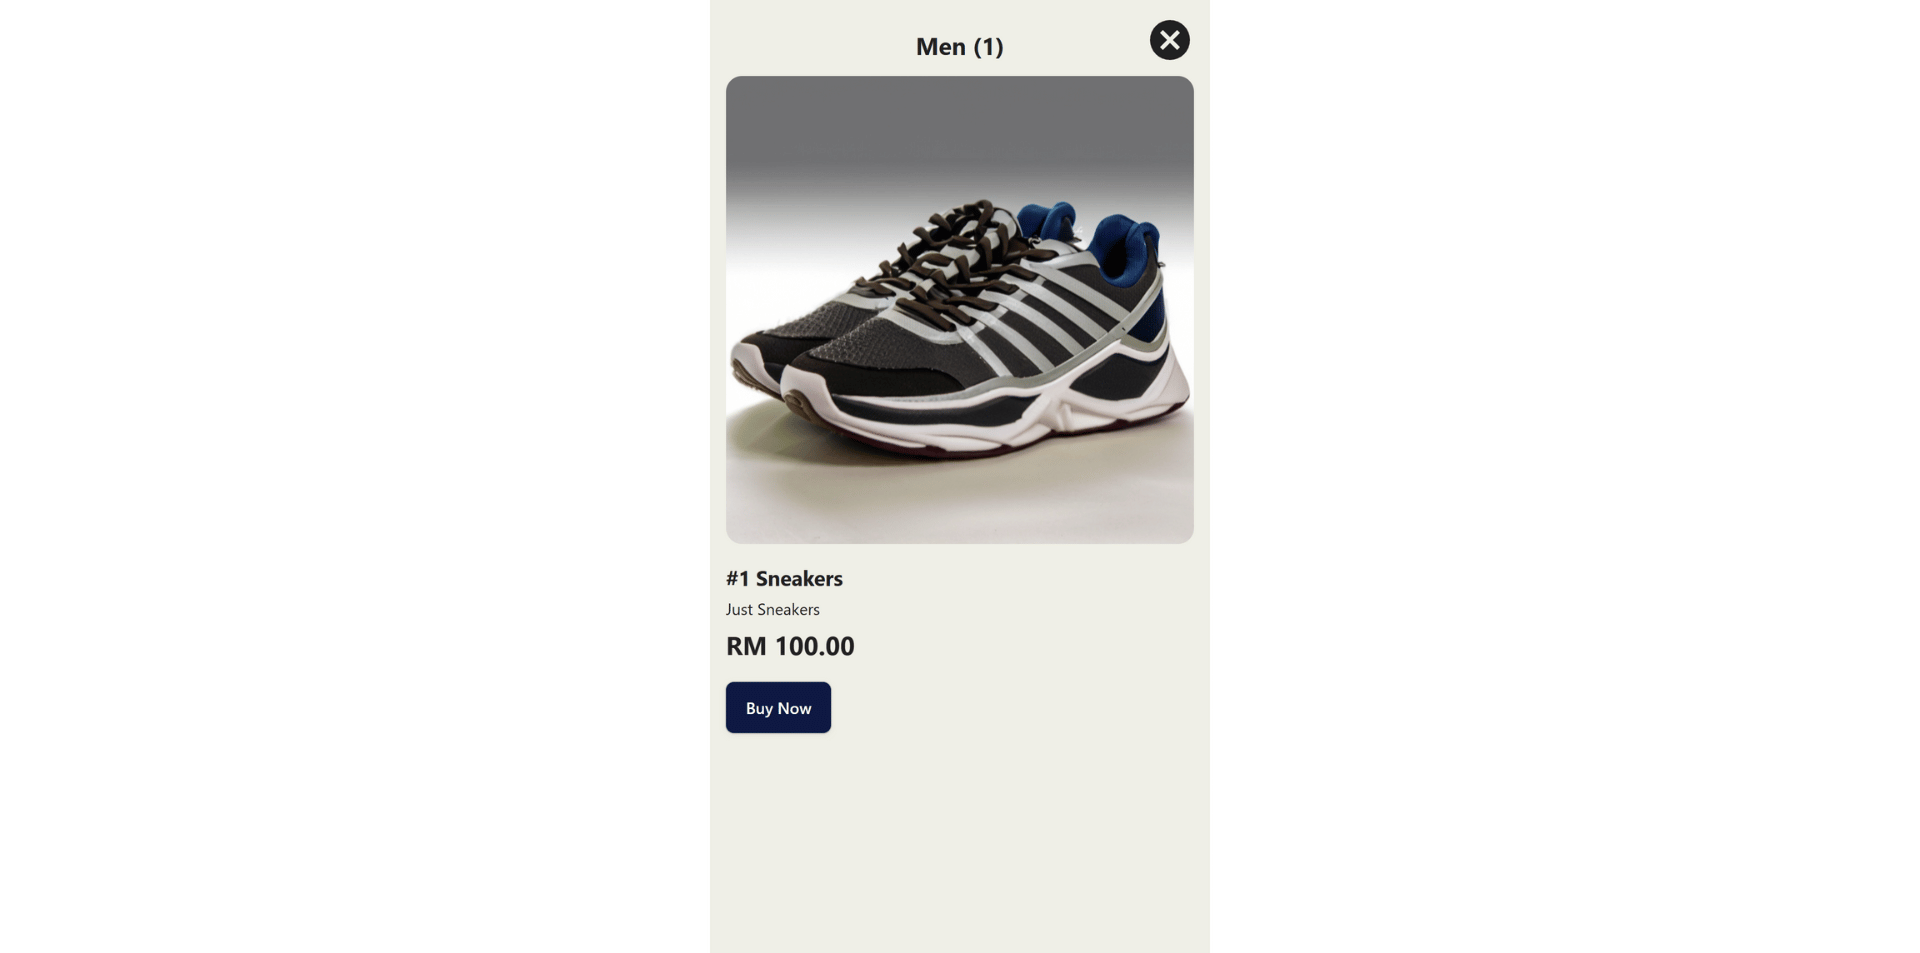
31. Choose your desired product layout
32. Vertical (large) layout will appear like this
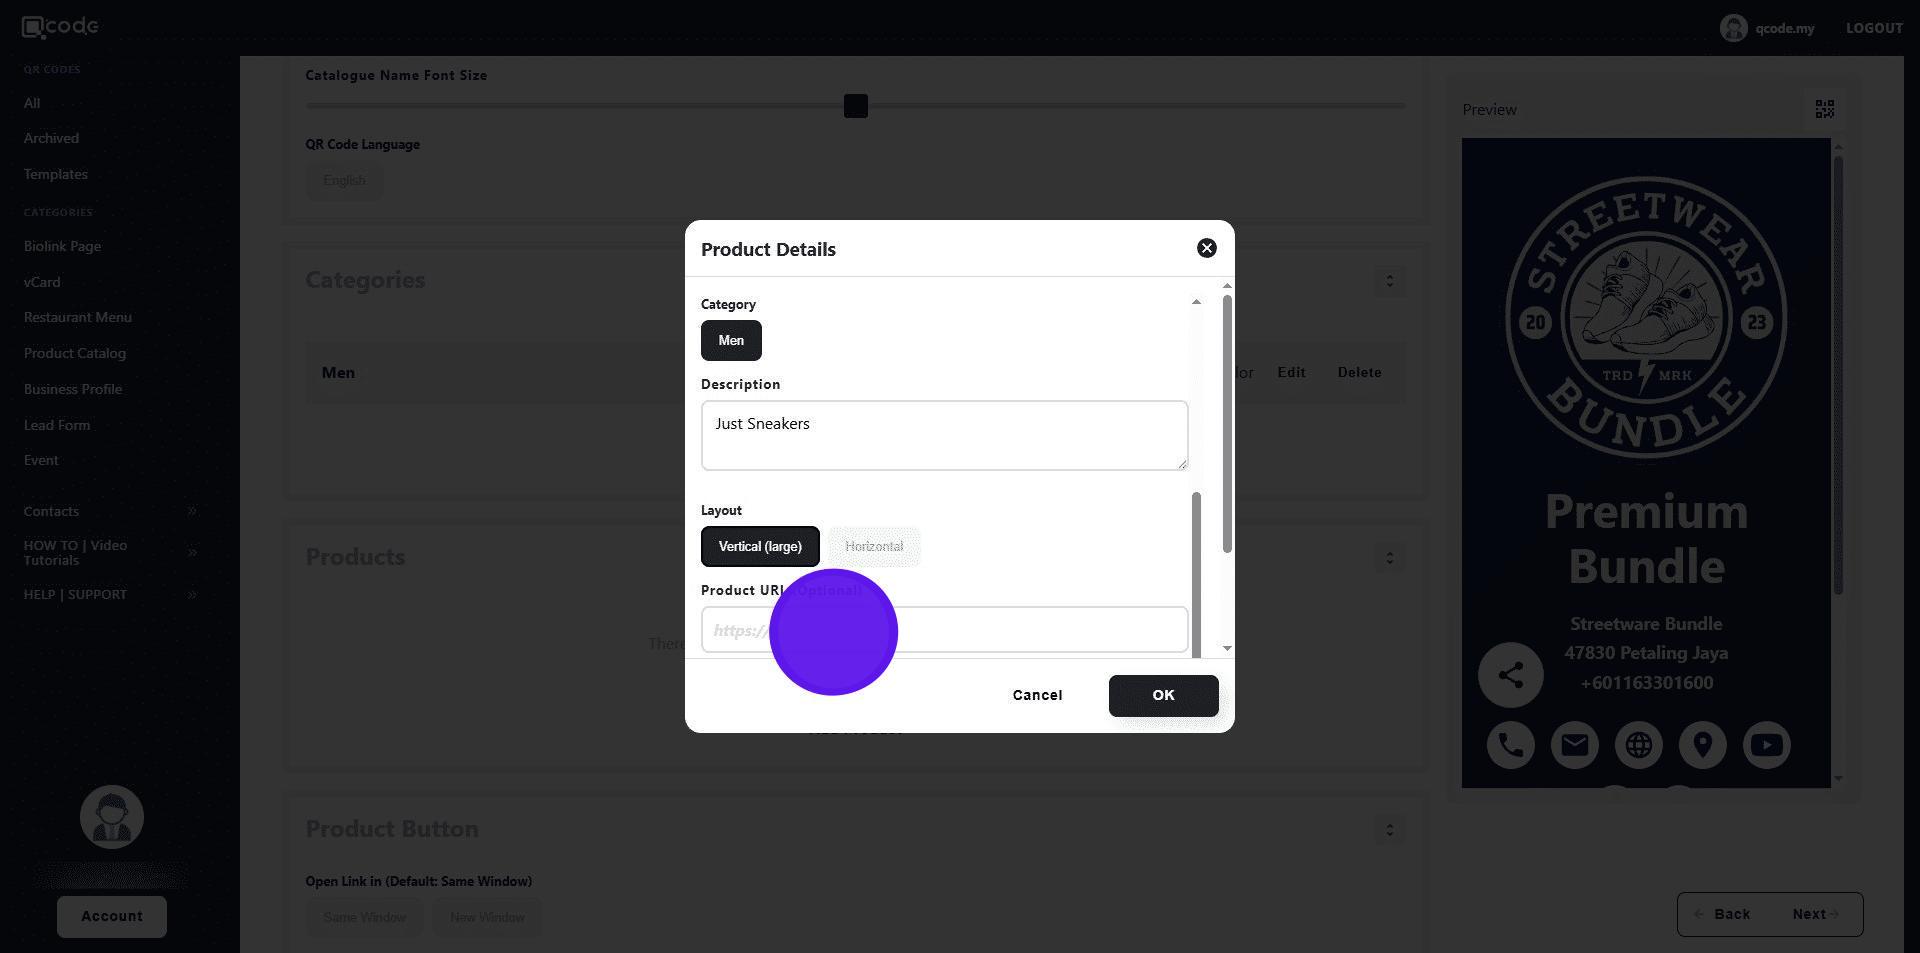
33. Insert an optional URL for your product
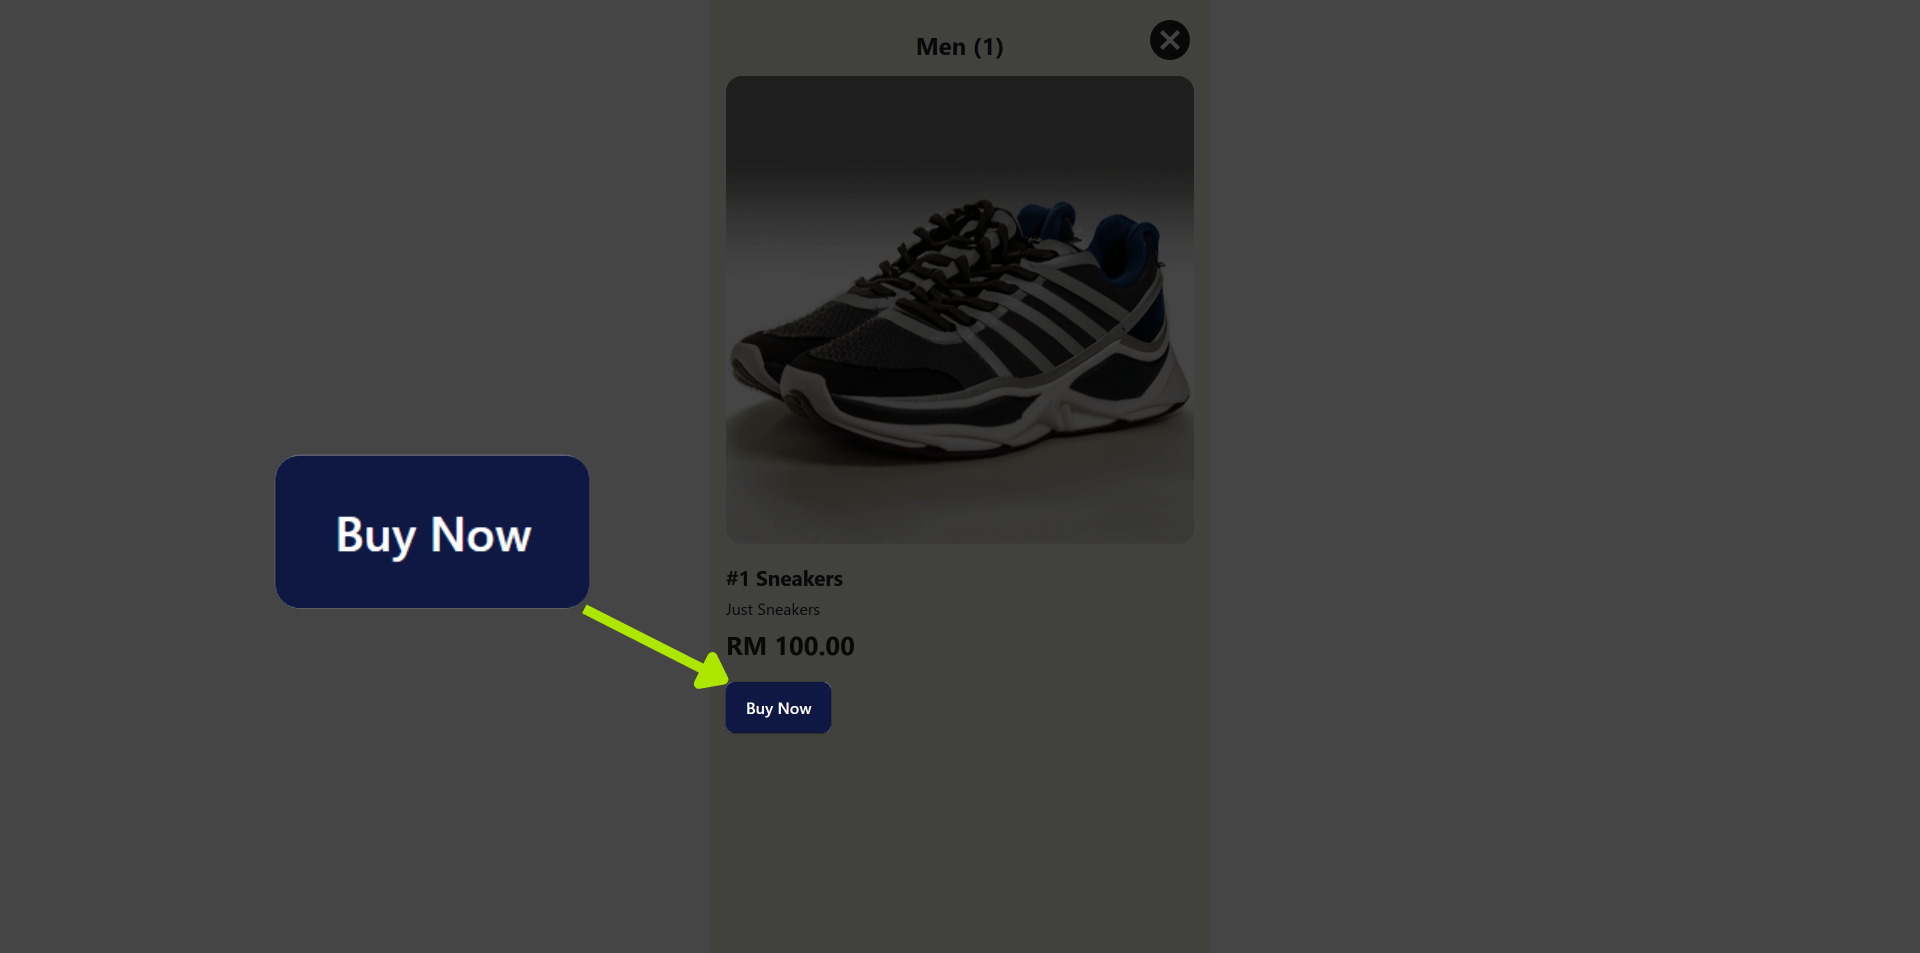
34. The product URL will be applied to this button
35. Click on OK to finish adding your product
36. Click on New Window have the button to open to a new window upon clicking
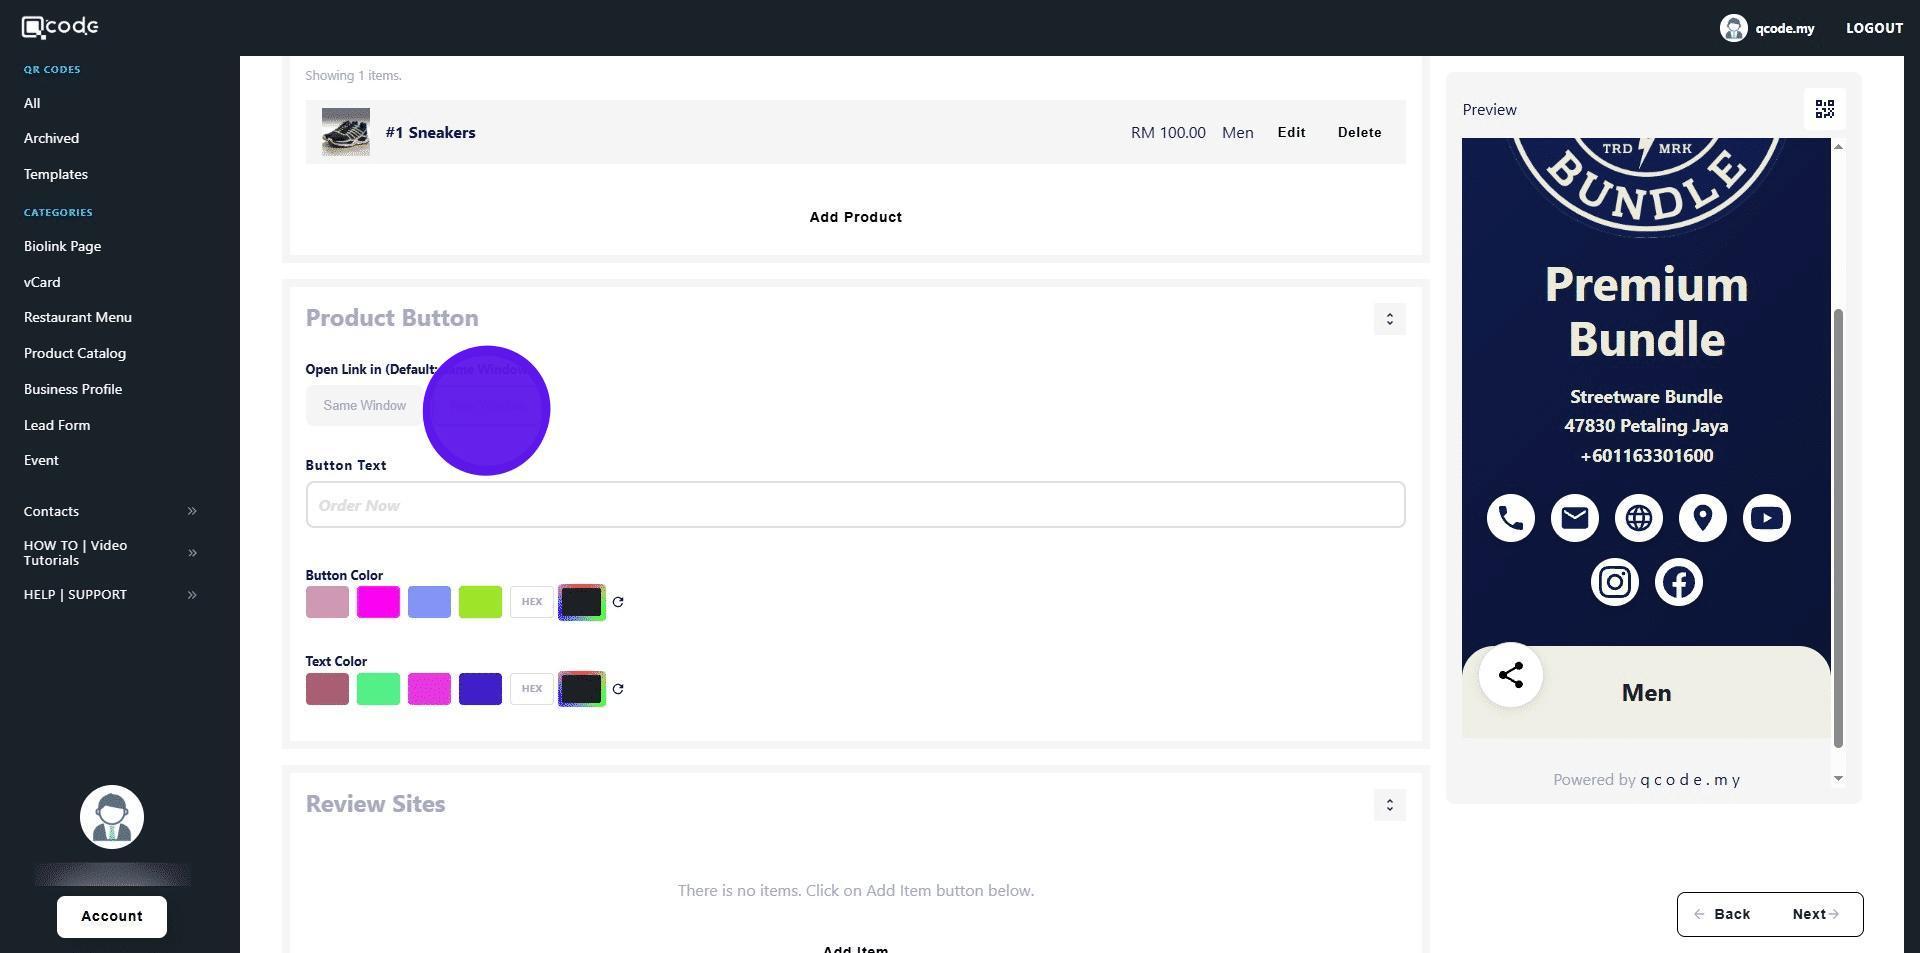
37. Type in the text for the product button here
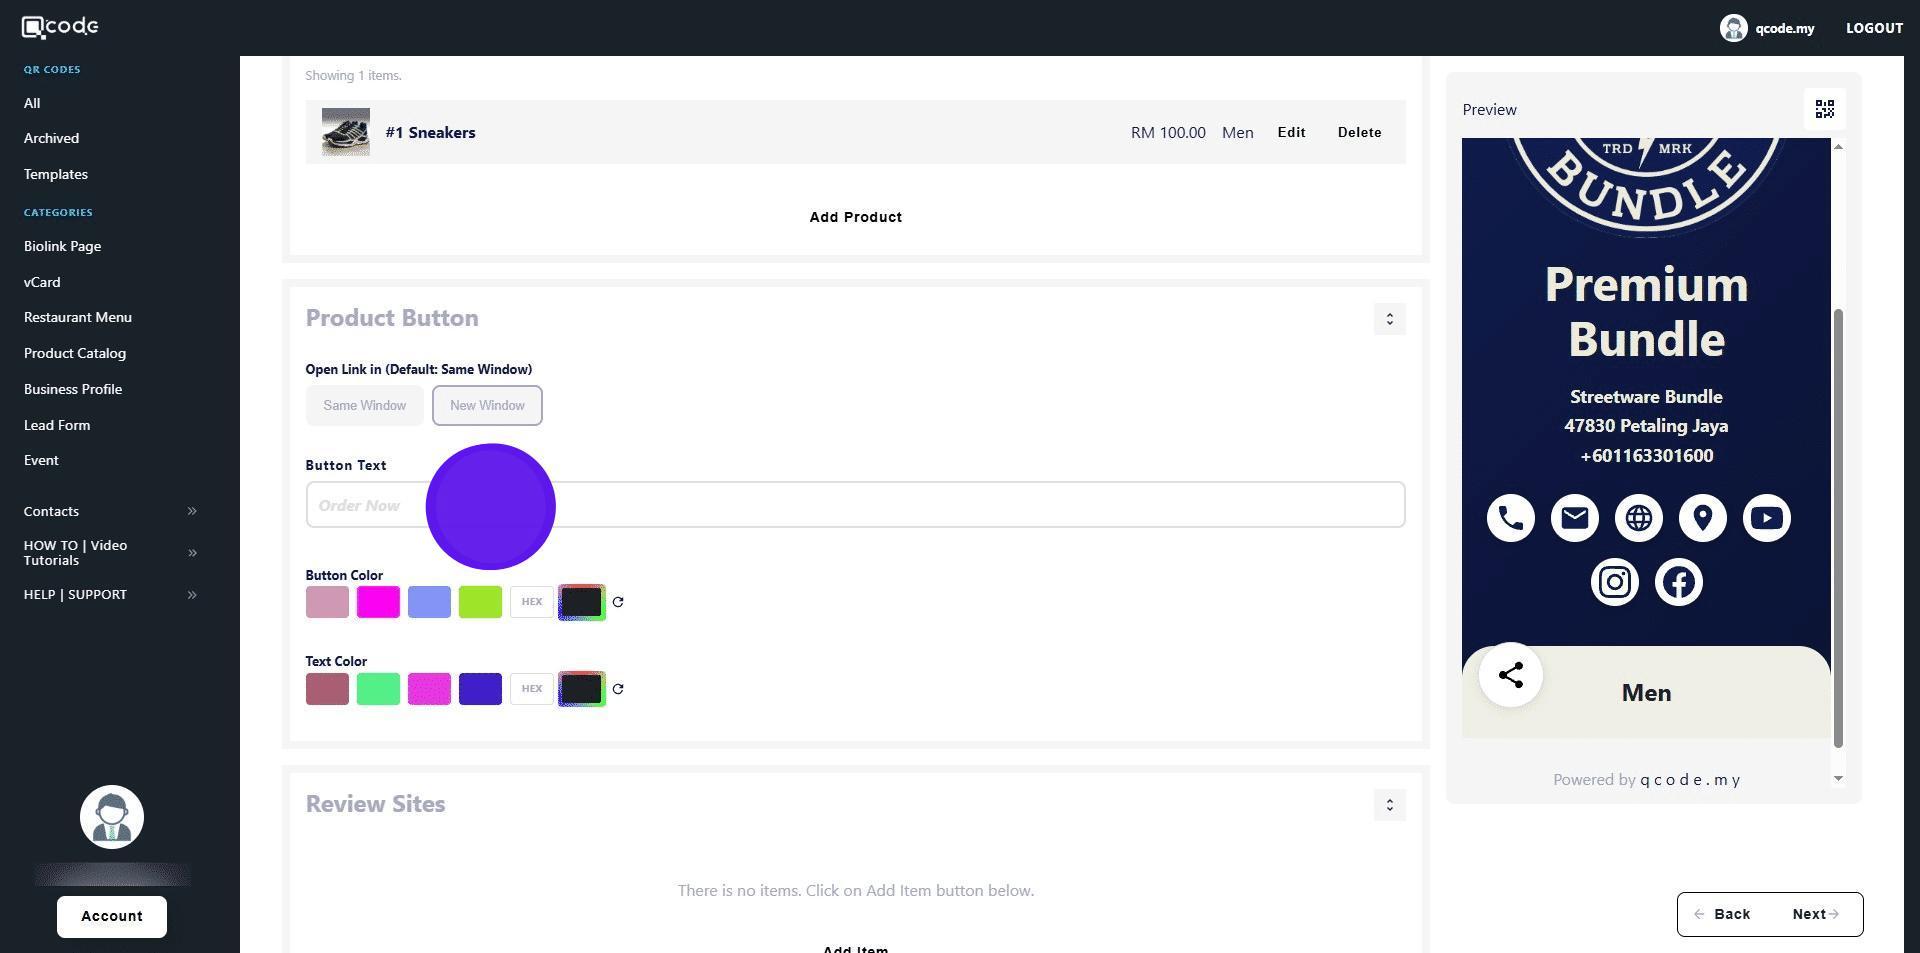
38. The product button text will be applied here

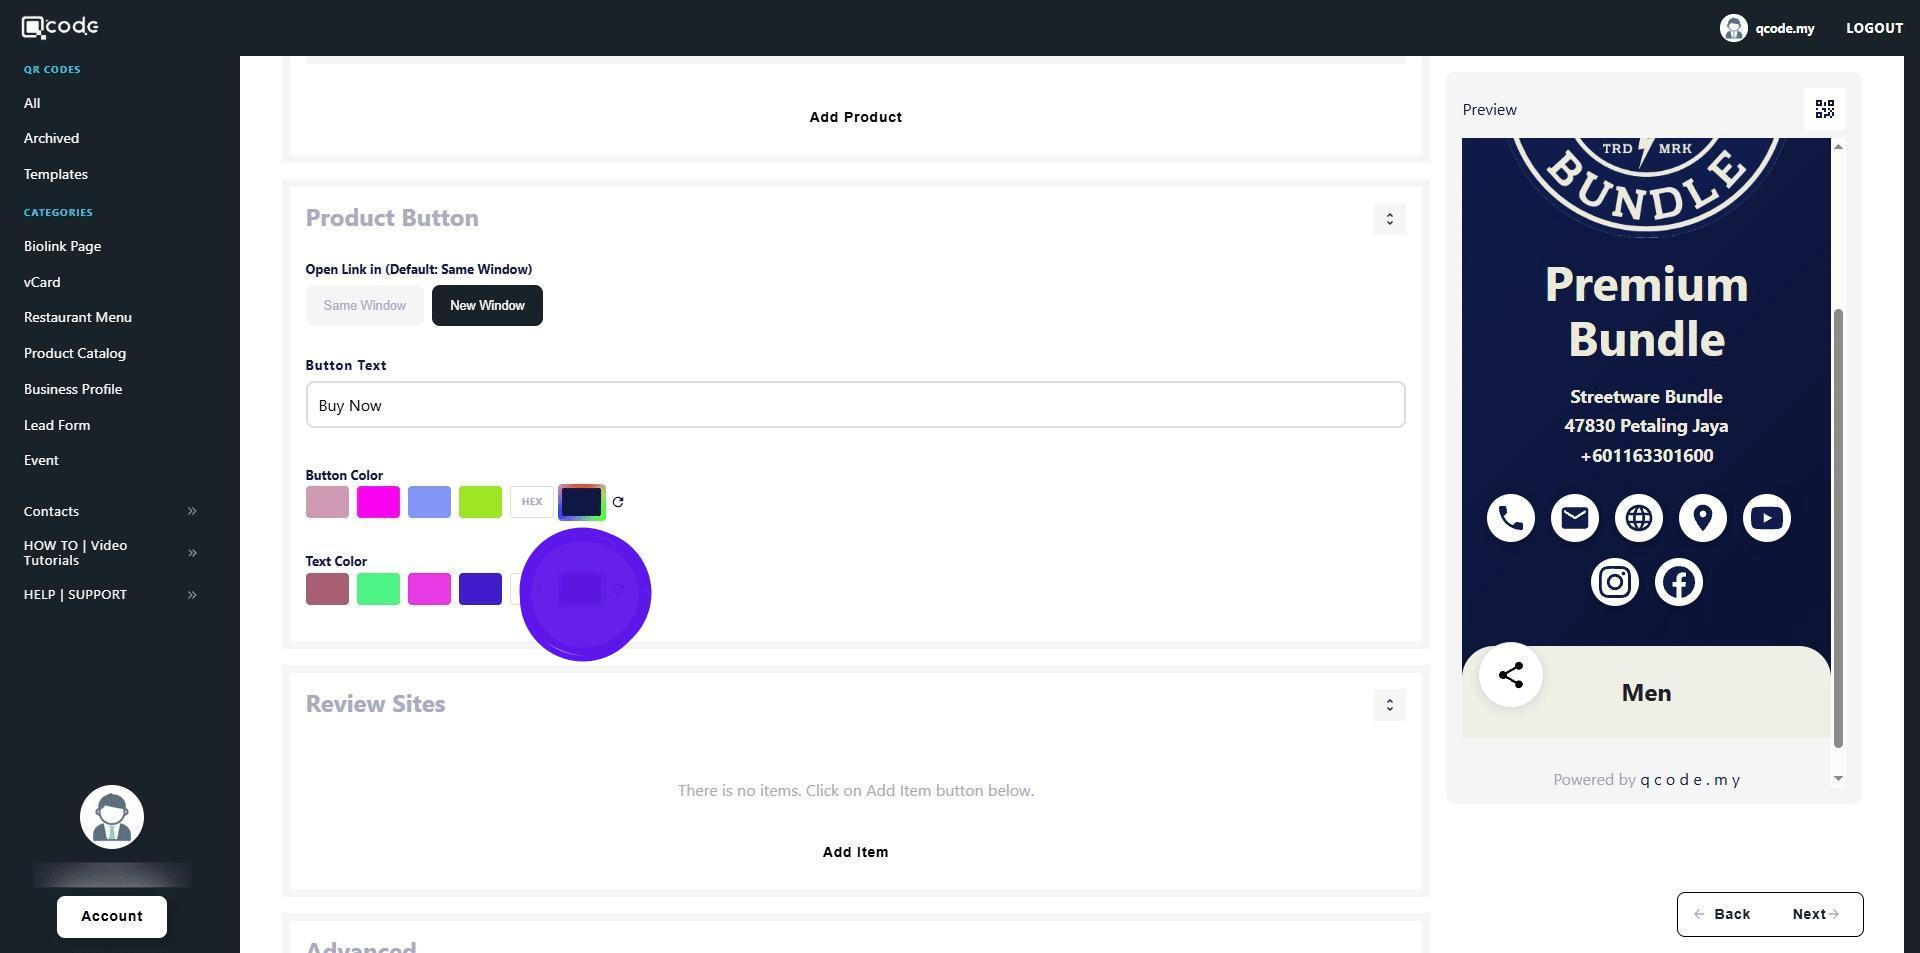
39. Click here to change the Button Color
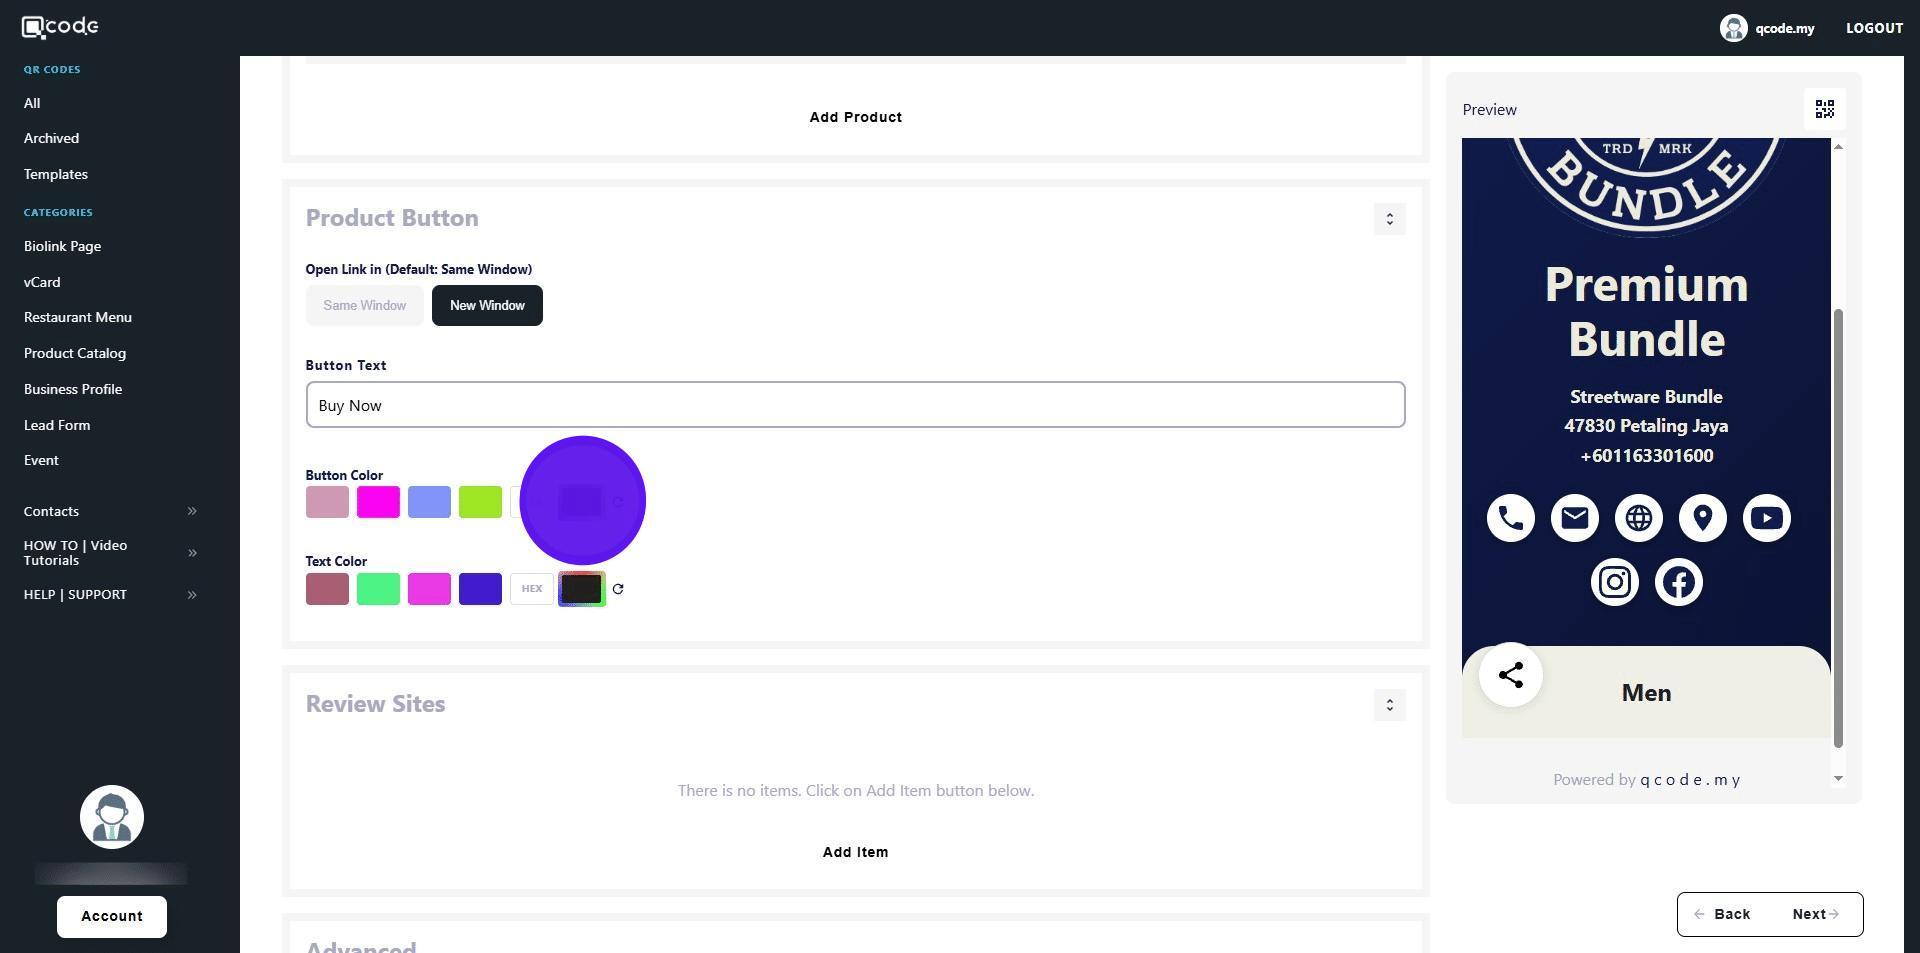
40. Click here to change the Text Color
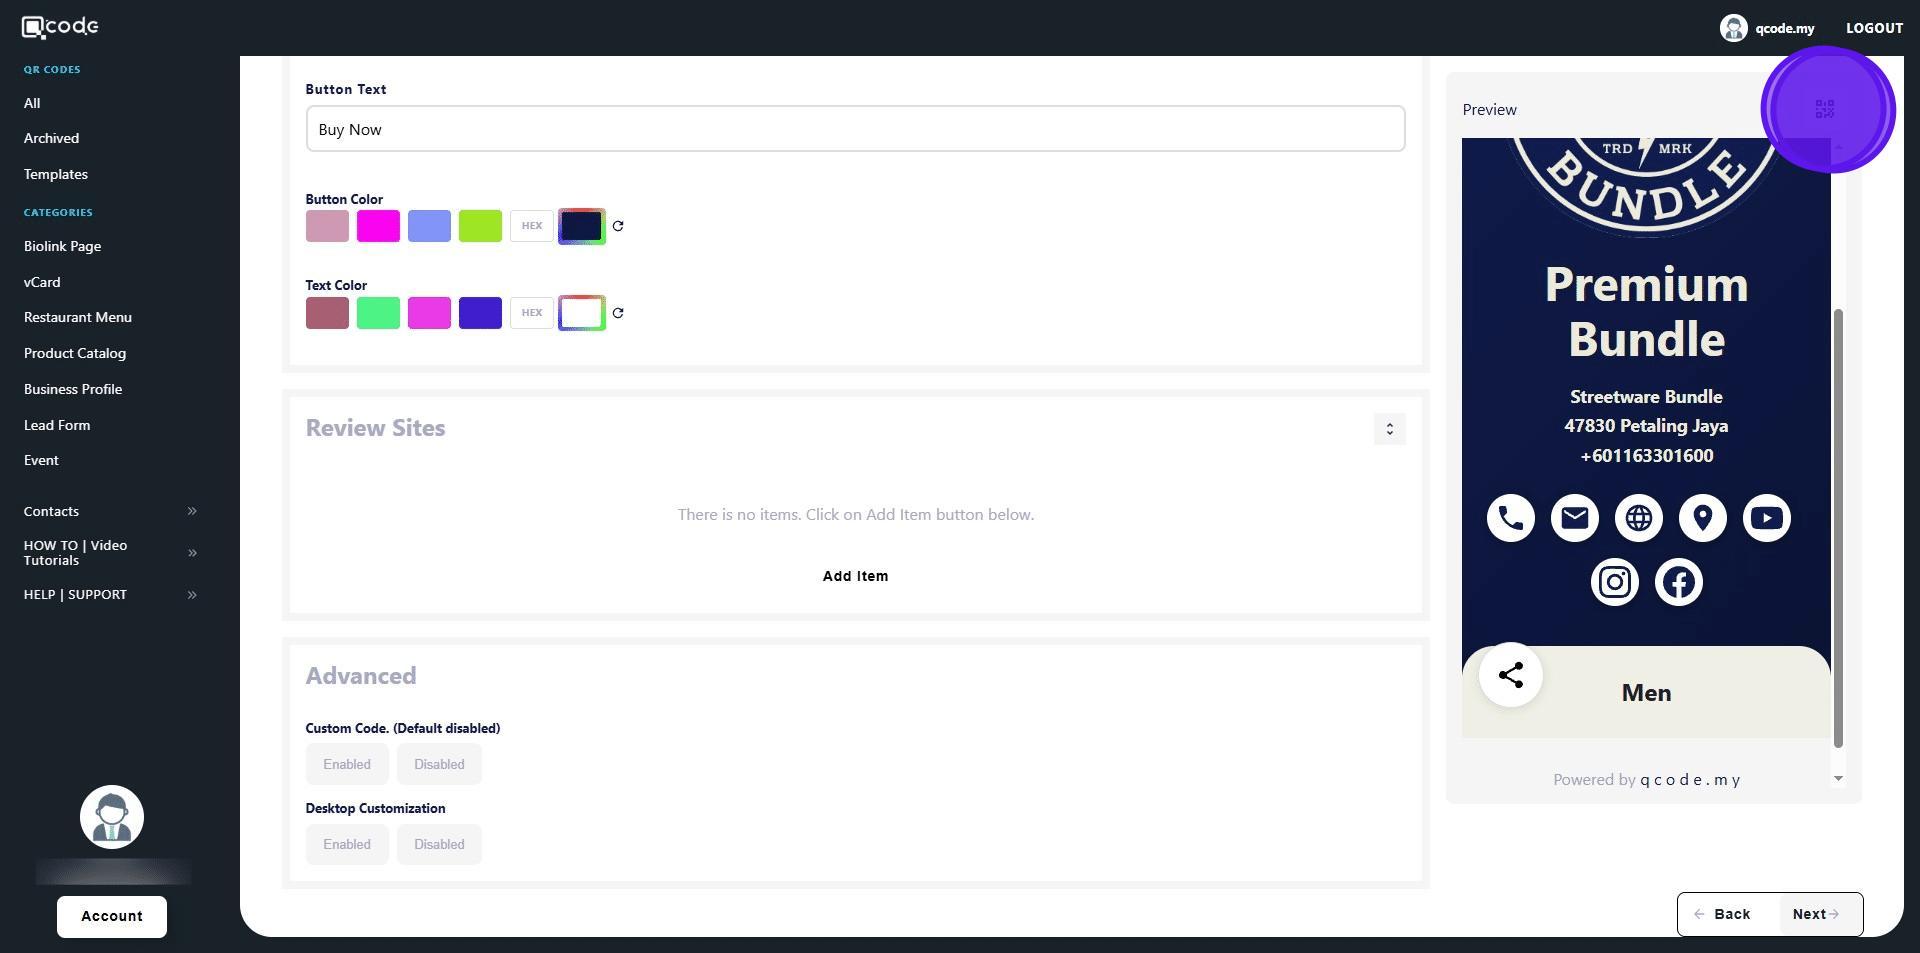
41. Click on the QR Code button to customize your QR Code Click on the link to learn more: https://kb.imoolah.network/guides/YUFgbQ5mkC4Zy2JfZH25
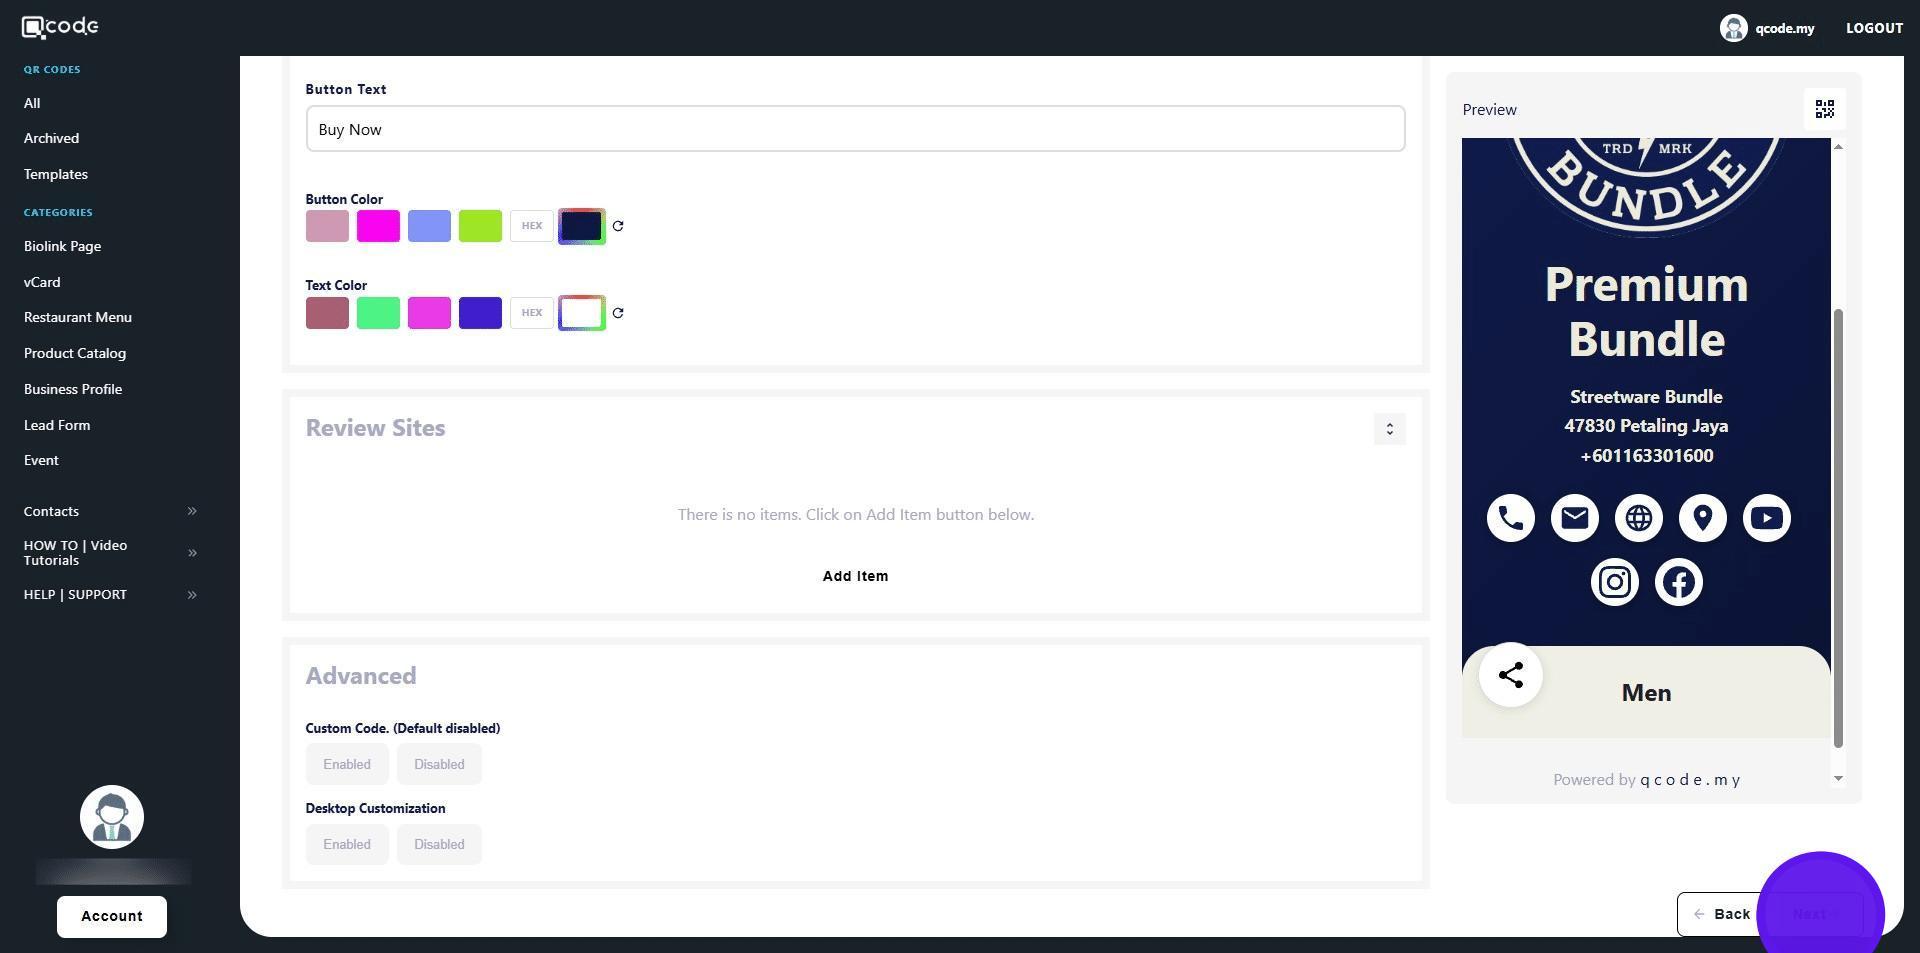
42. Click on Next to move to the final section
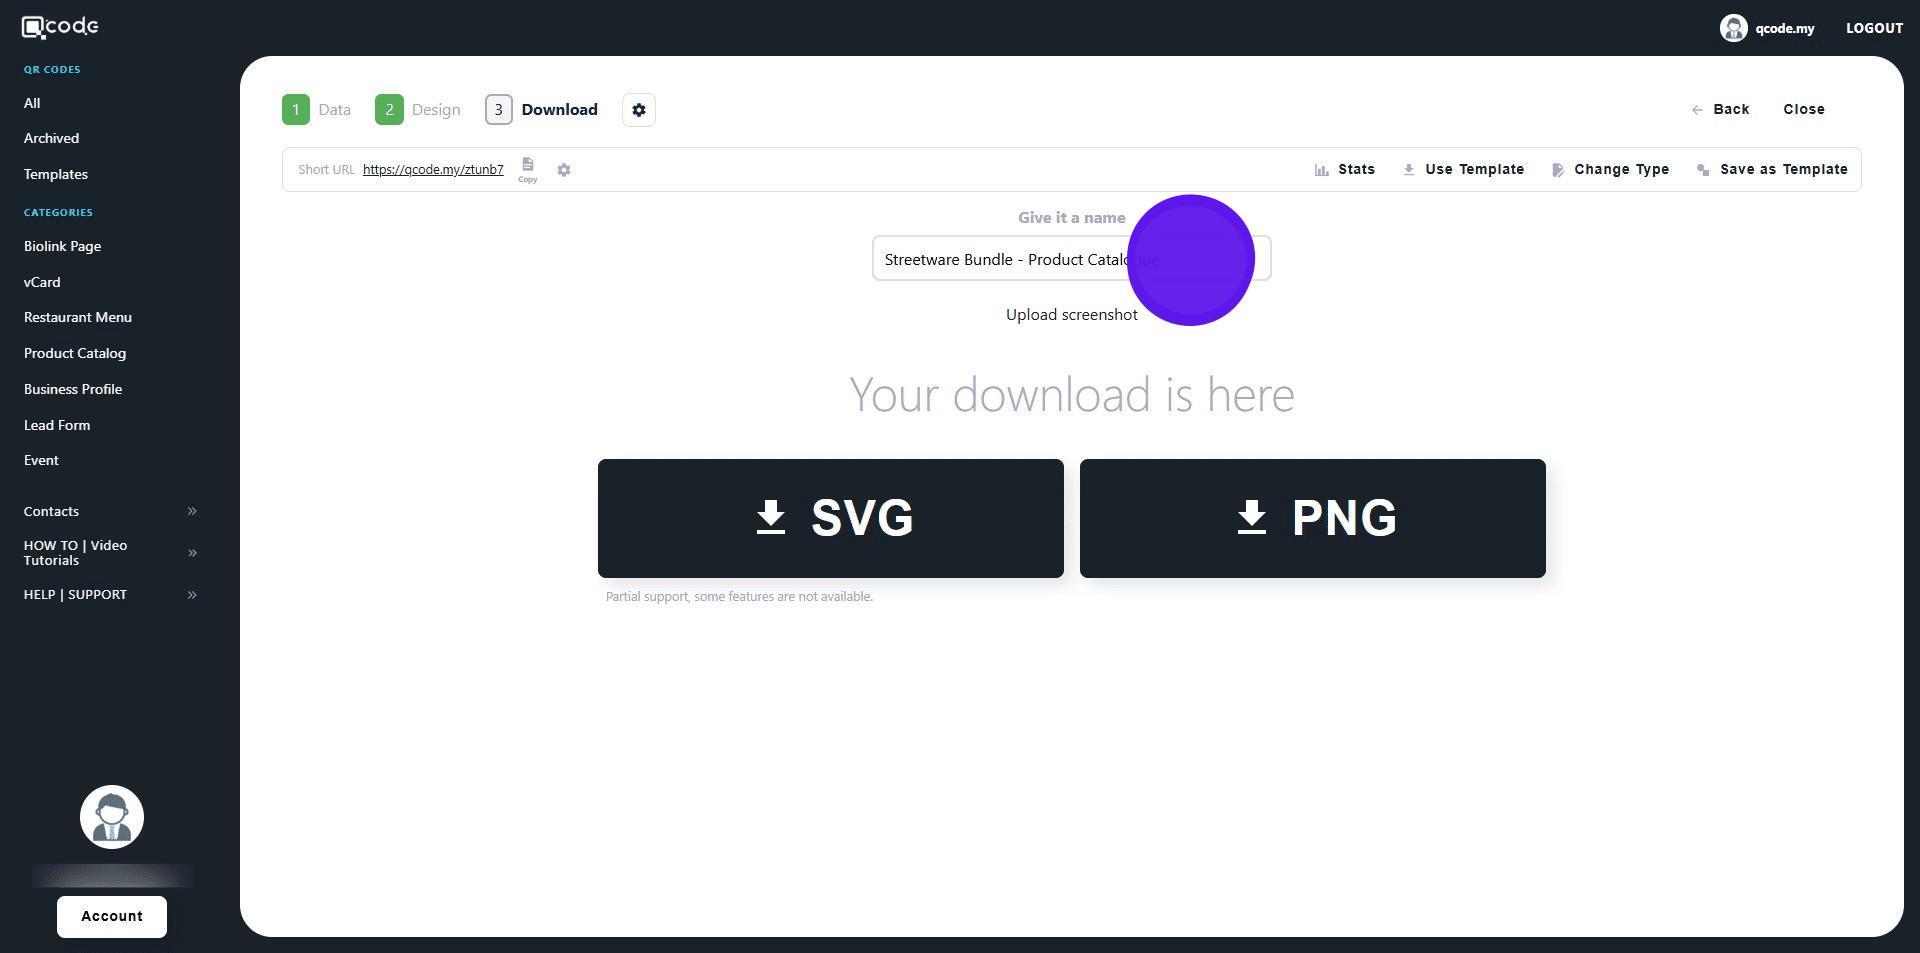
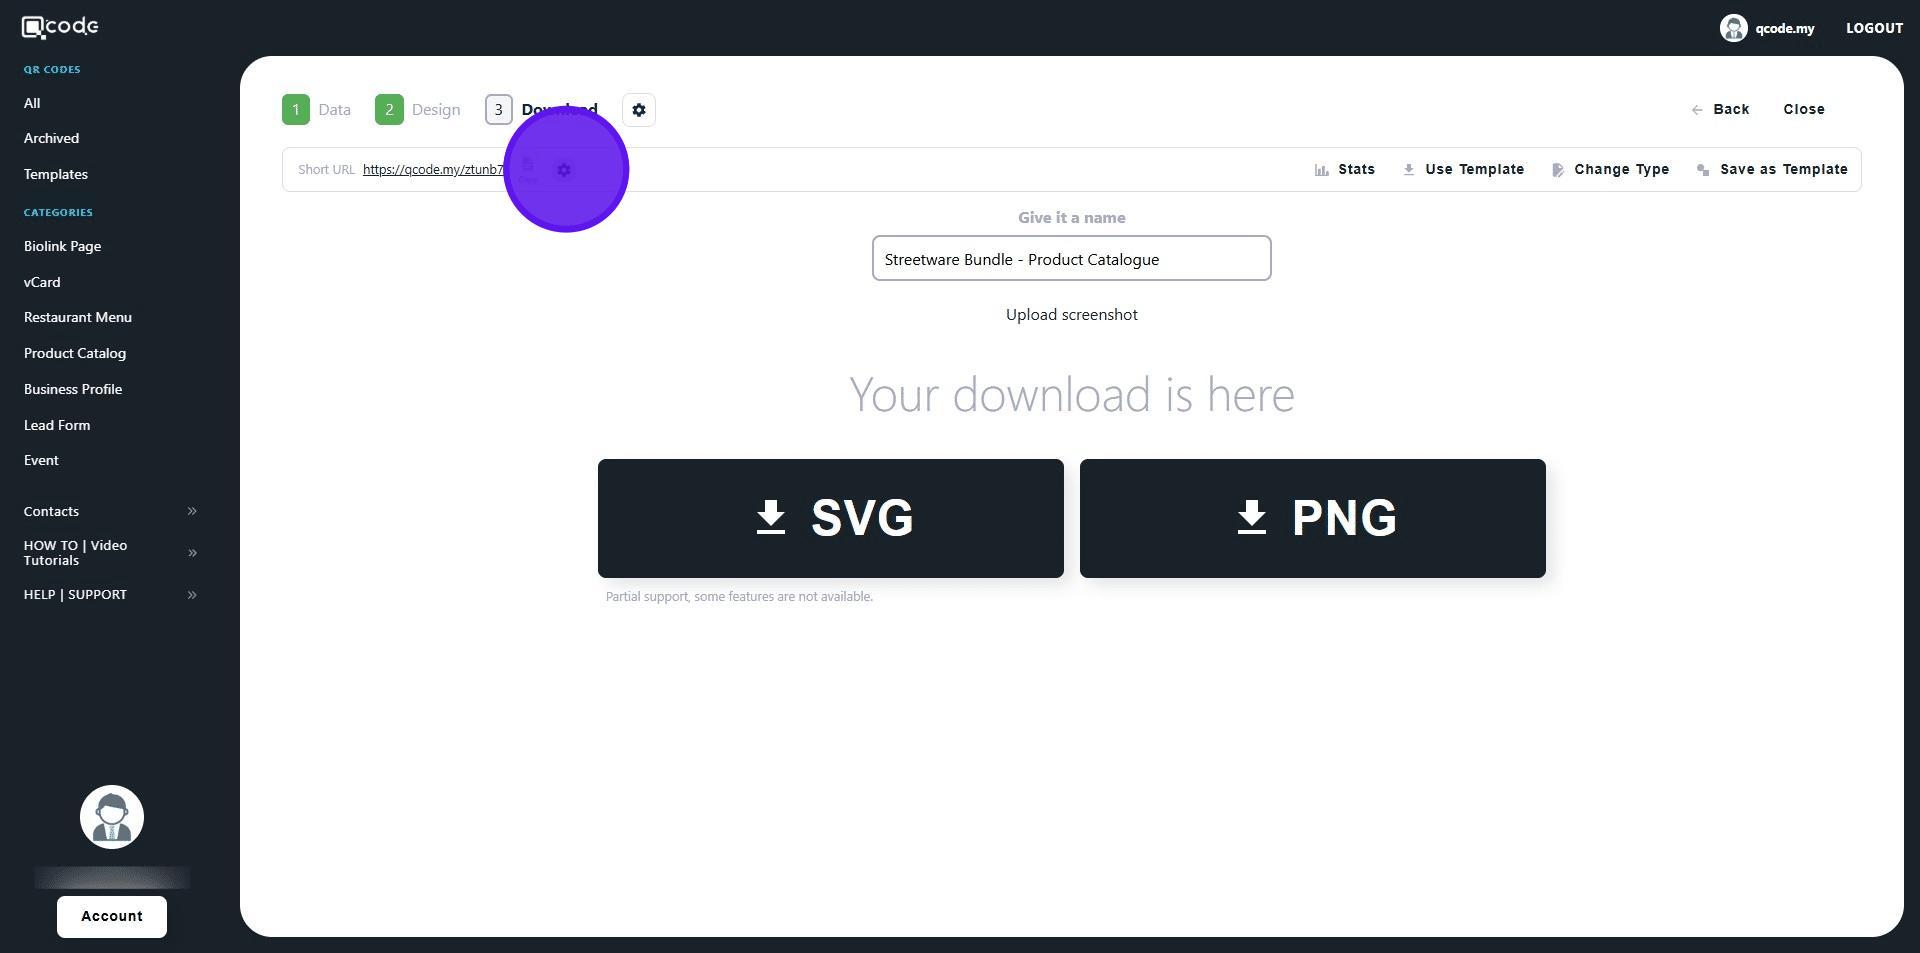
43. Give your QR Code a name by typing here
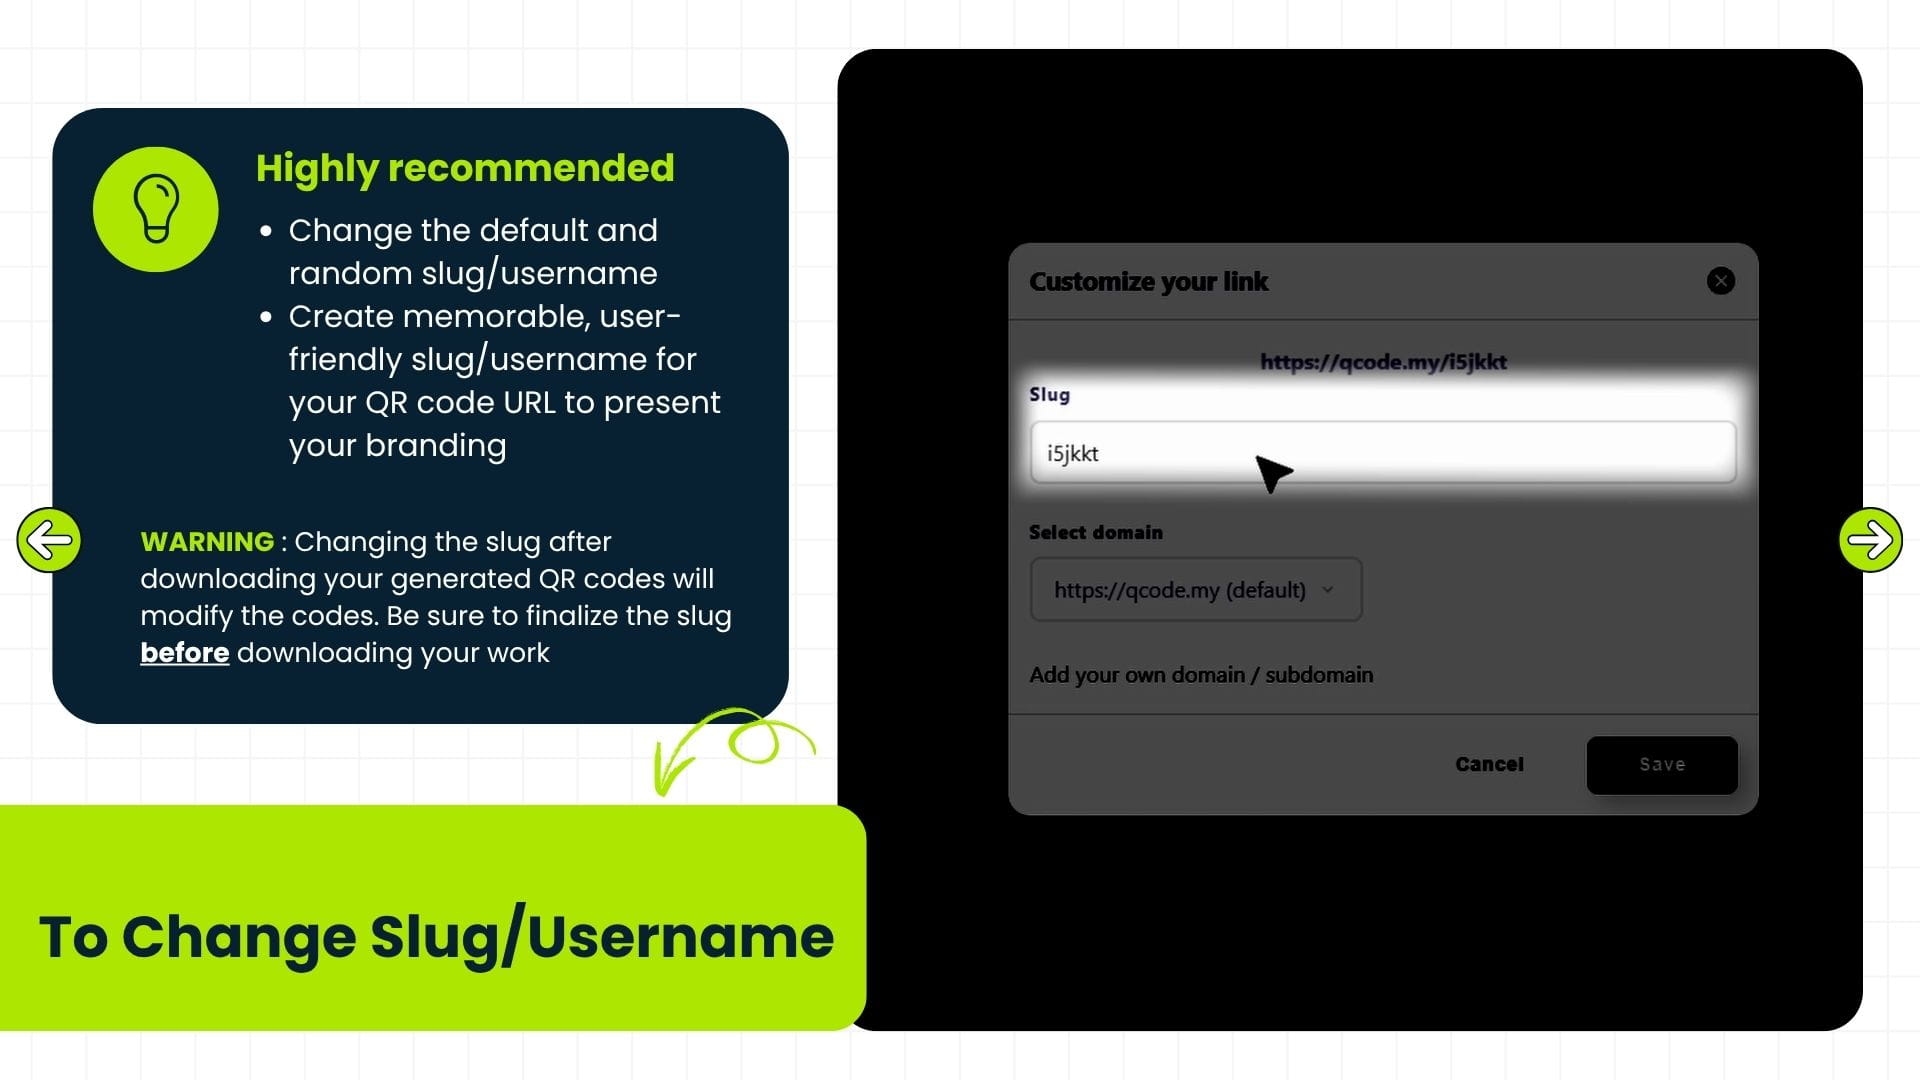
44. Click on the cog icon to change the Slug/Username. Click the link to learn more: https://kb.imoolah.network/guides/WyWZY38vTRTbItuows4P
45. Changing the slug after downloading your generated QR codes will modify the codes. Be sure to finalize the slug before downloading your work
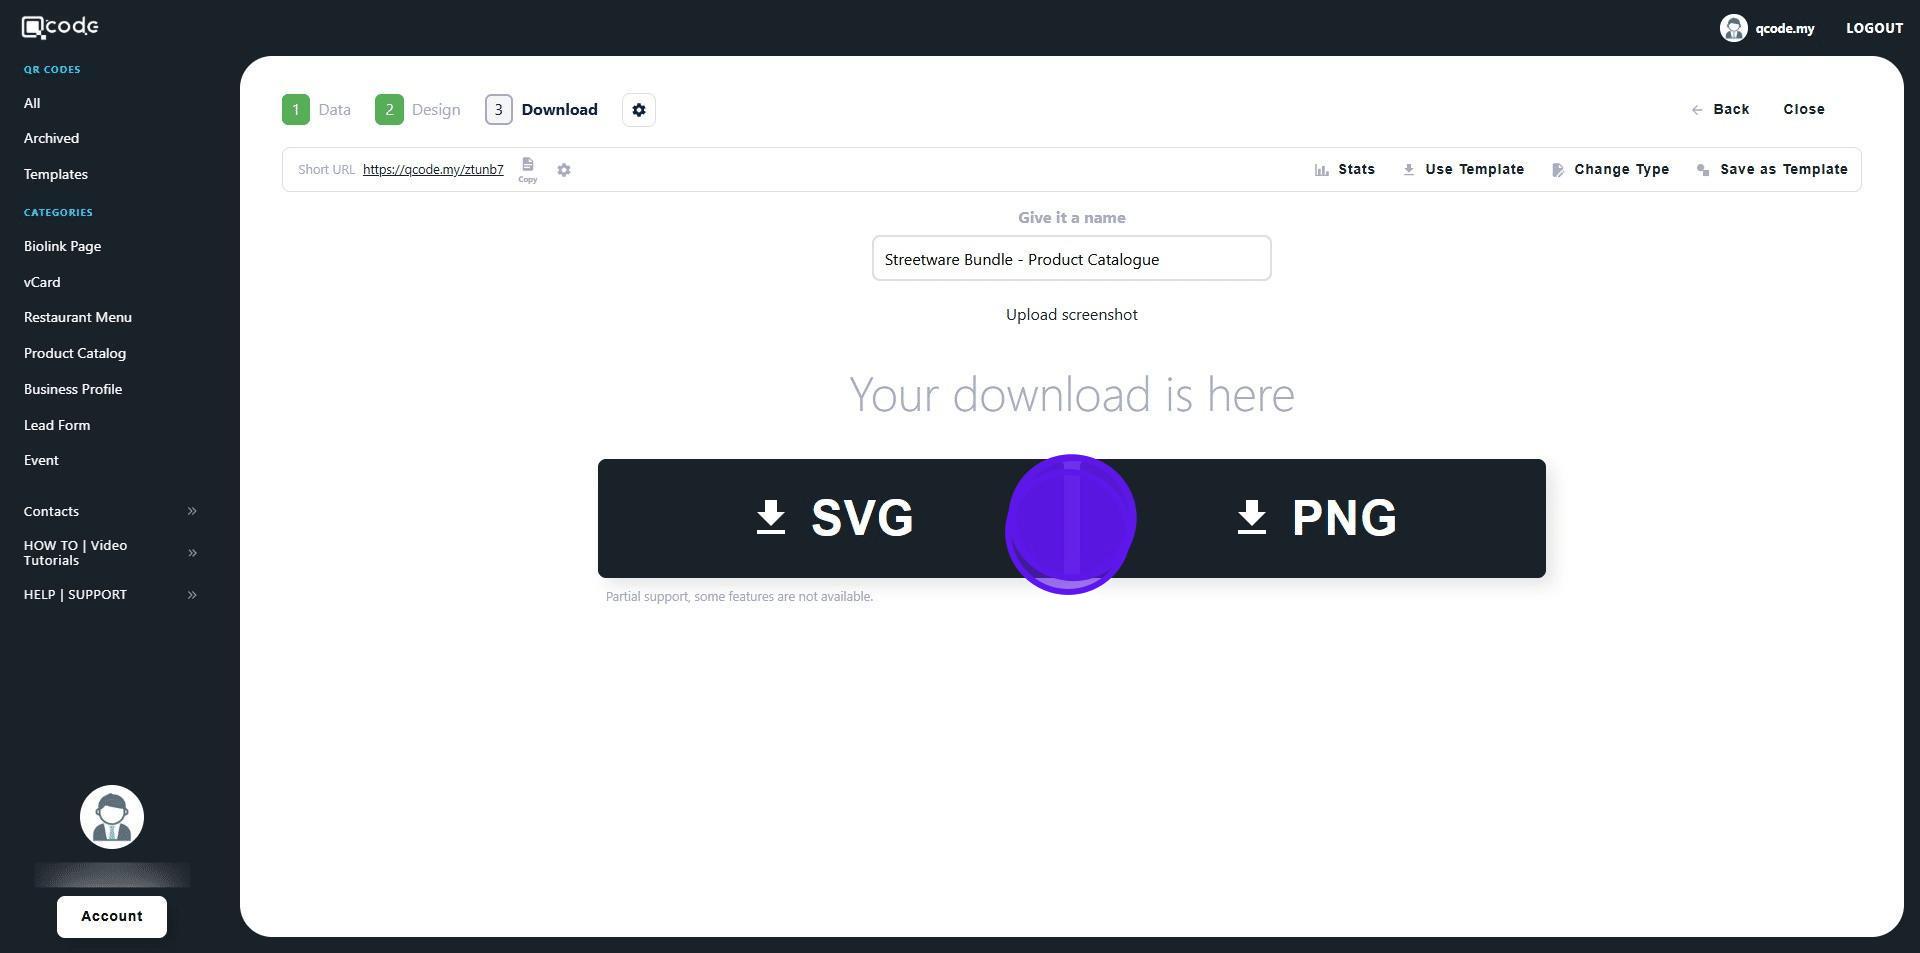
46. Click on SVG or PNG to download your QR Code in the following formats
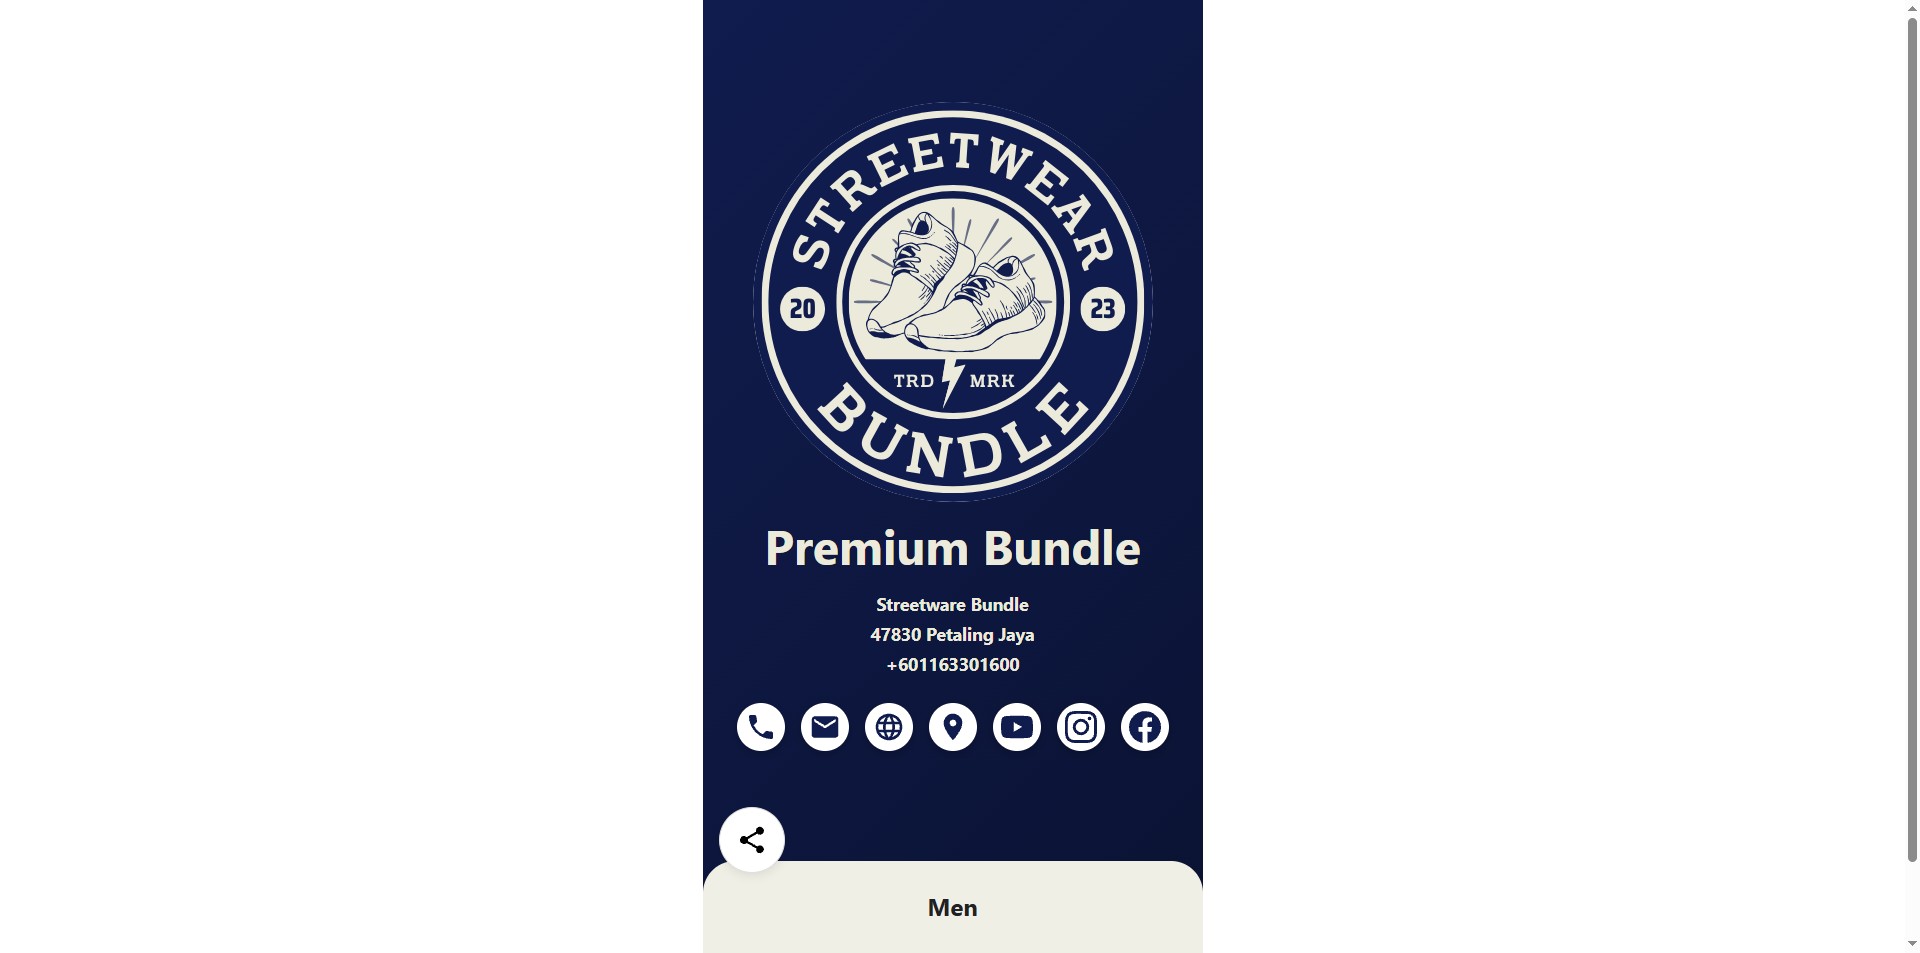
47. Click on the Short URL link to view your Product Catalog
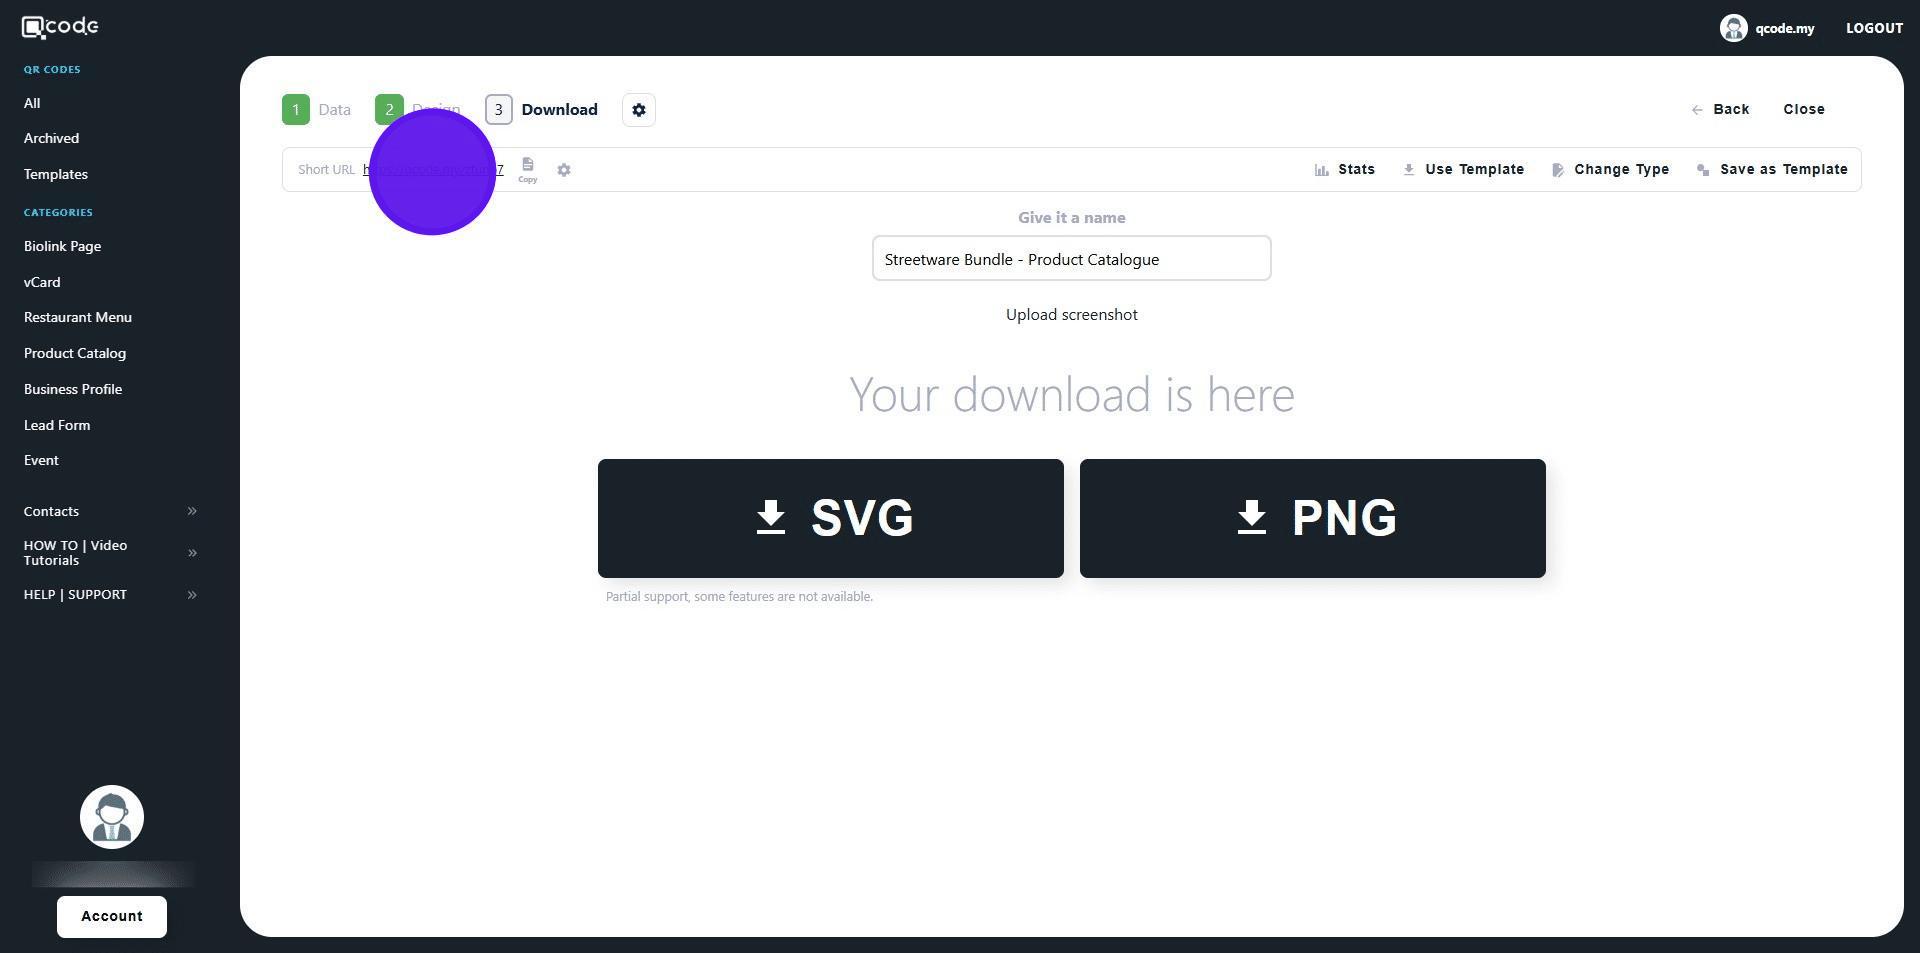
48. Congratulations! Your product catalog is done!