How to create a vCard
This guide provides a comprehensive walkthrough for creating a vCard, enabling users to efficiently share their contact information in a digital format. It streamlines the process of generating a personalized vCard, enhancing networking and professional communication.
1. Navigate to https://qcode.my/dashboard/qrcodes
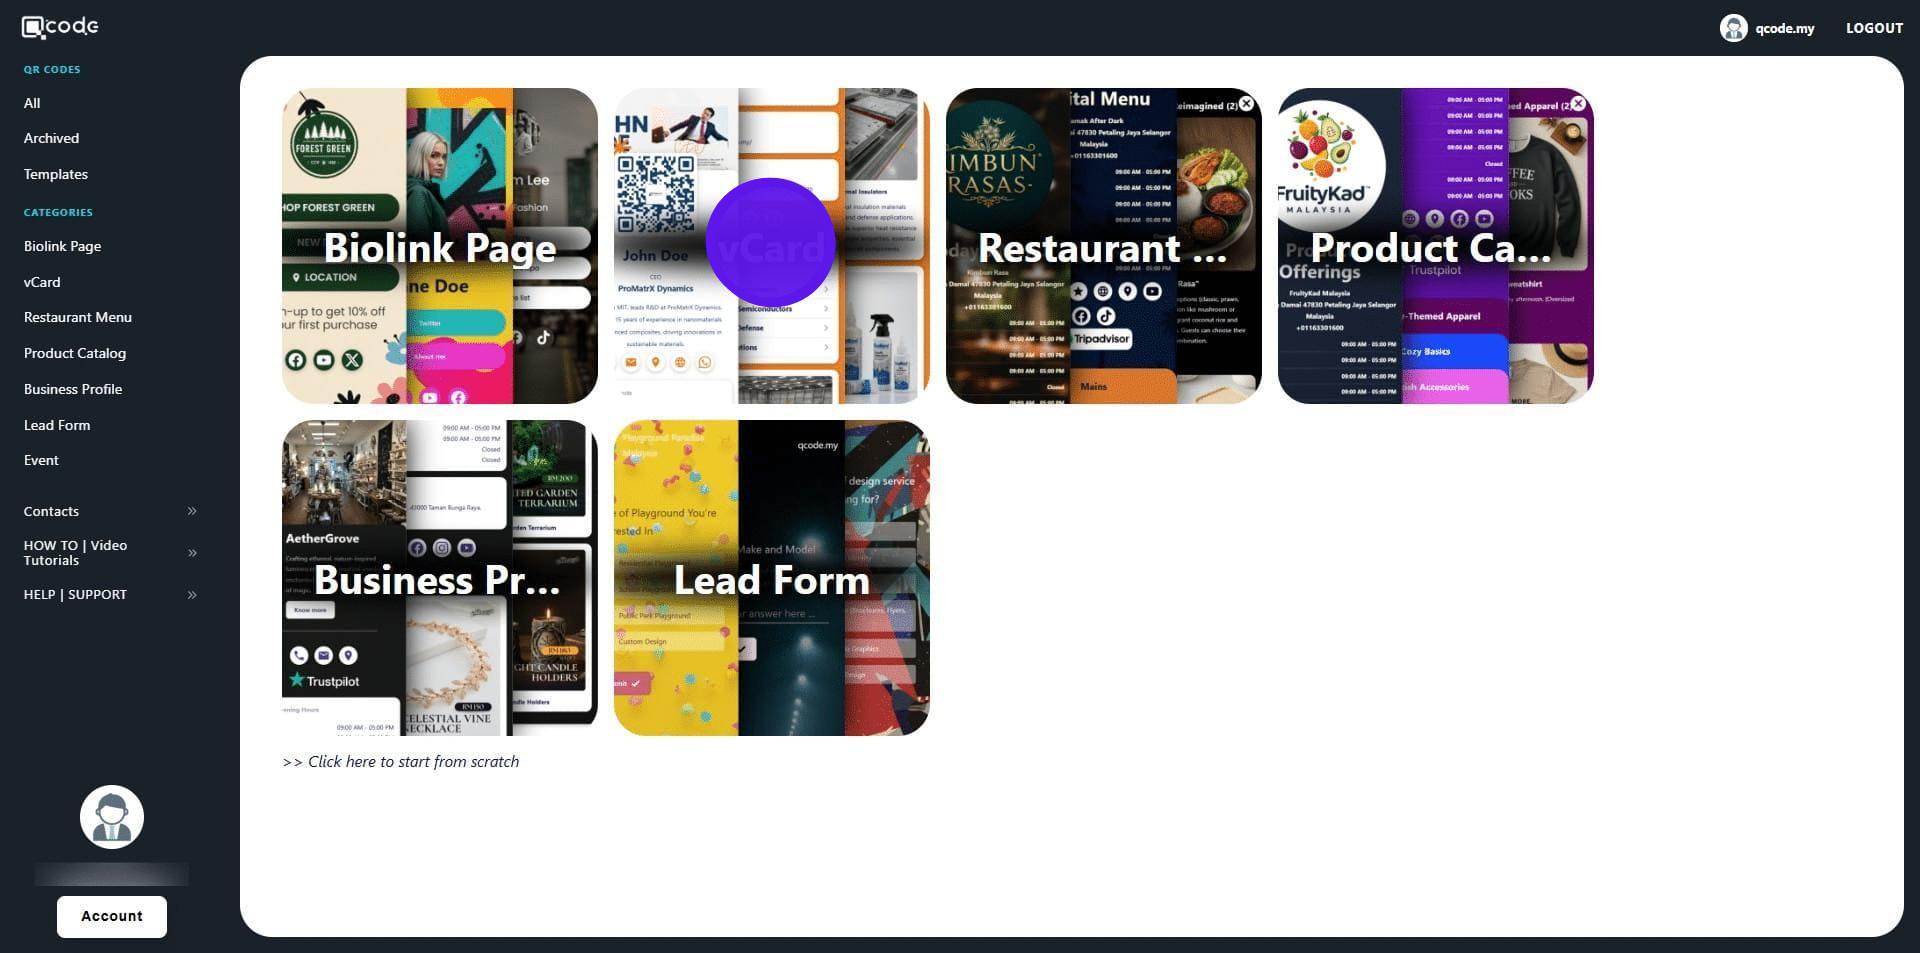
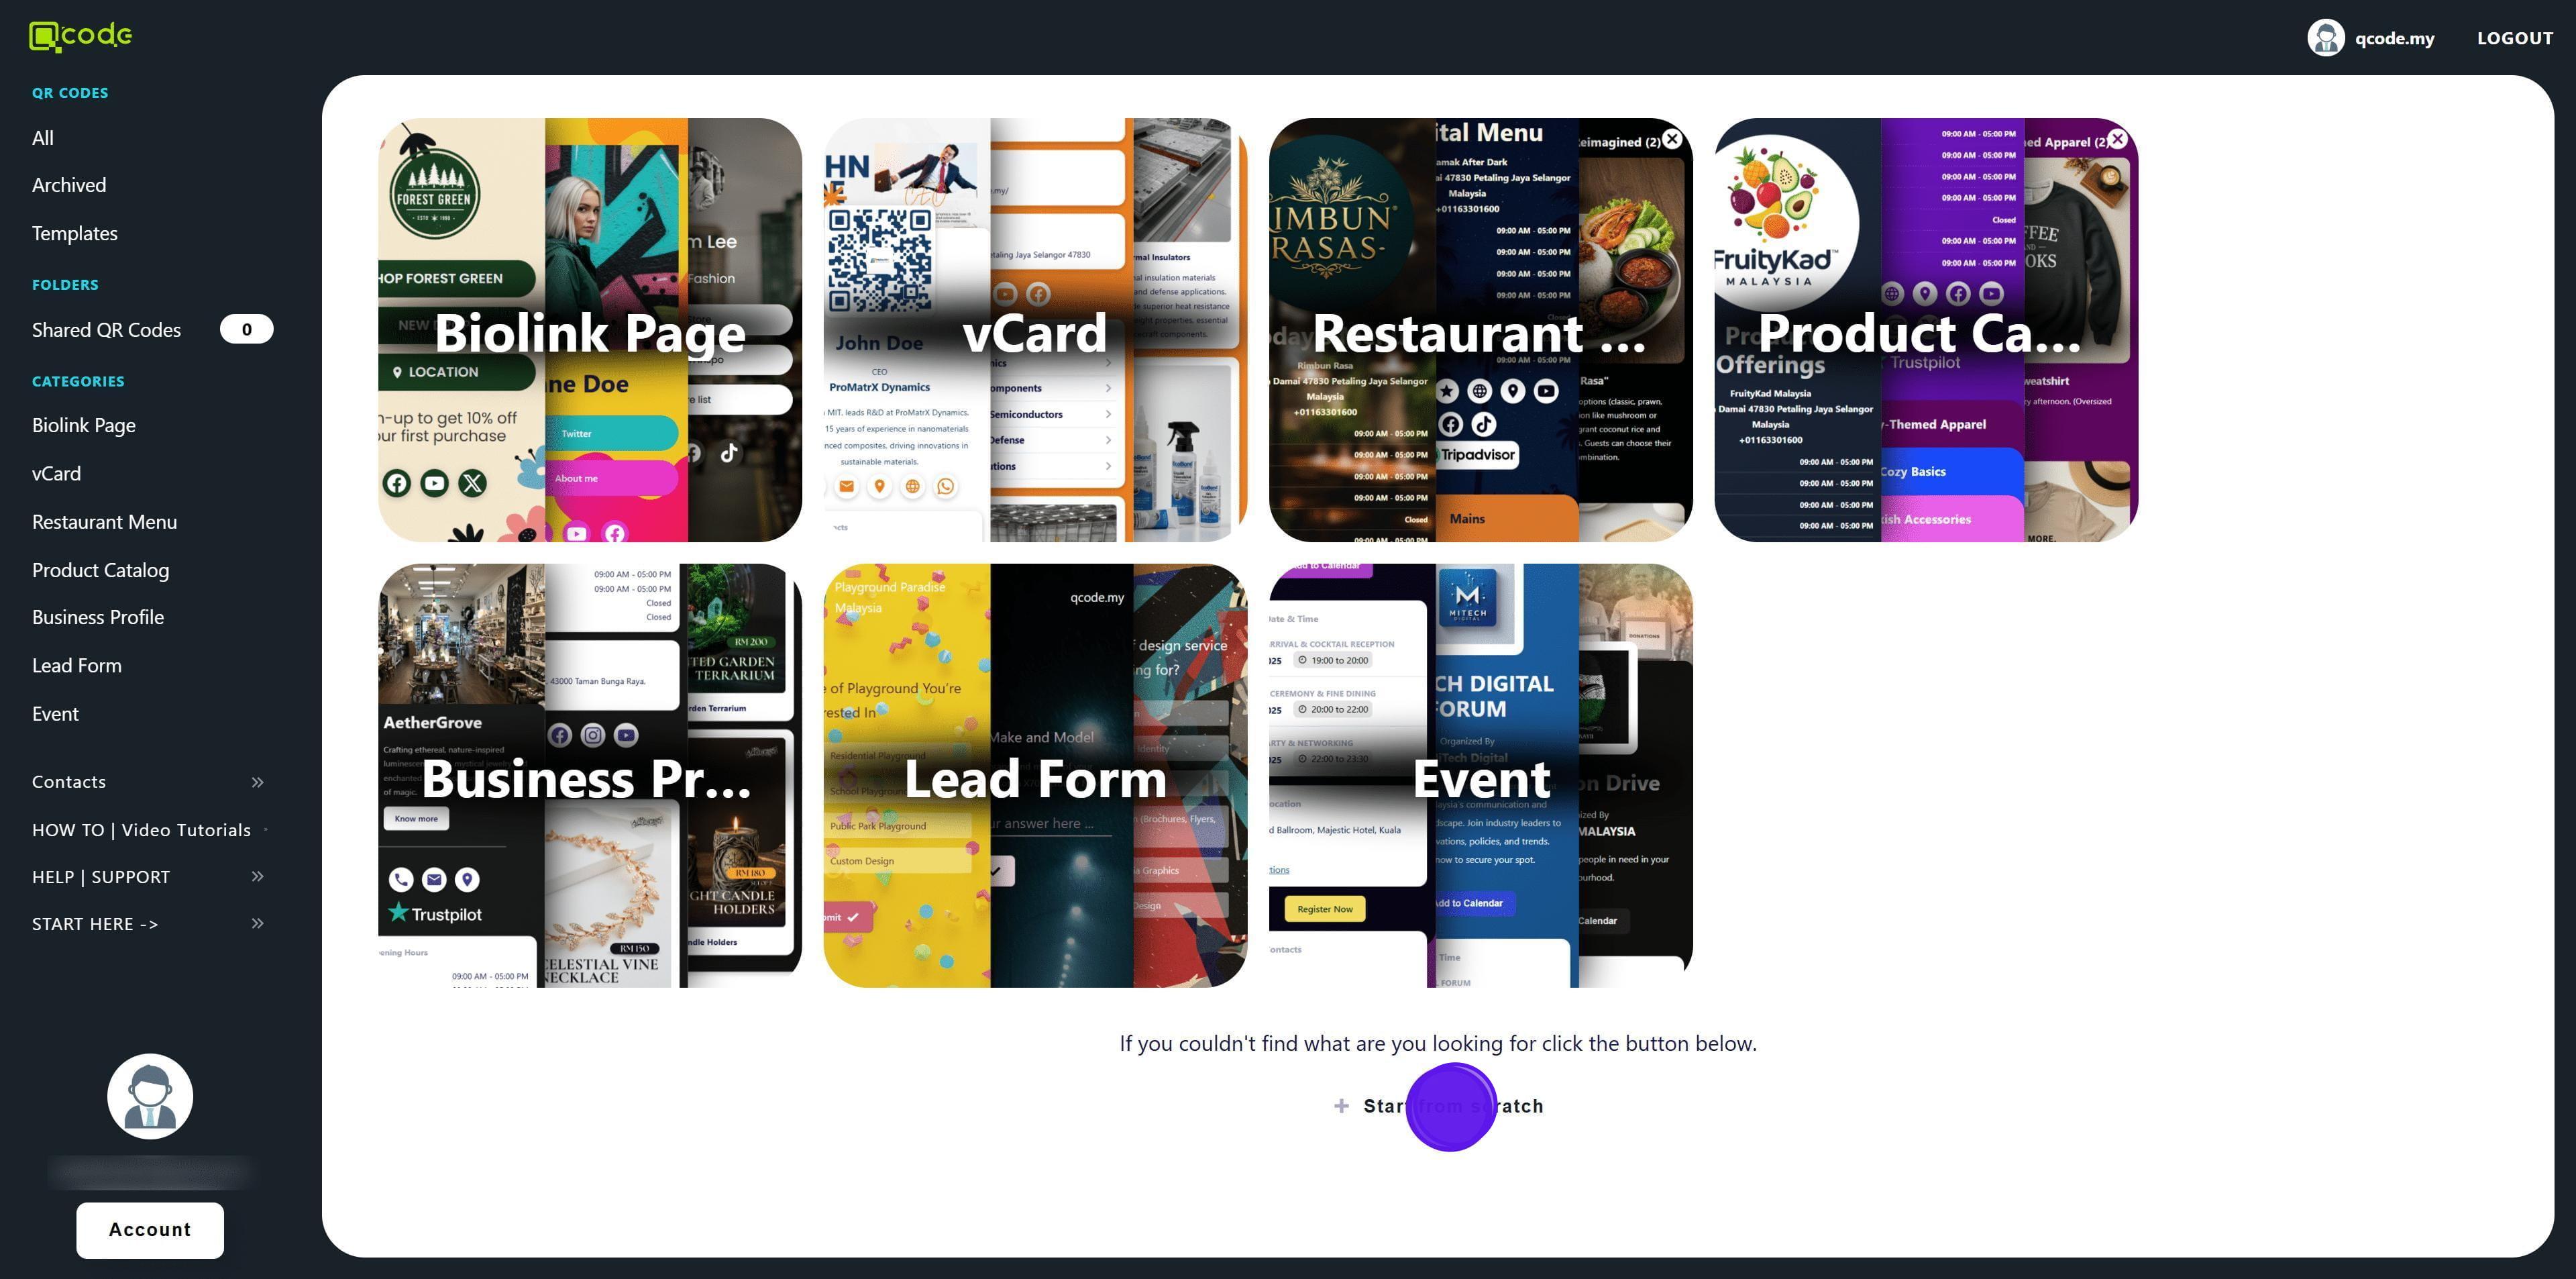
2. Click on Create to start creating your vCard
3. Click on vCard to choose from a selection of templates
4. Click on Start from scratch
5. Select vCard Plus

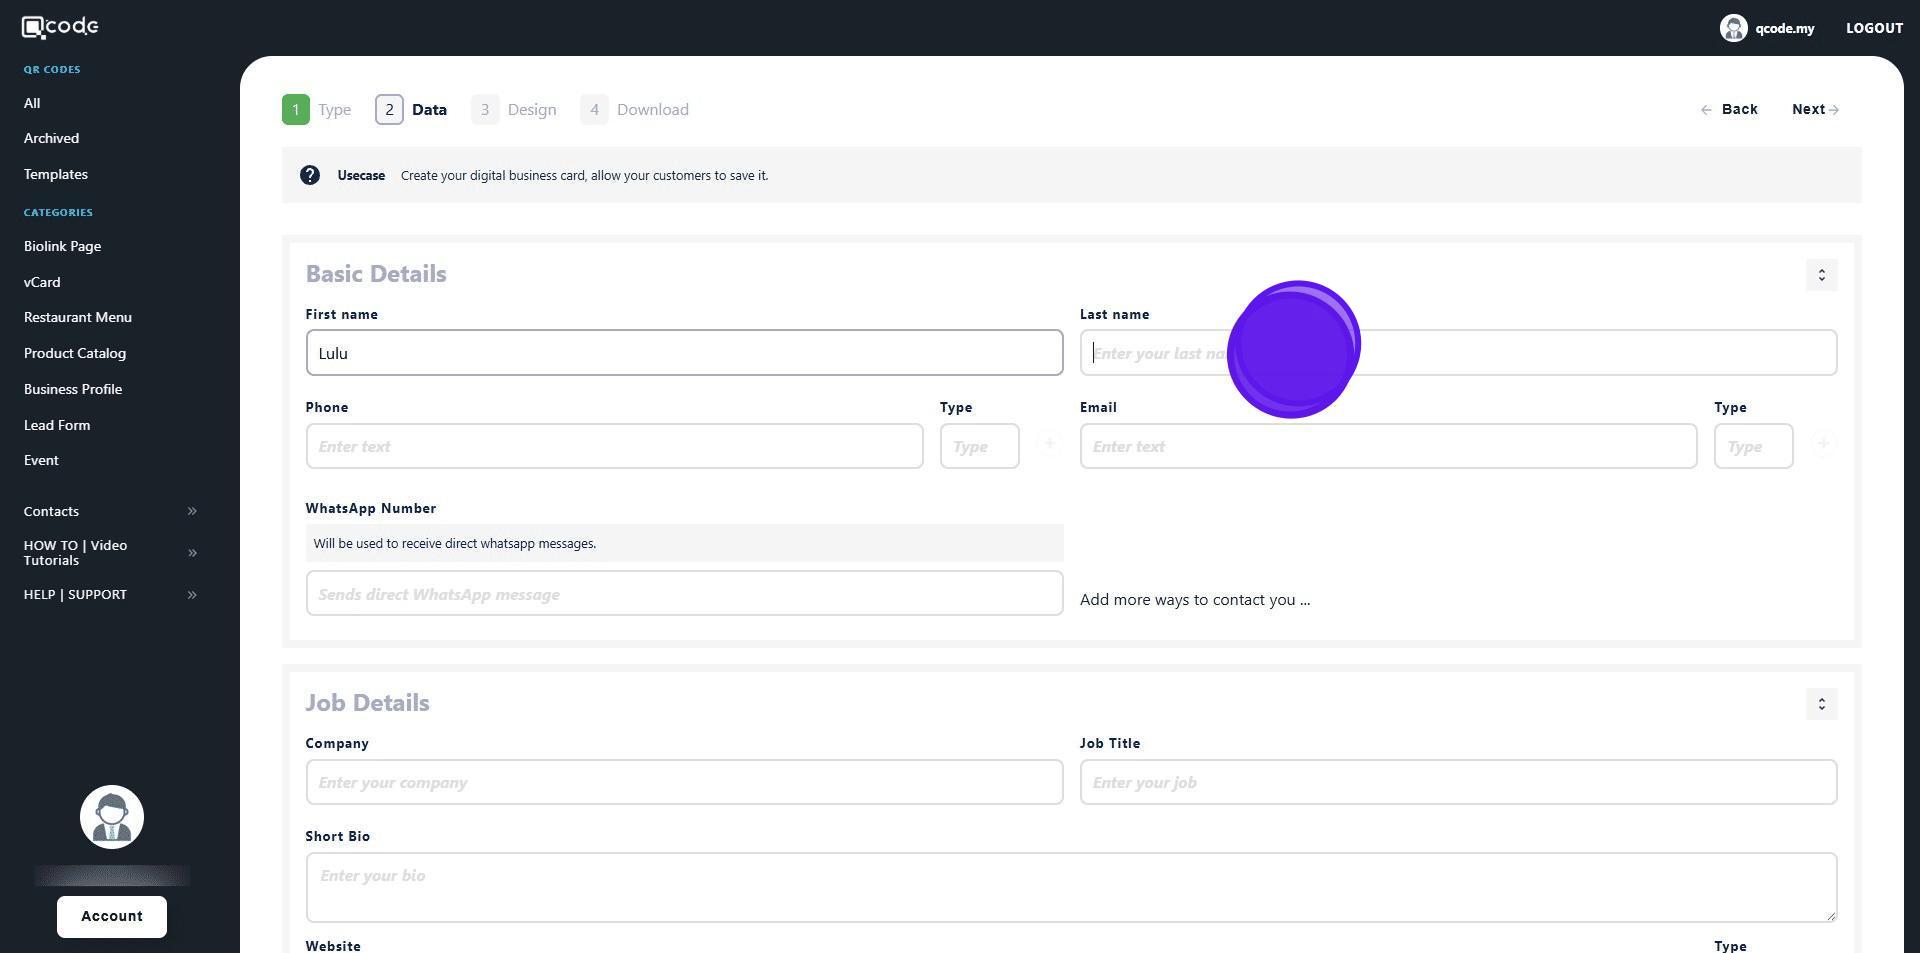
6. Type in your first name here
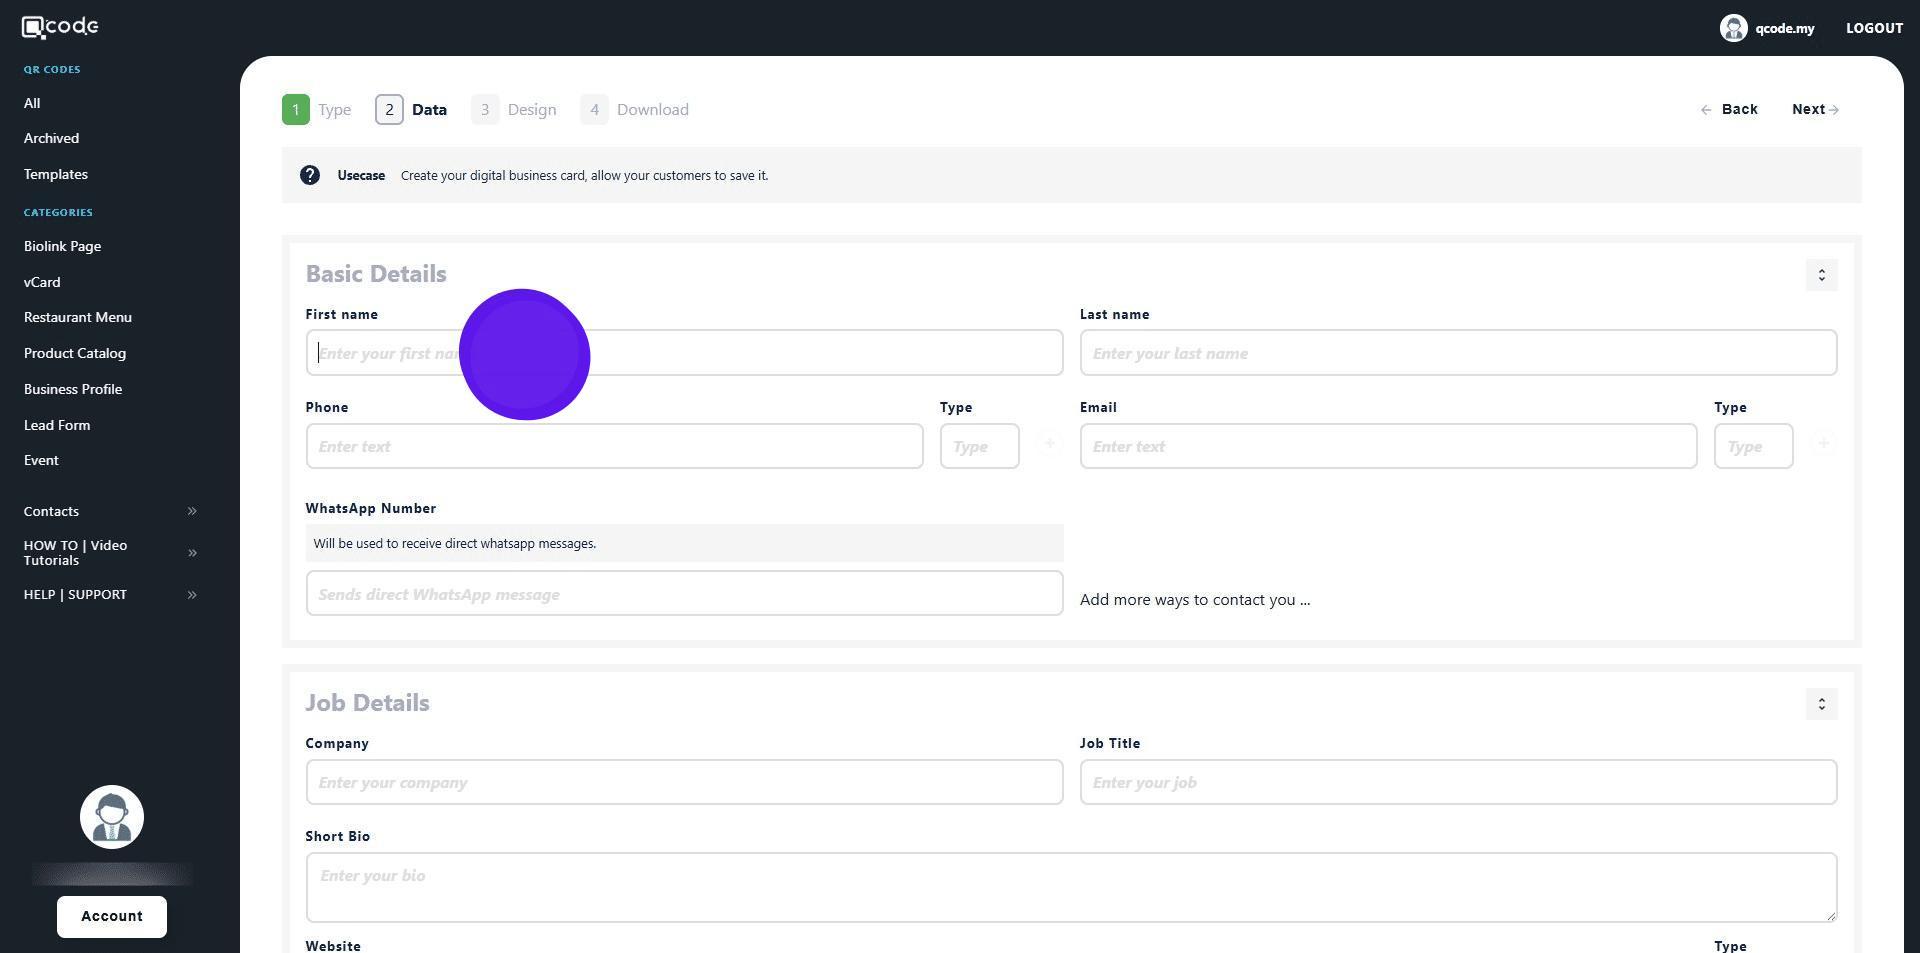
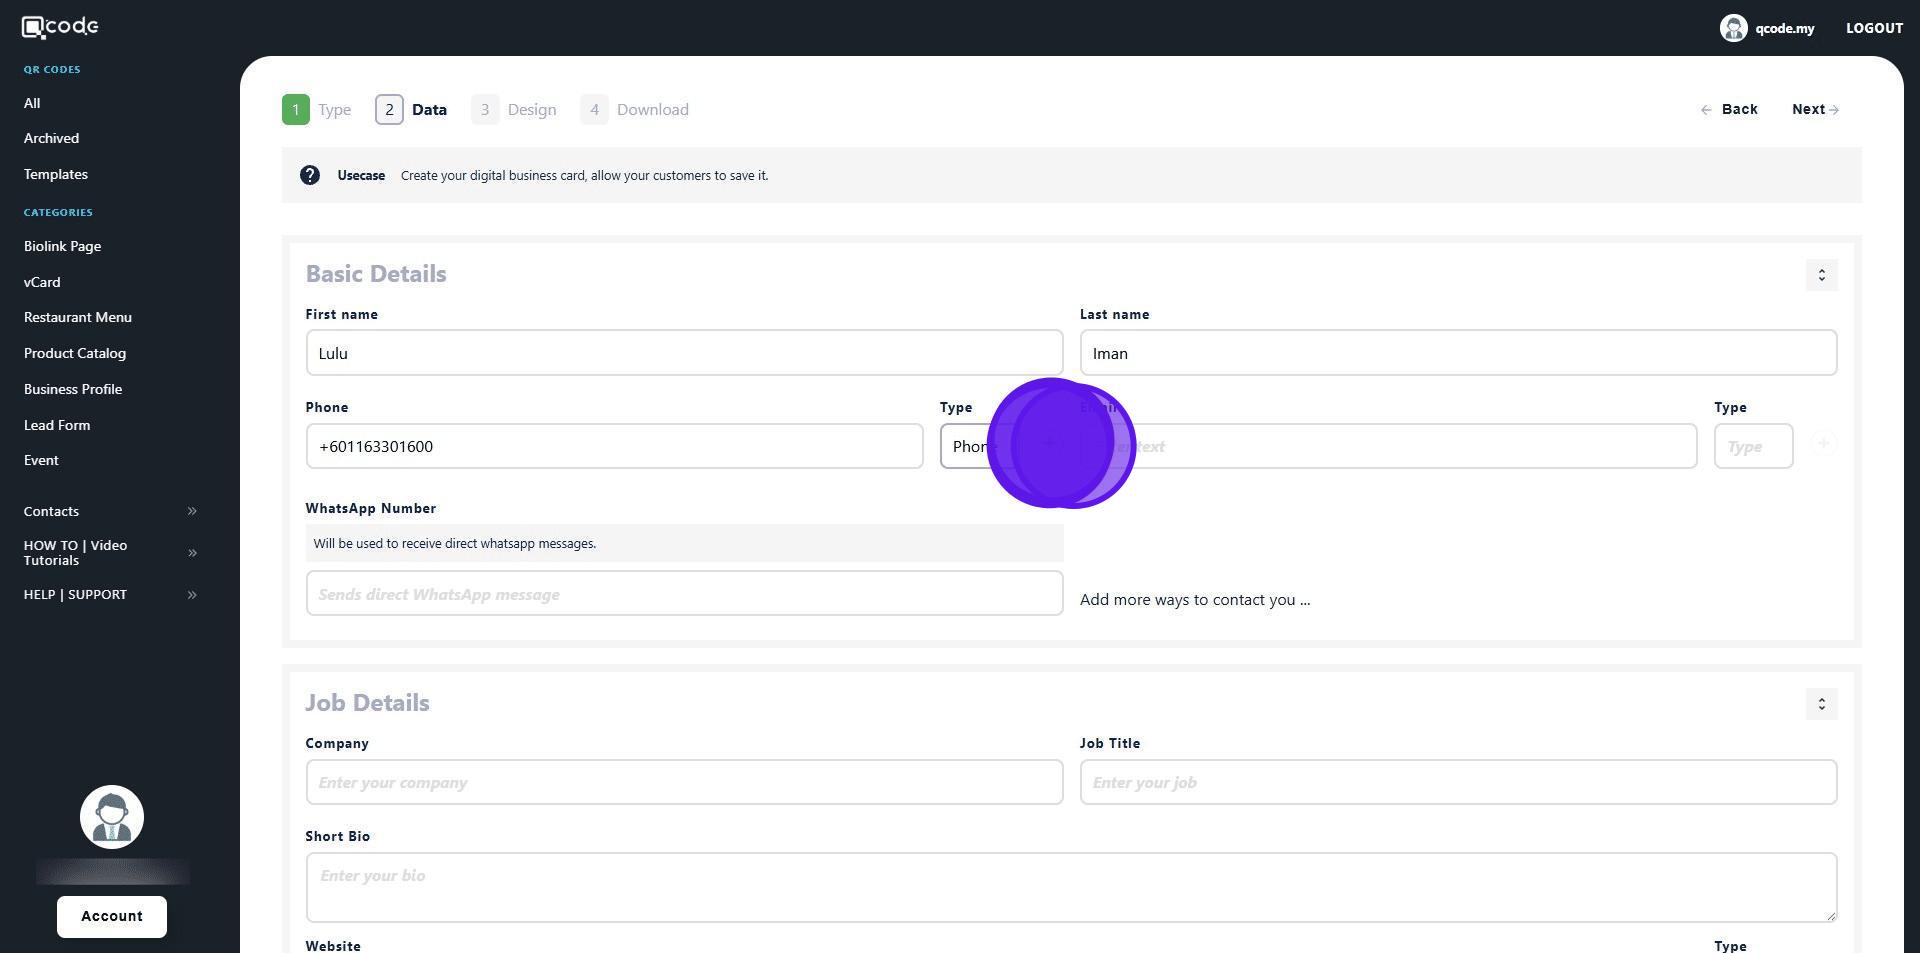
7. Type in your last name here
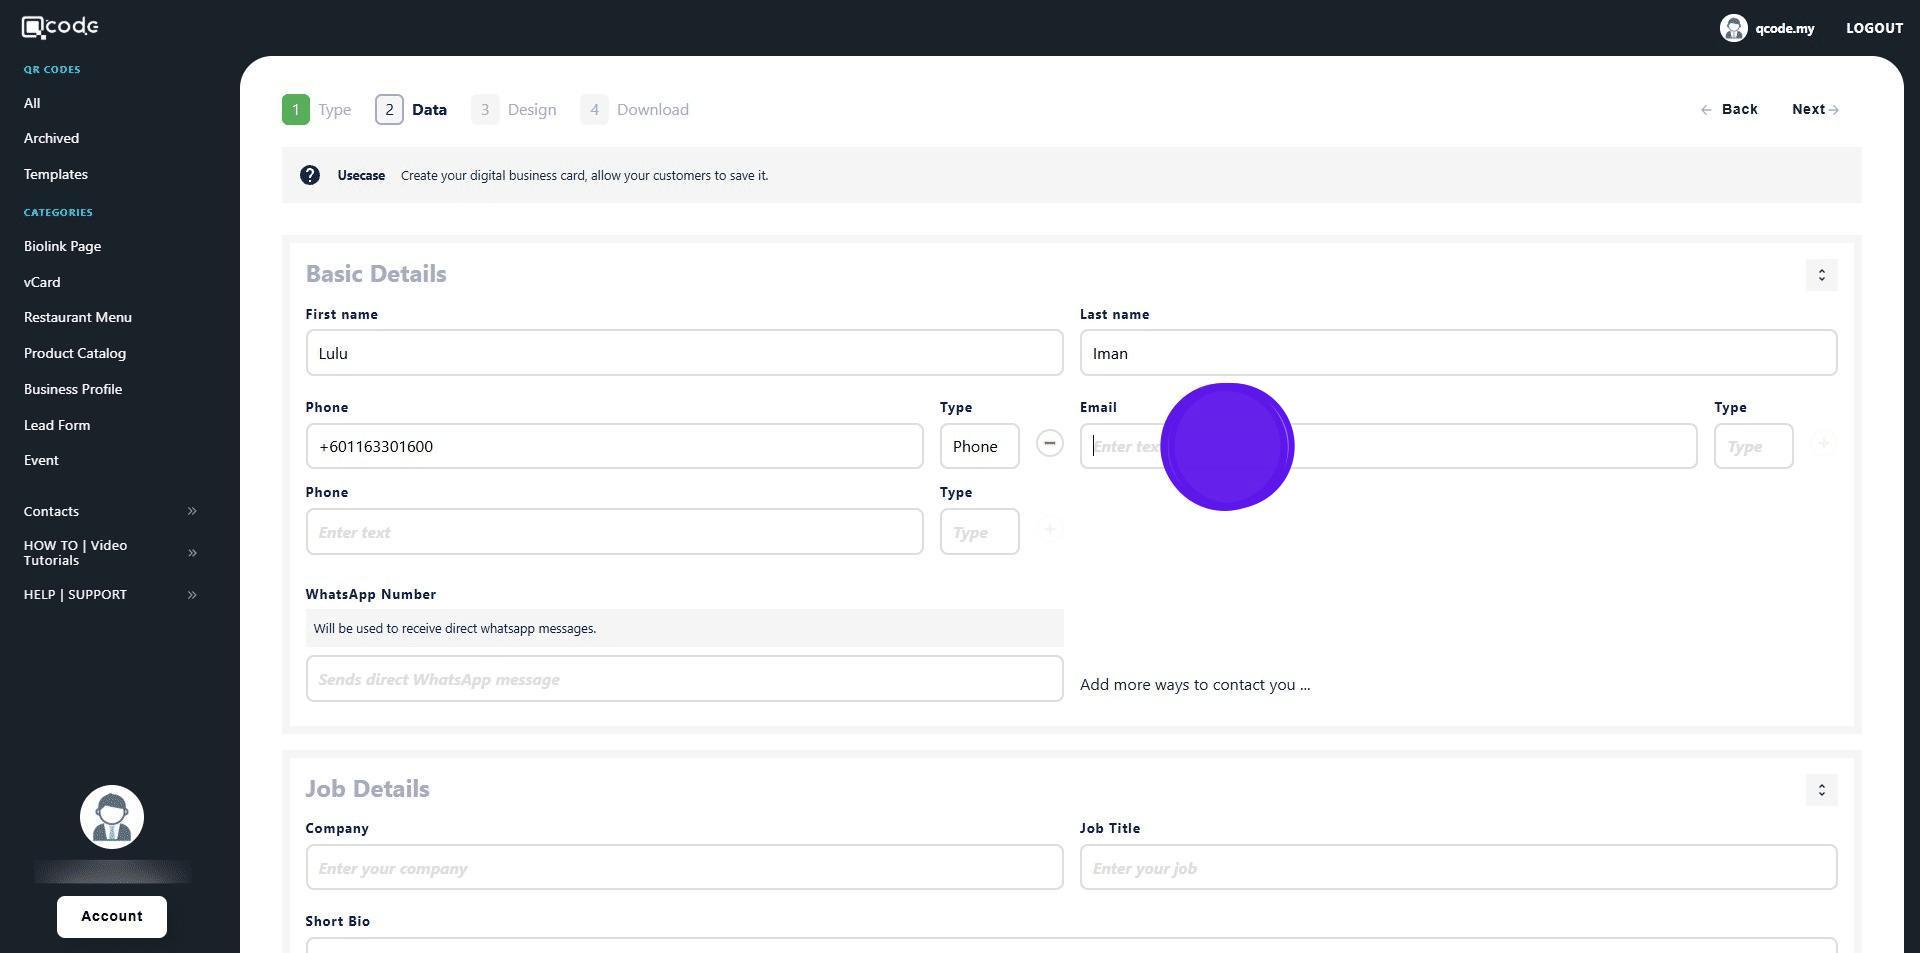
8. Type in your phone number here

9. Click here to give it a label

10. Click on the plus icon to finish adding your phone number
11. Type in your email here
12. Click here to give it a label
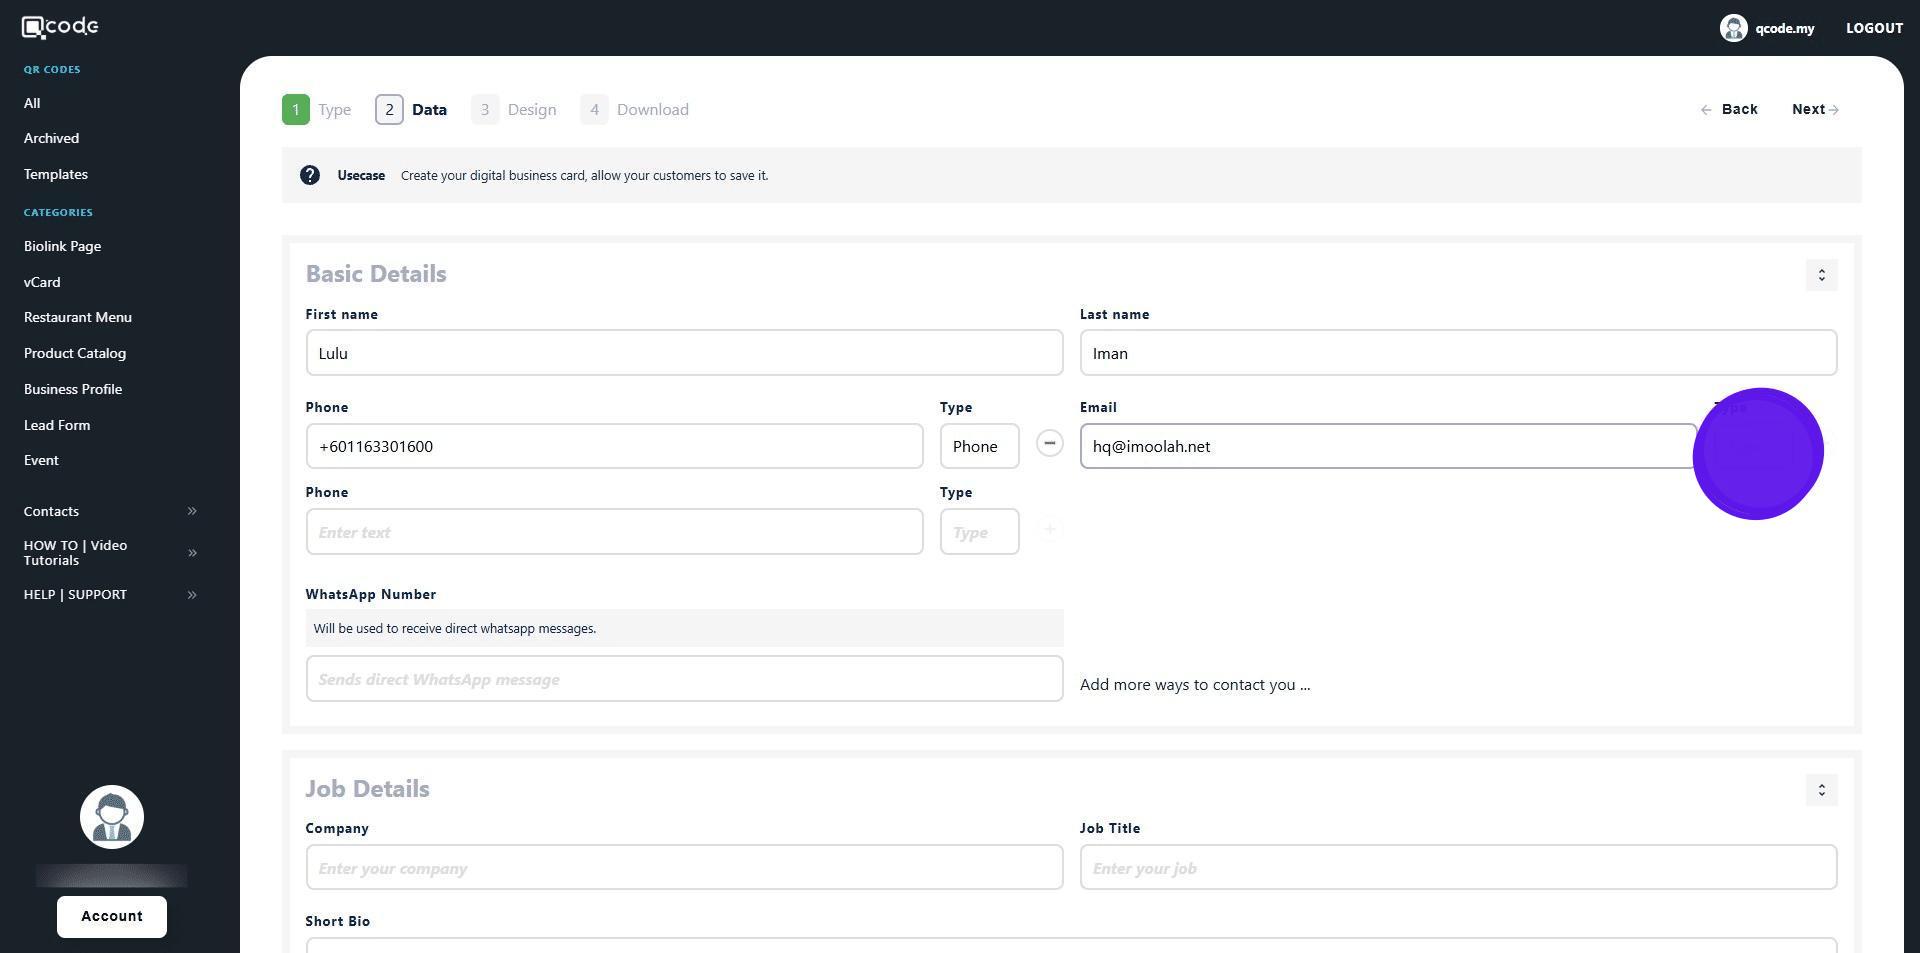
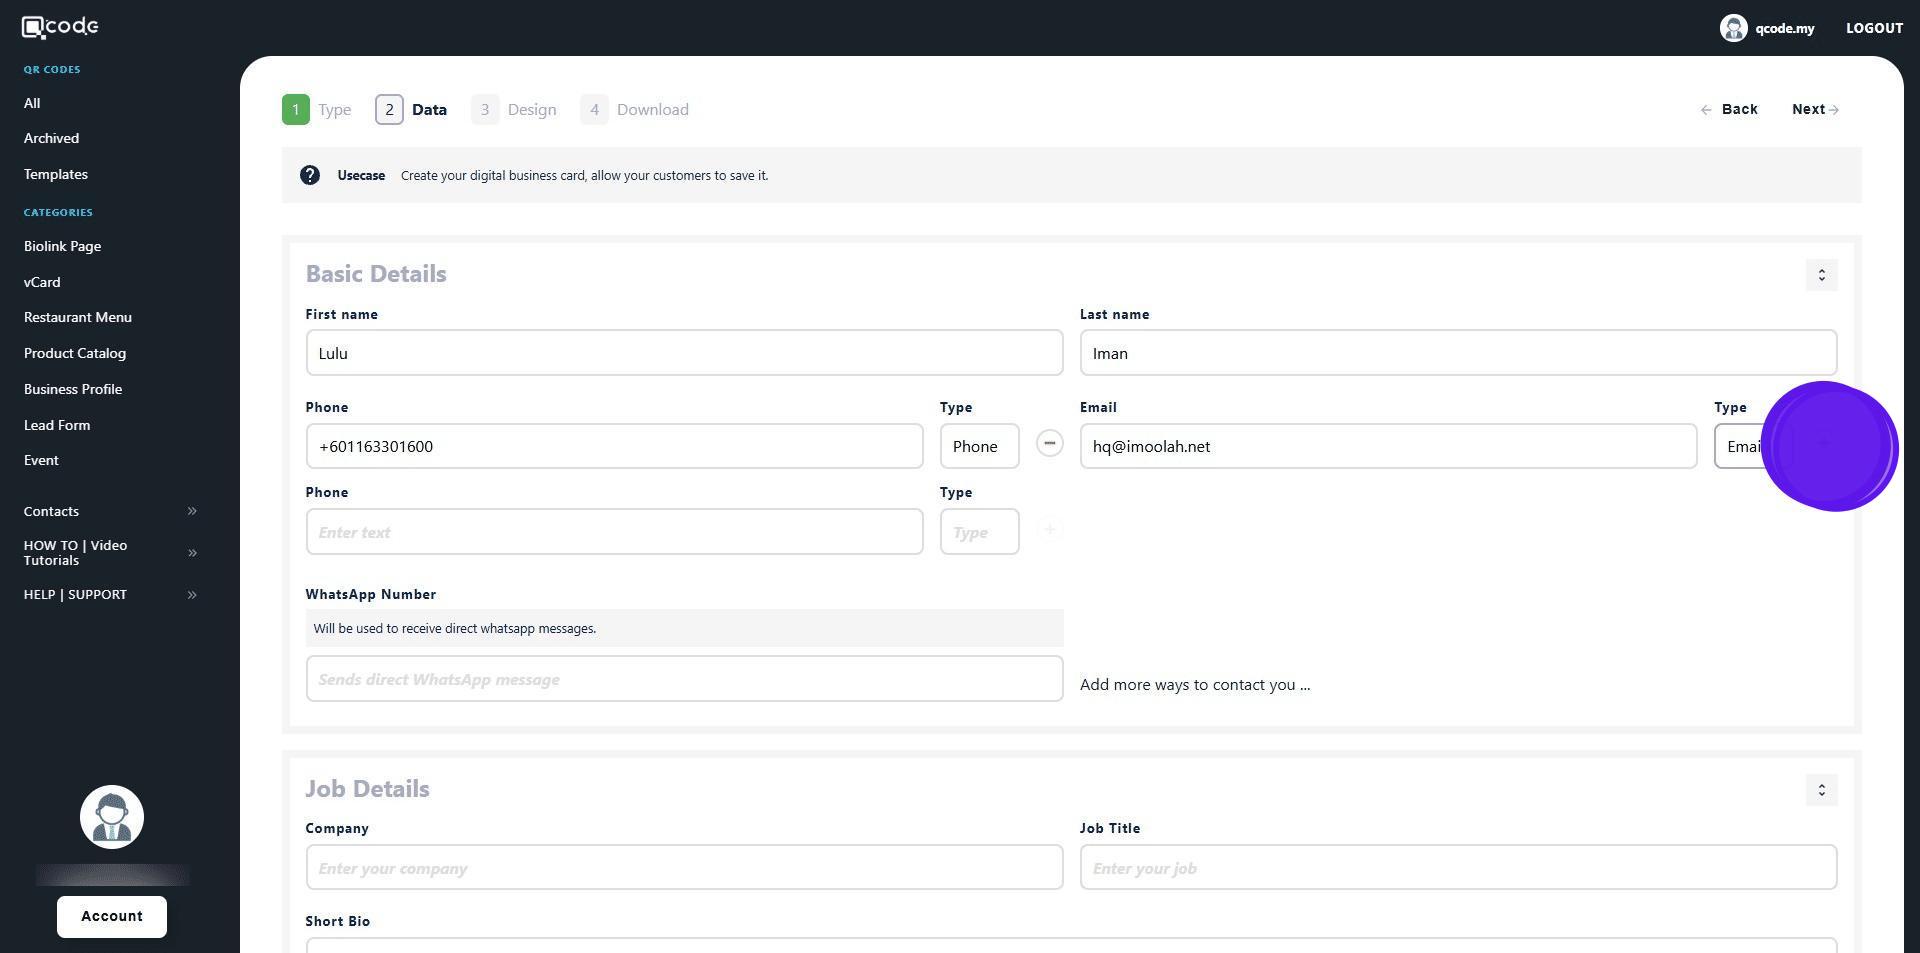
13. Click on the plus icon to finish adding your email
14. Type in your WhatsApp number here
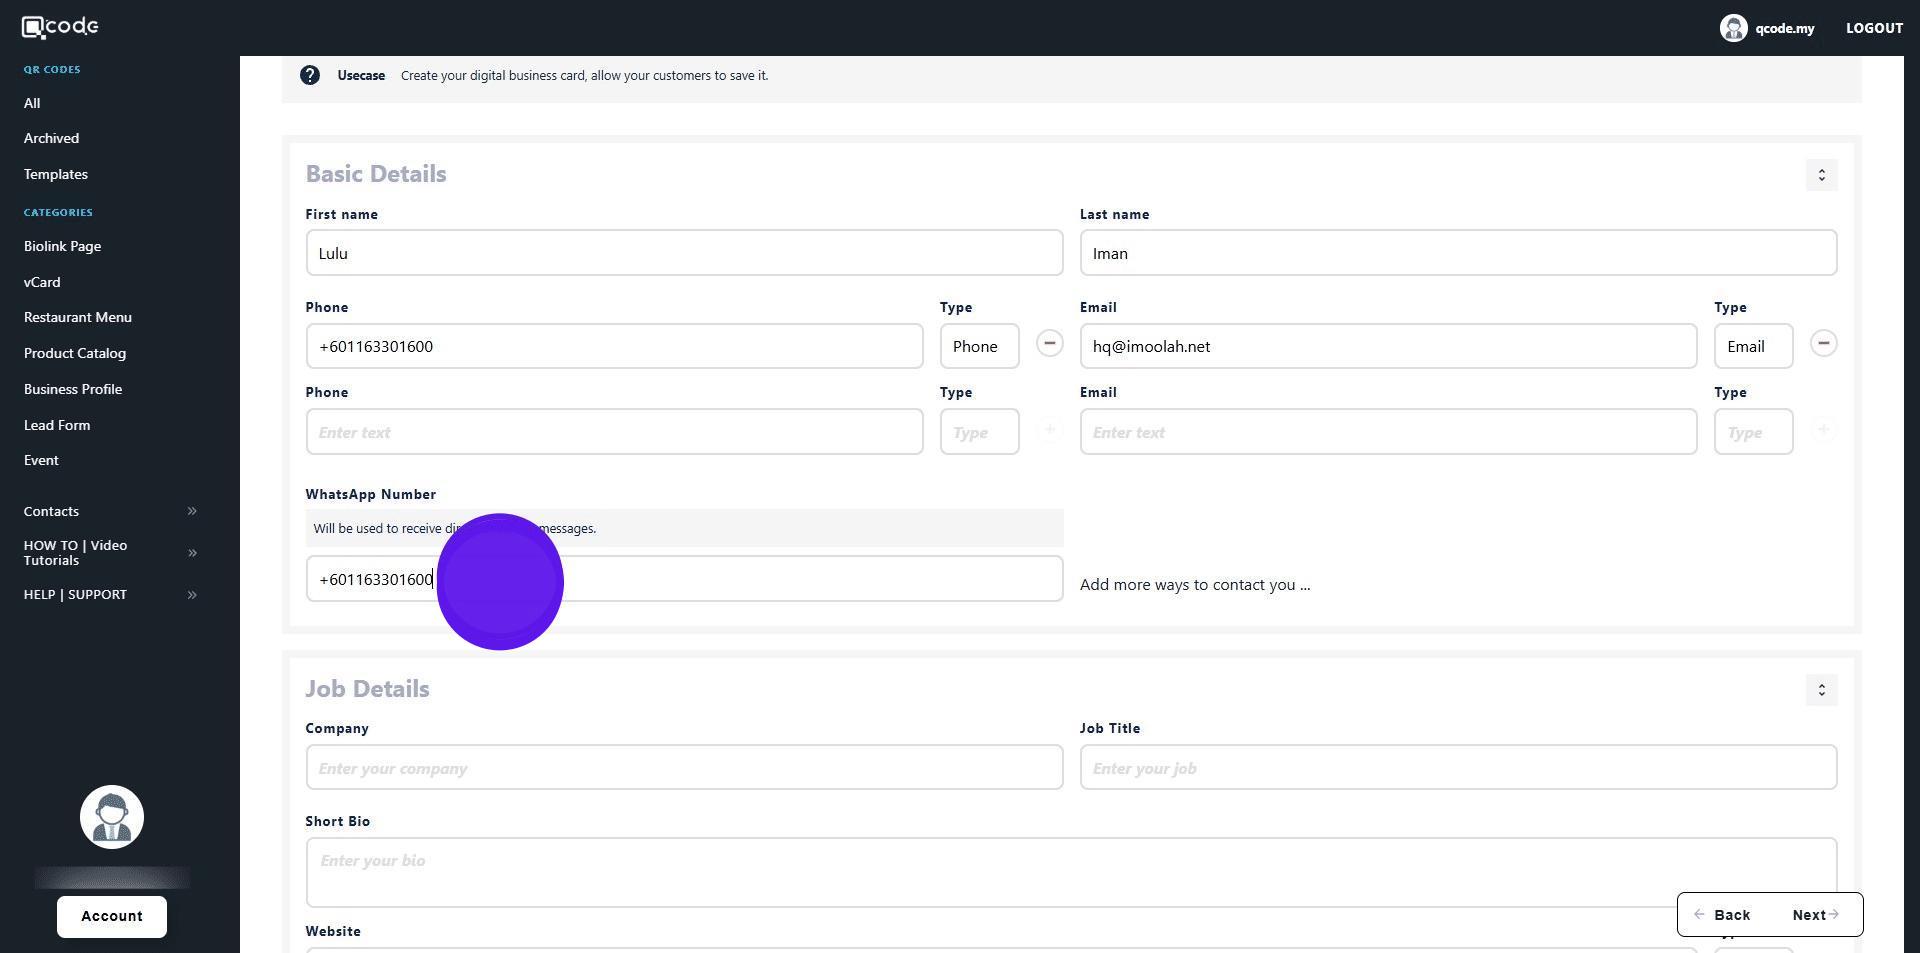
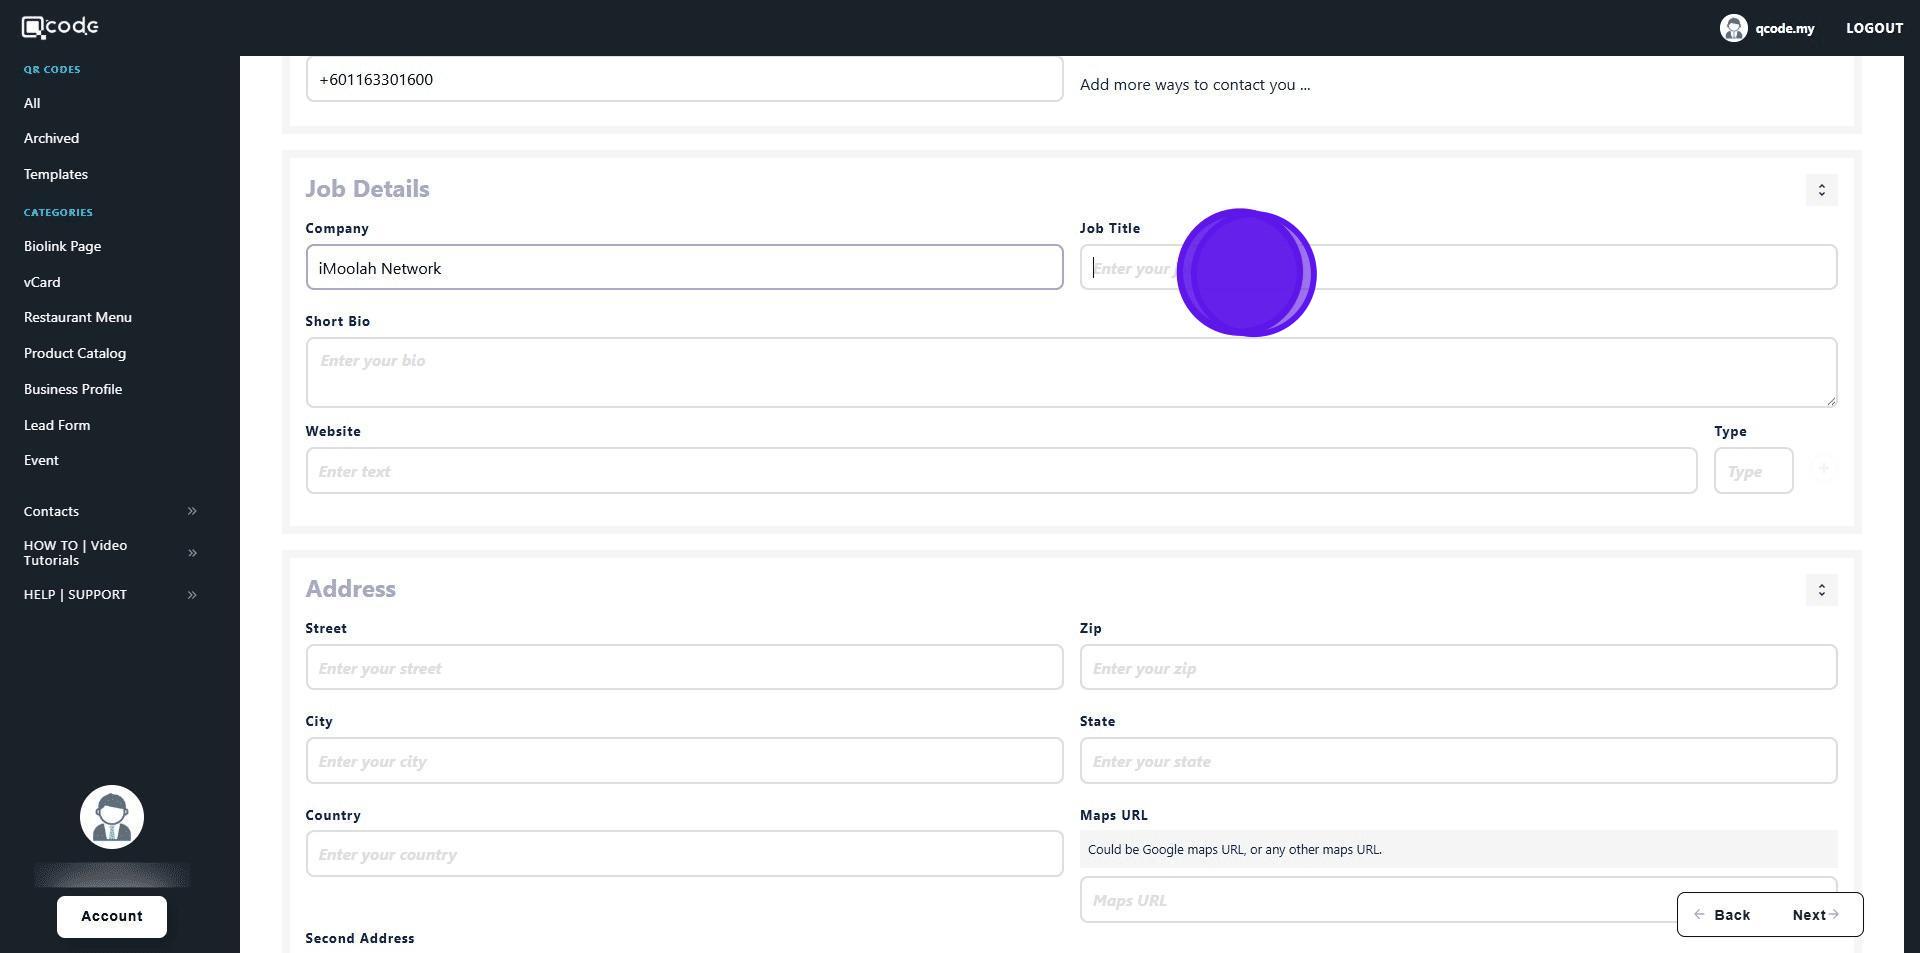
15. Type in your company name here
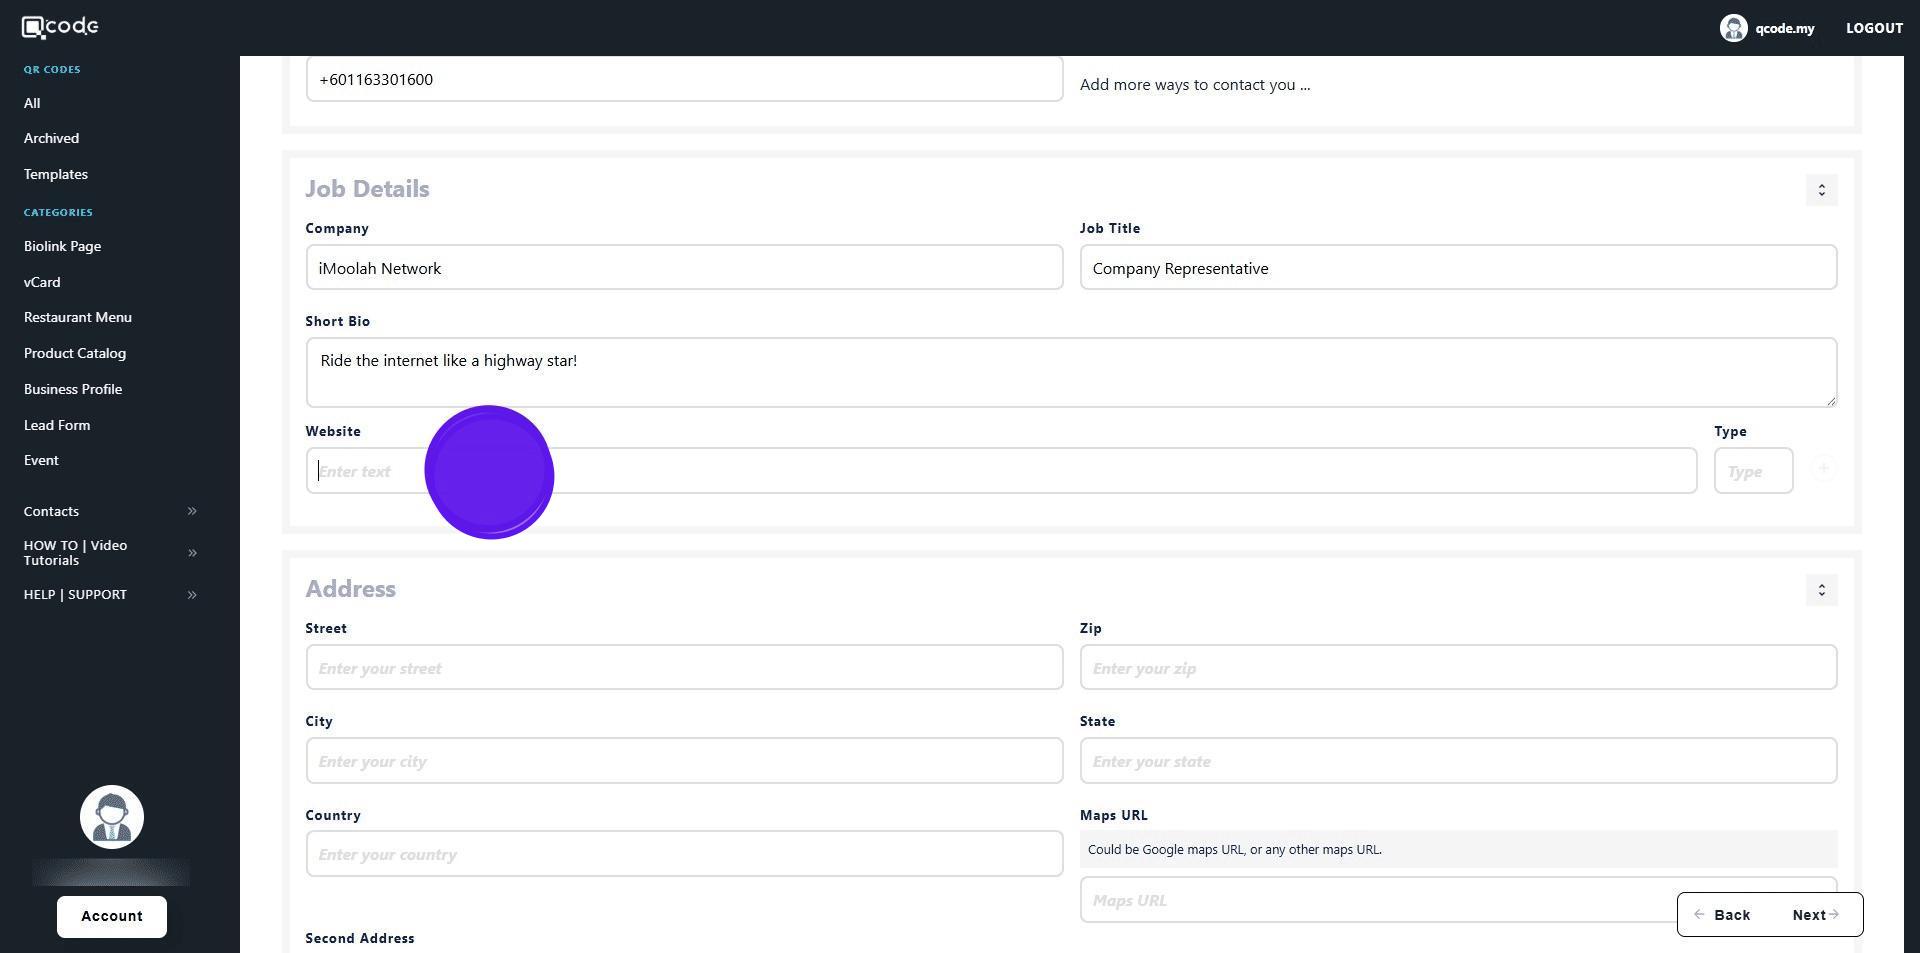
16. Type in your job title here
17. Type in your short bio here

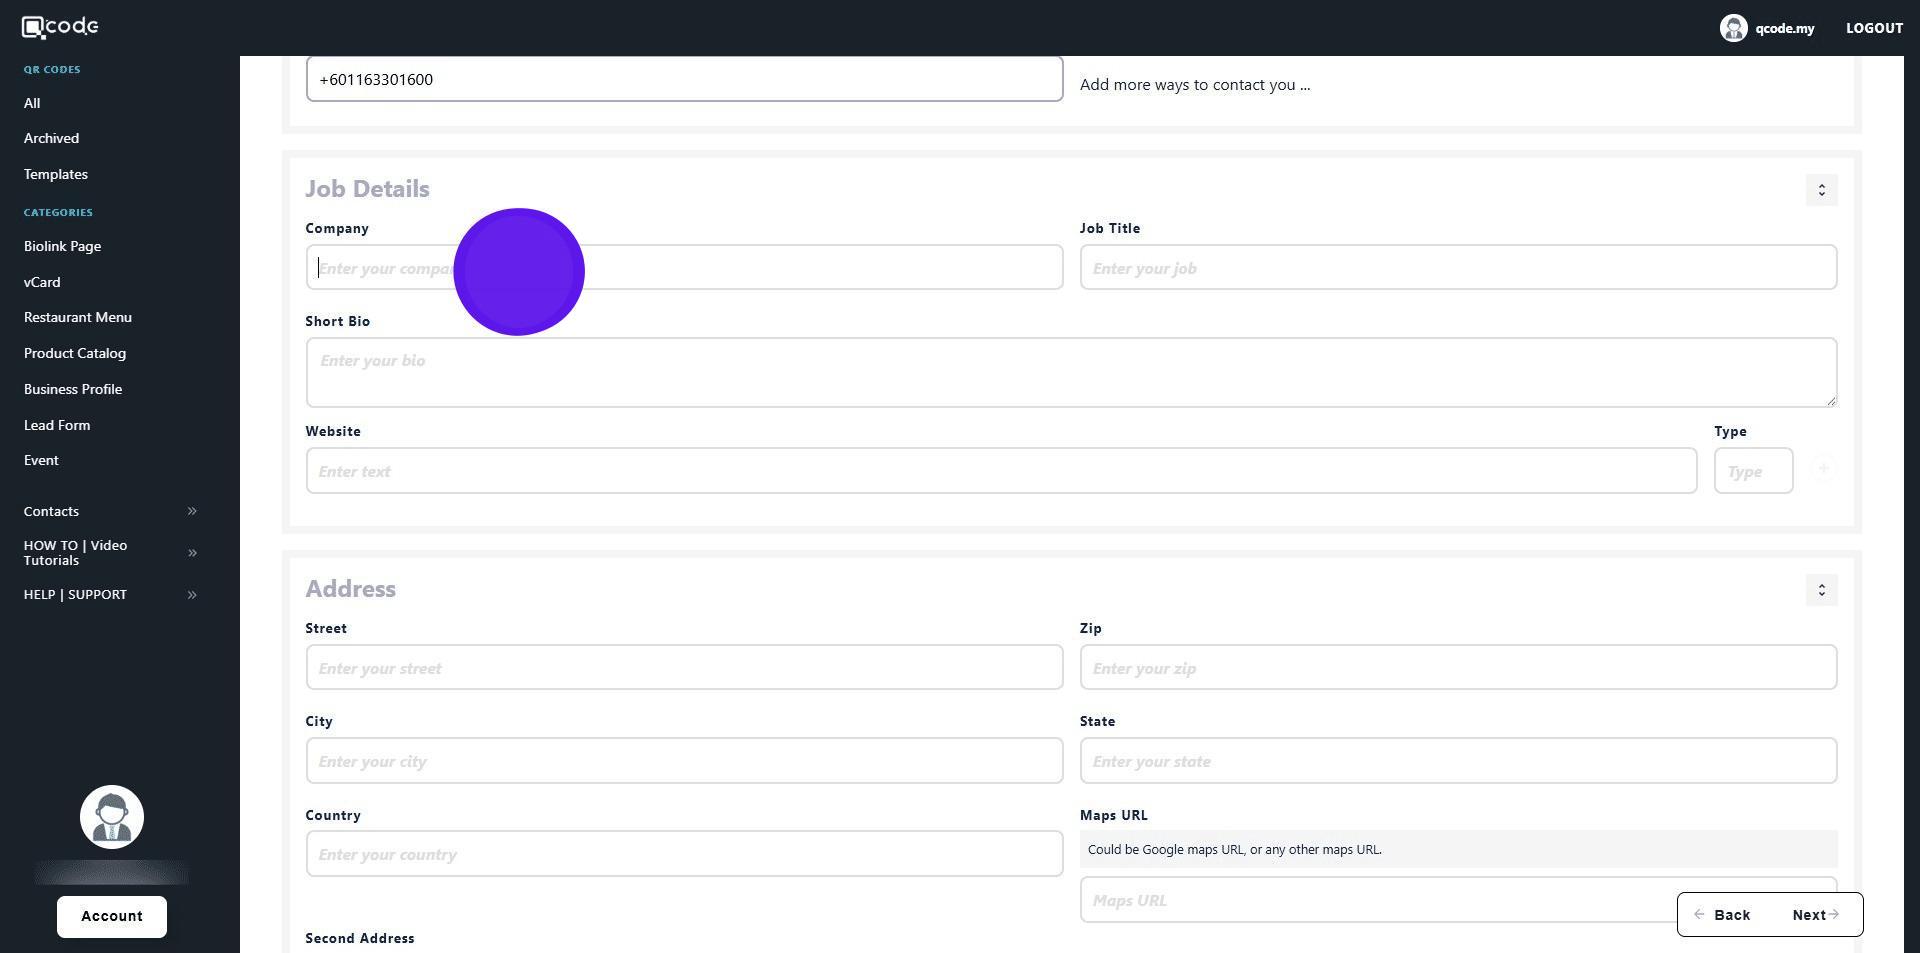
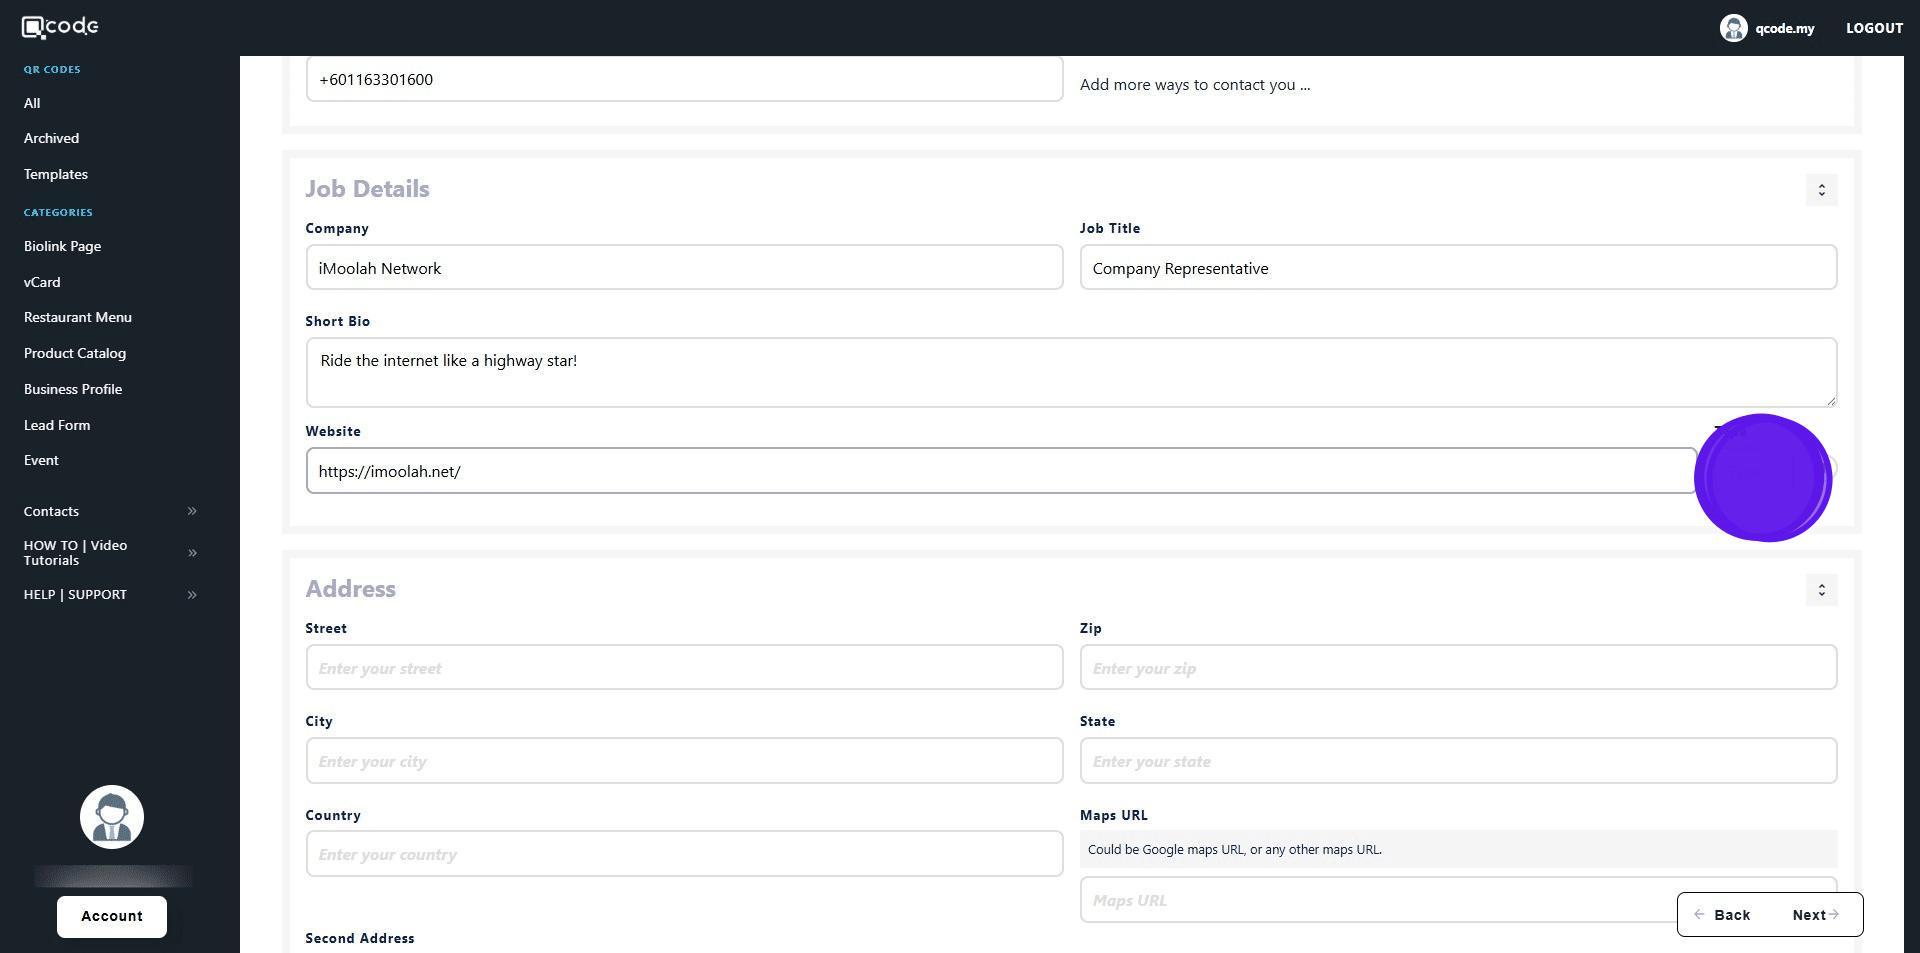
18. Type in the URL of your website here (include https://)
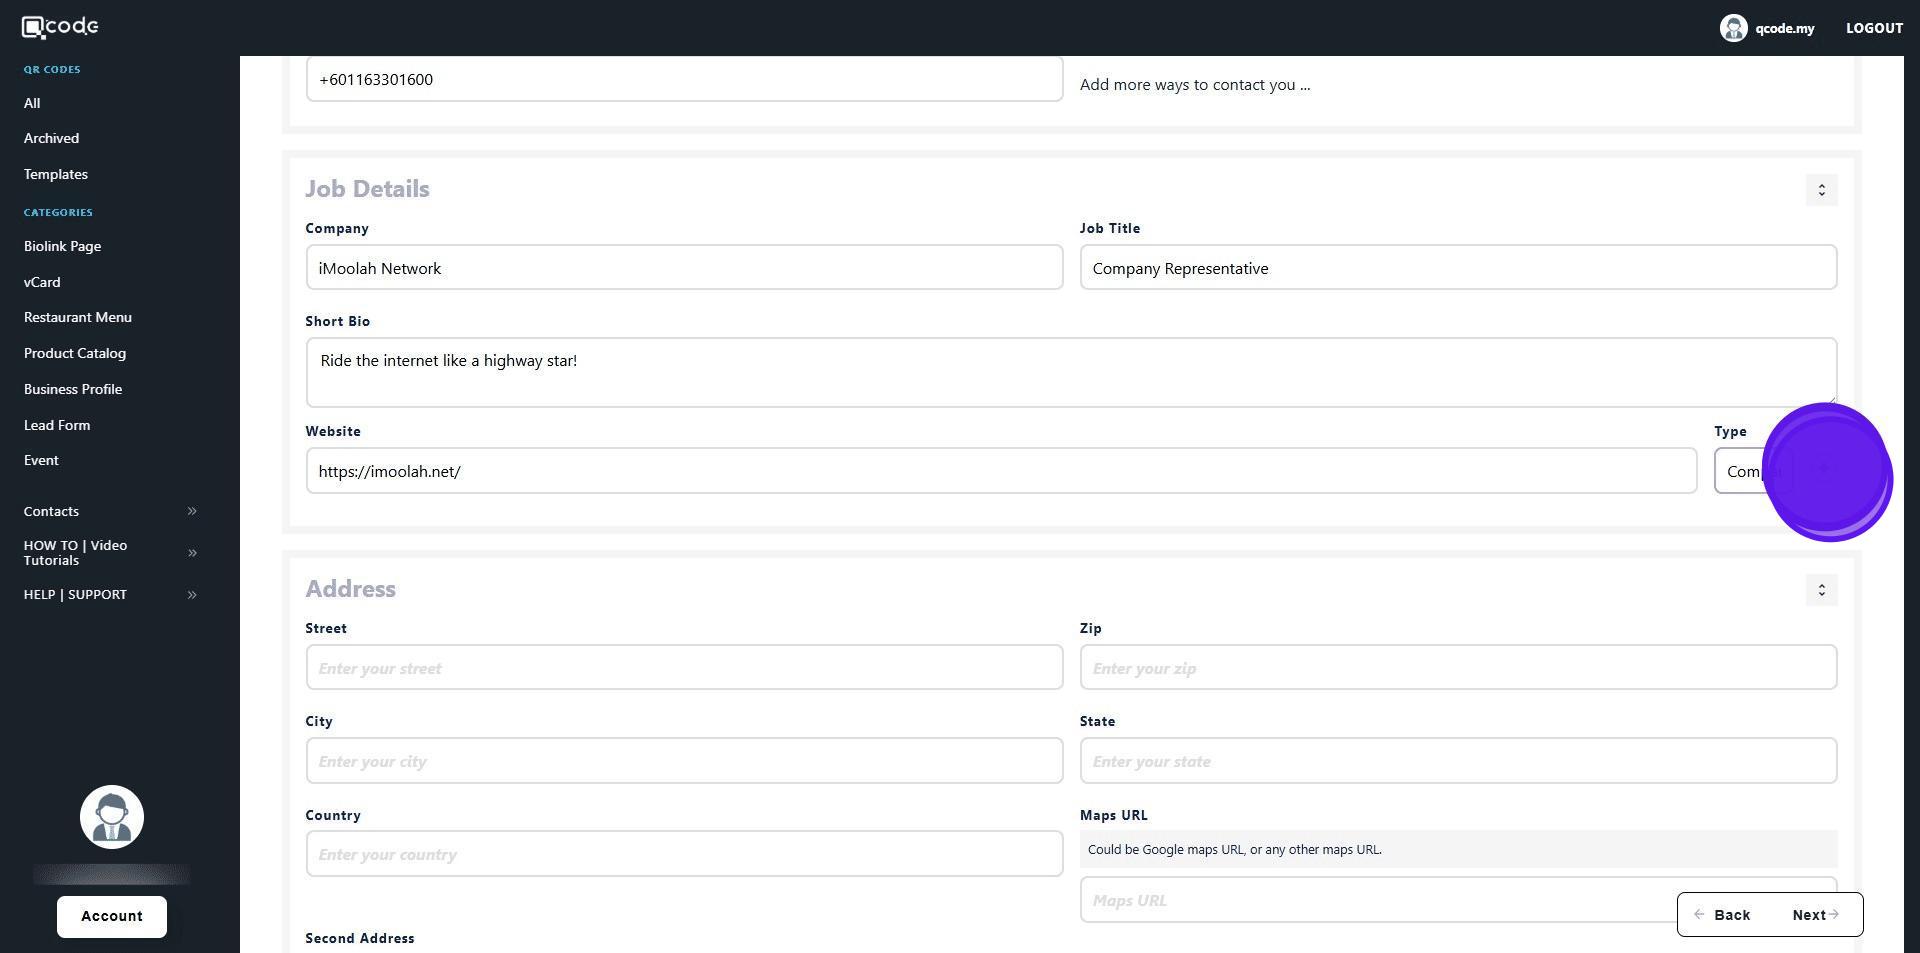
19. Give it a label here
20. Click on the plus icon to finish adding your website
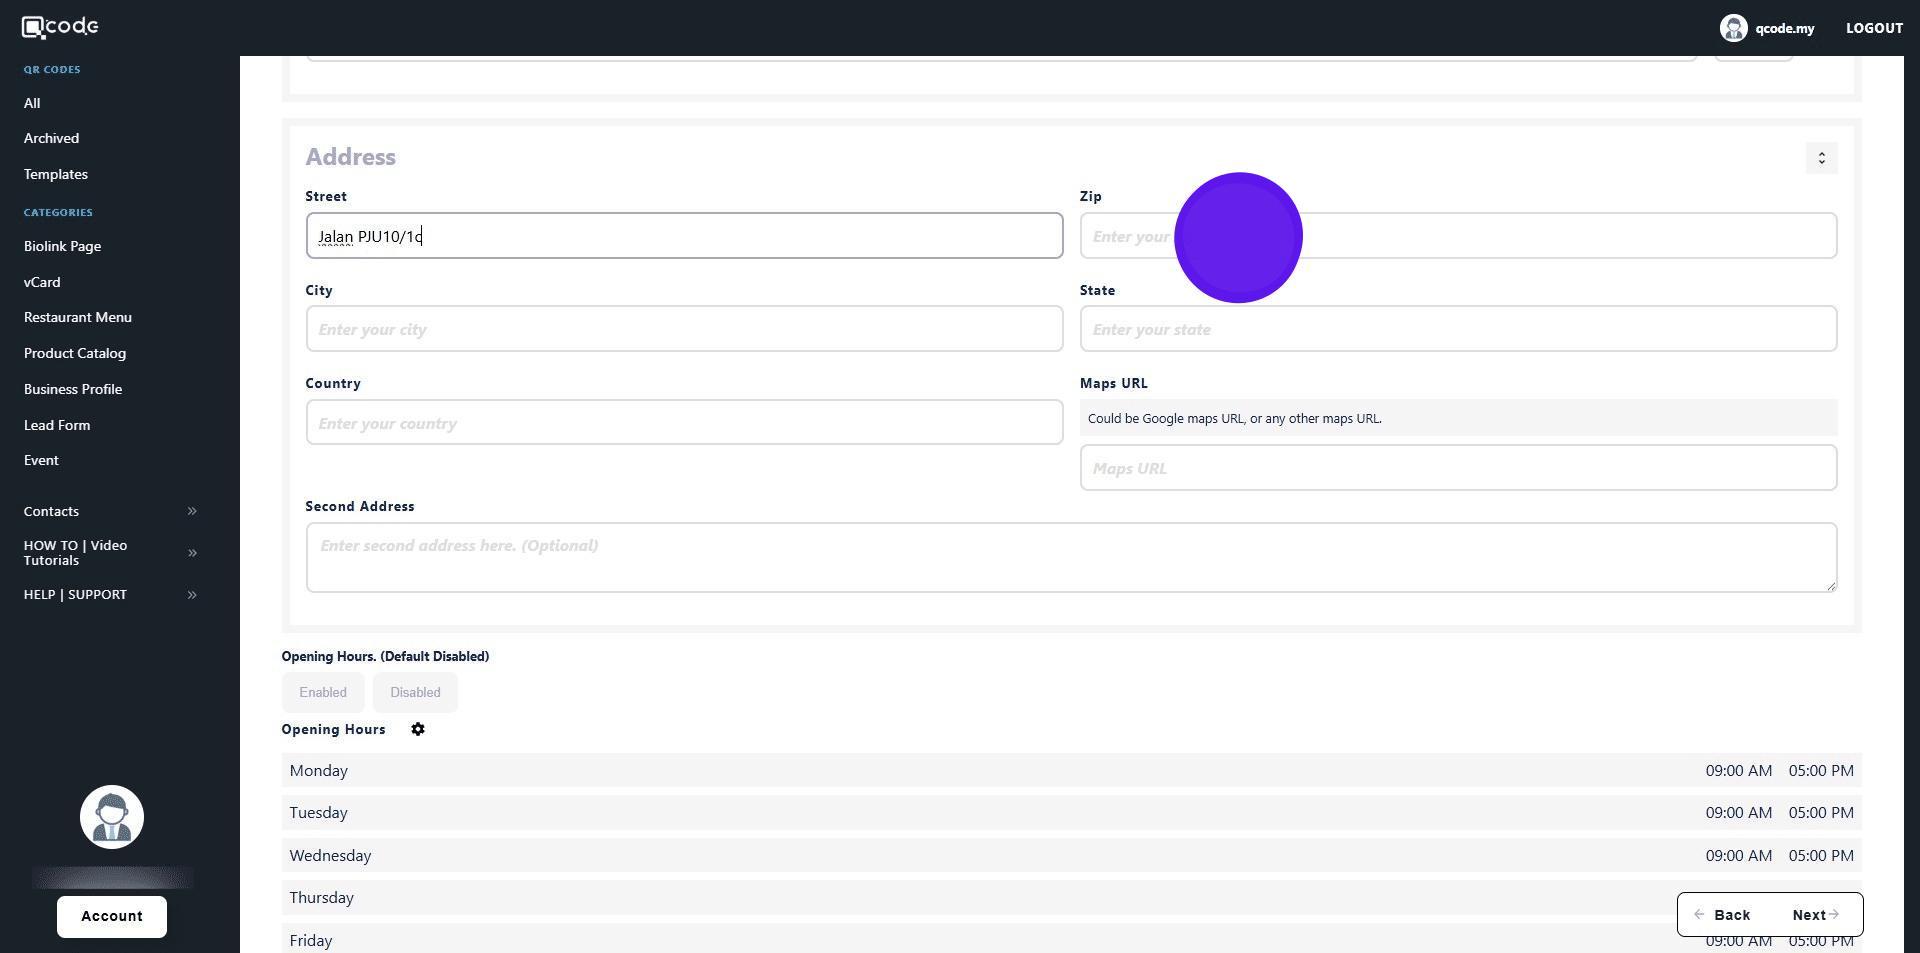
21. Type in your street here

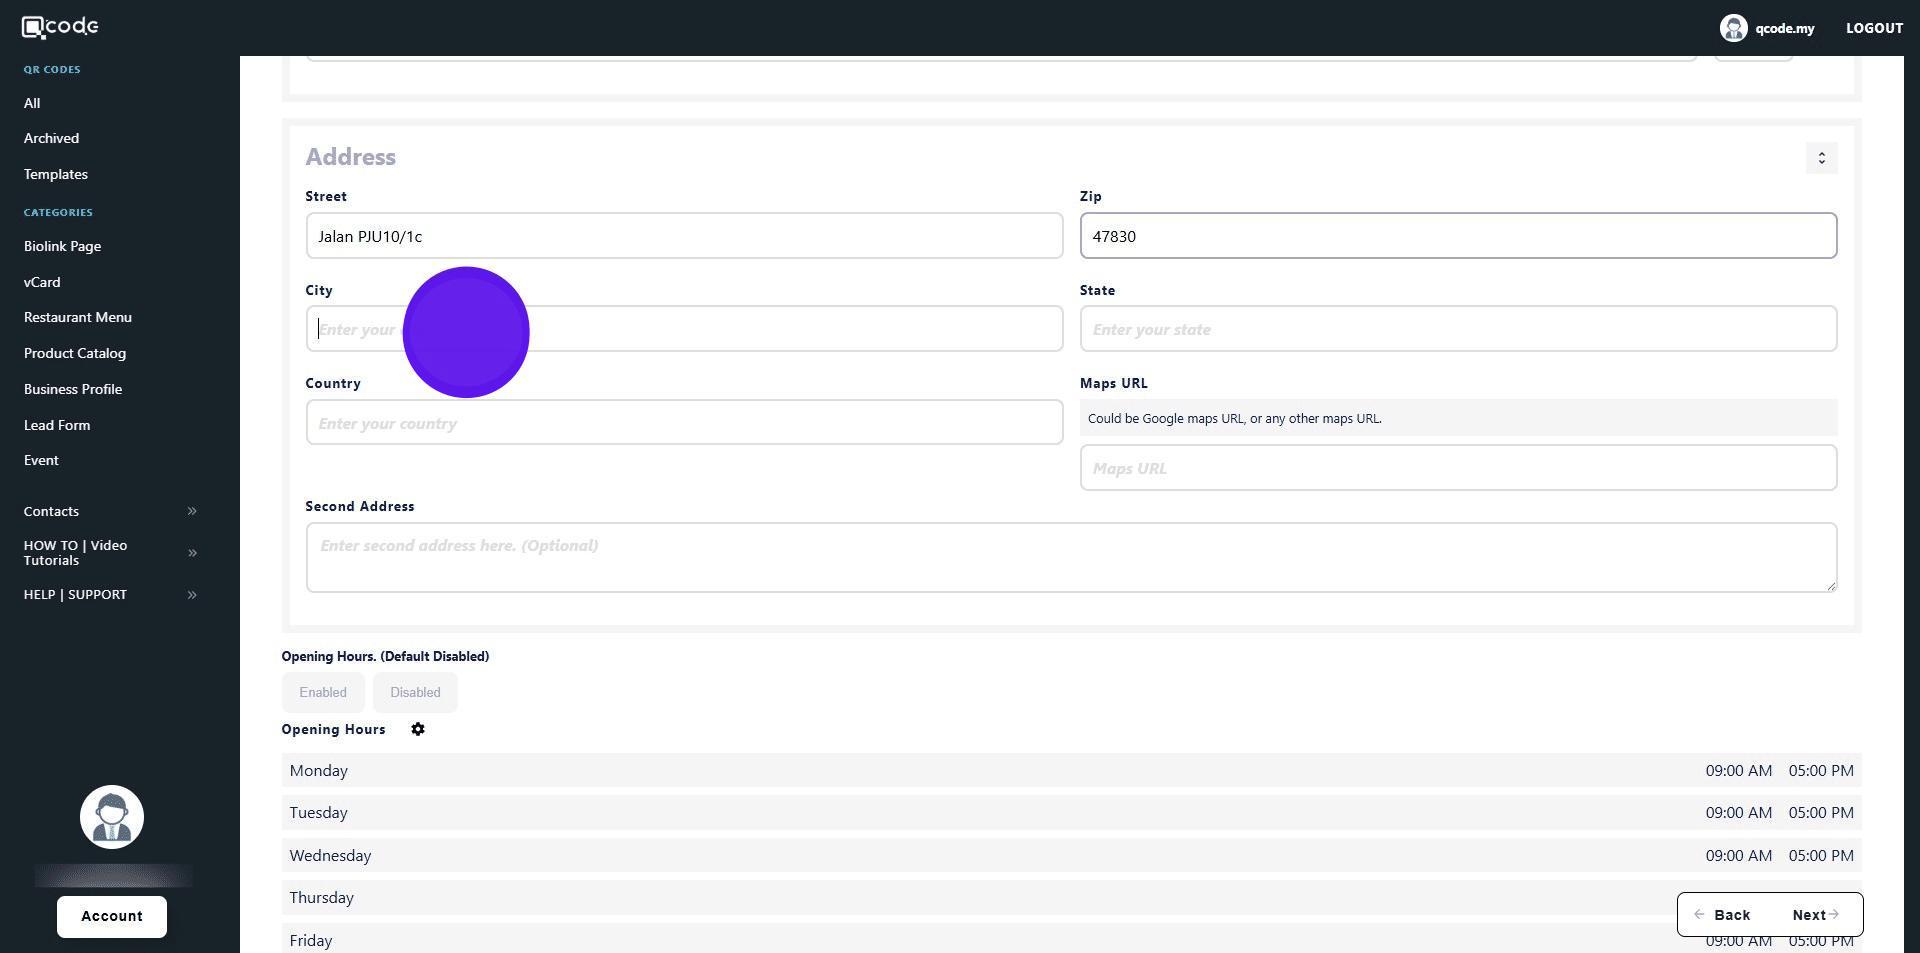
22. Type in your zip code here
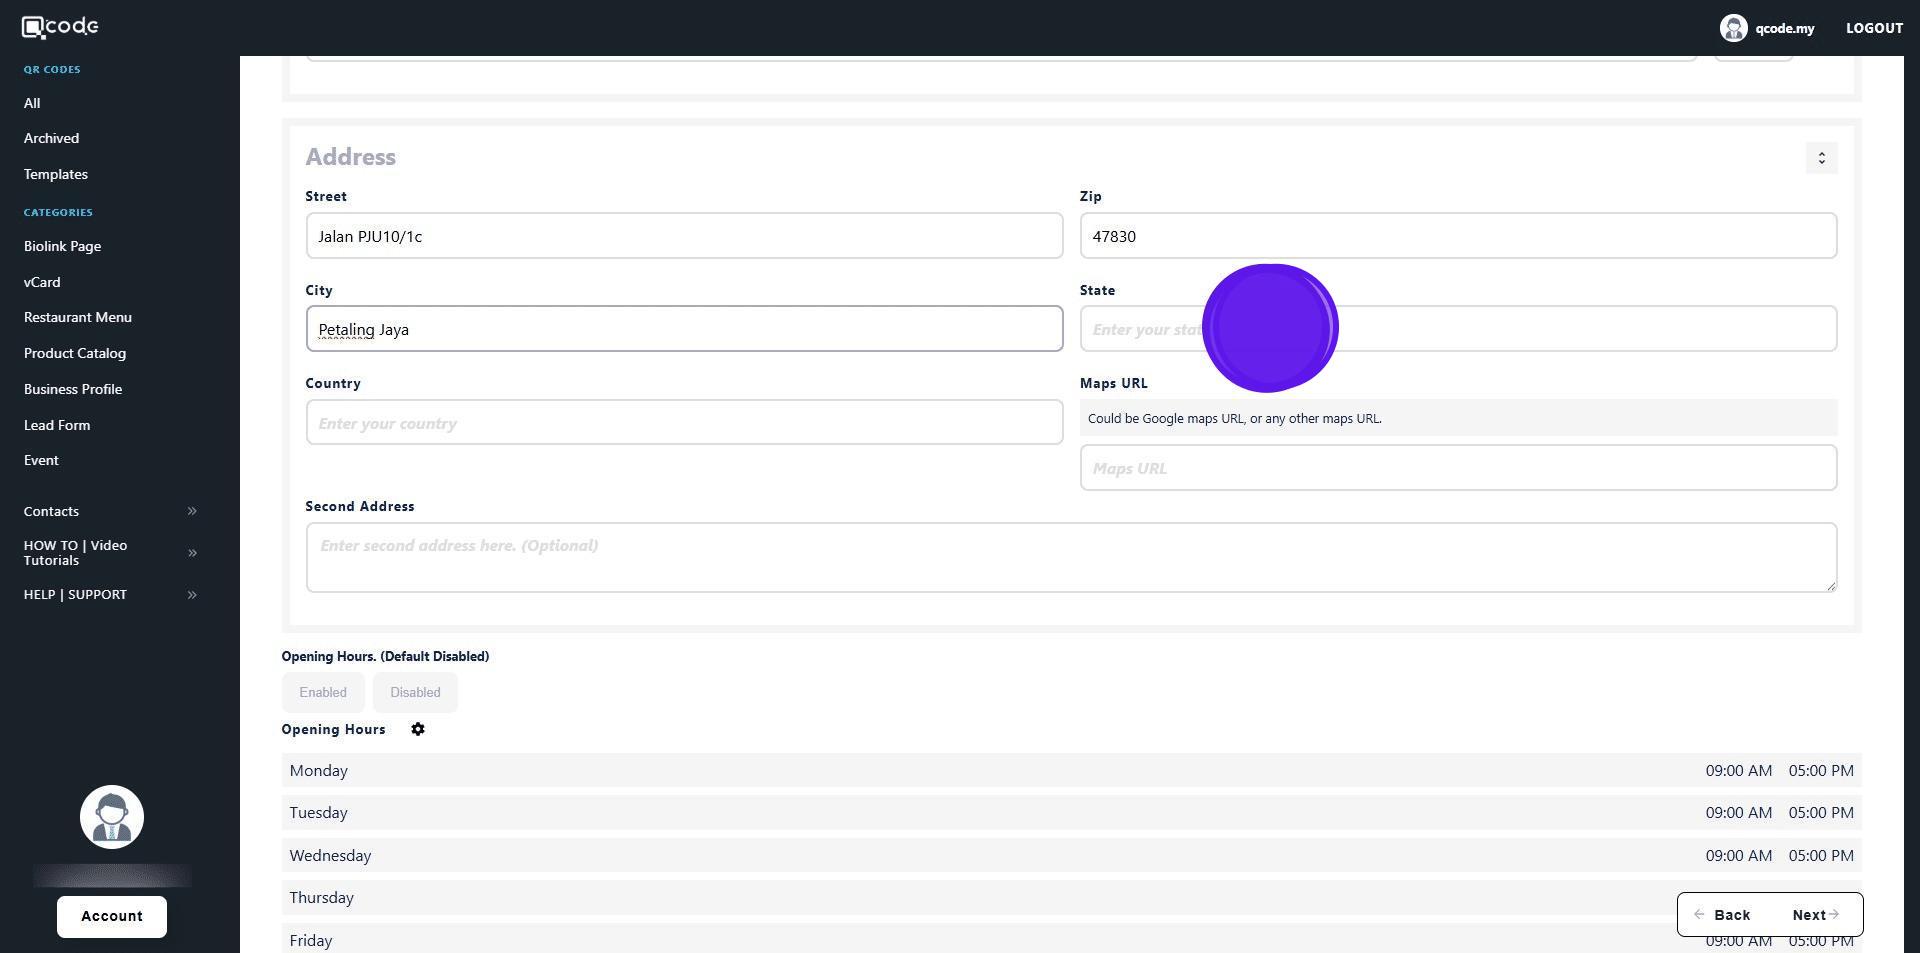
23. Type in your city here
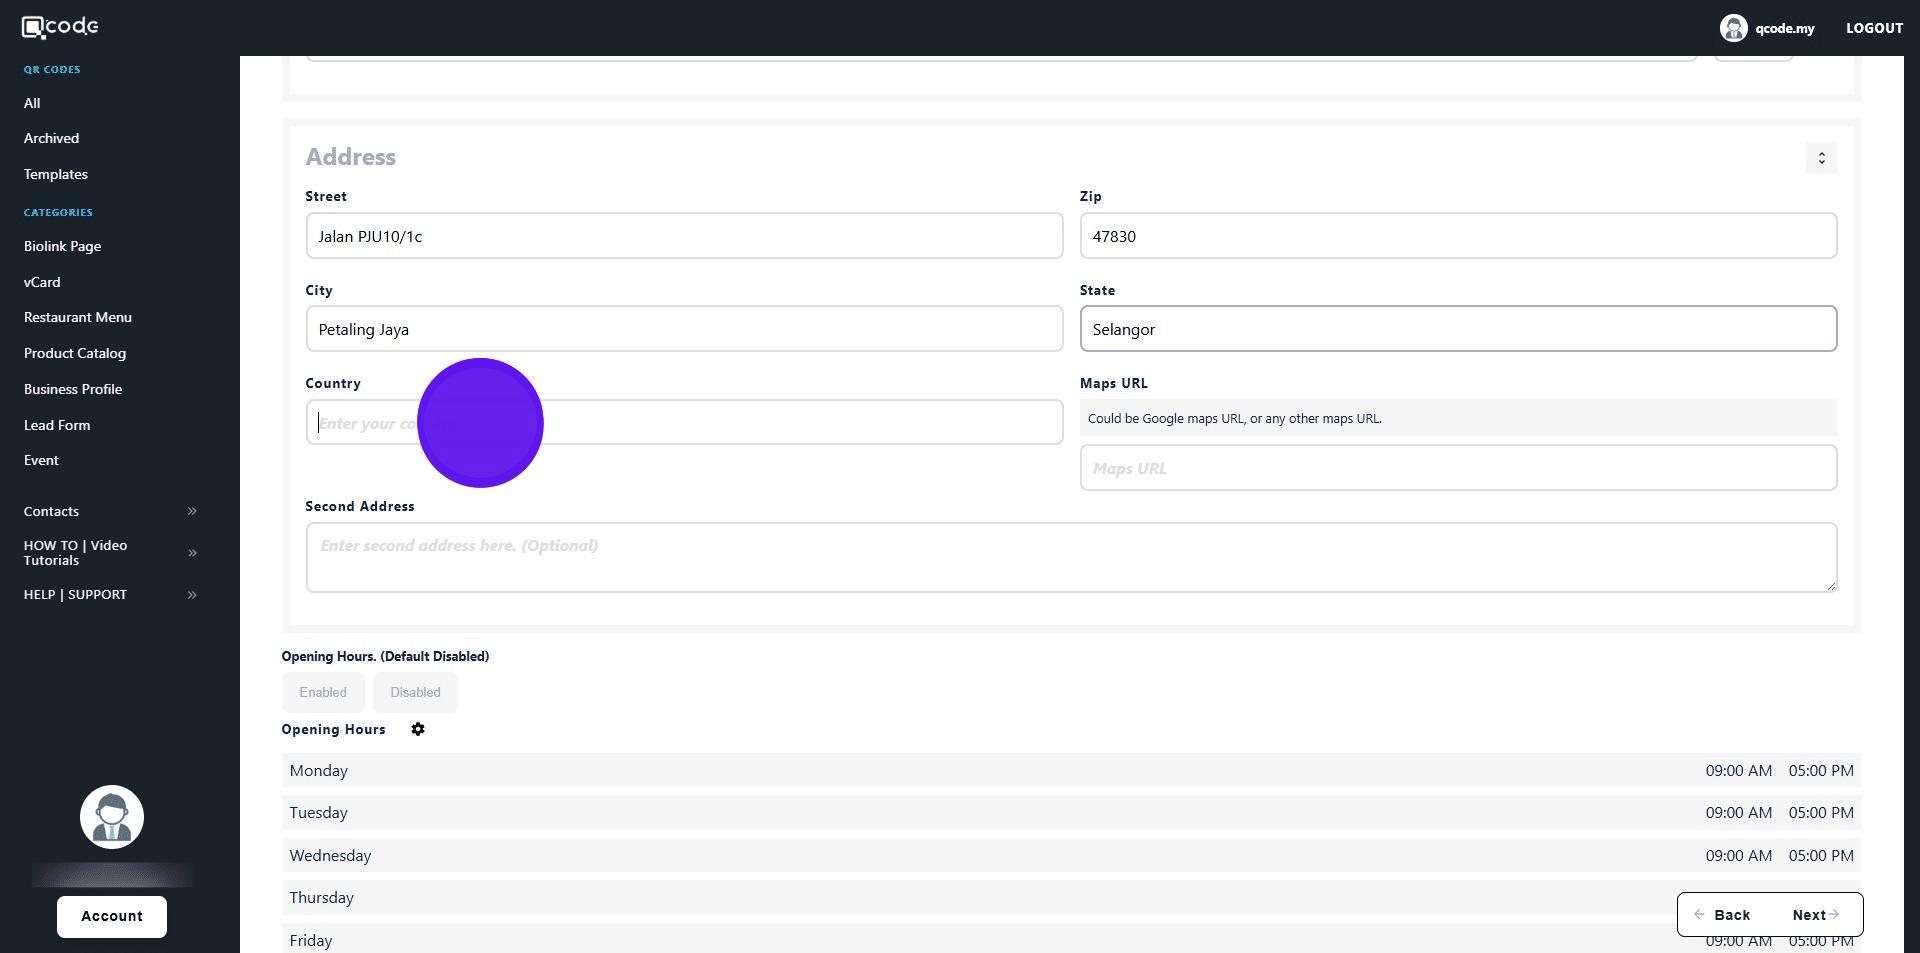
24. Type in your state here
25. Type in your country here
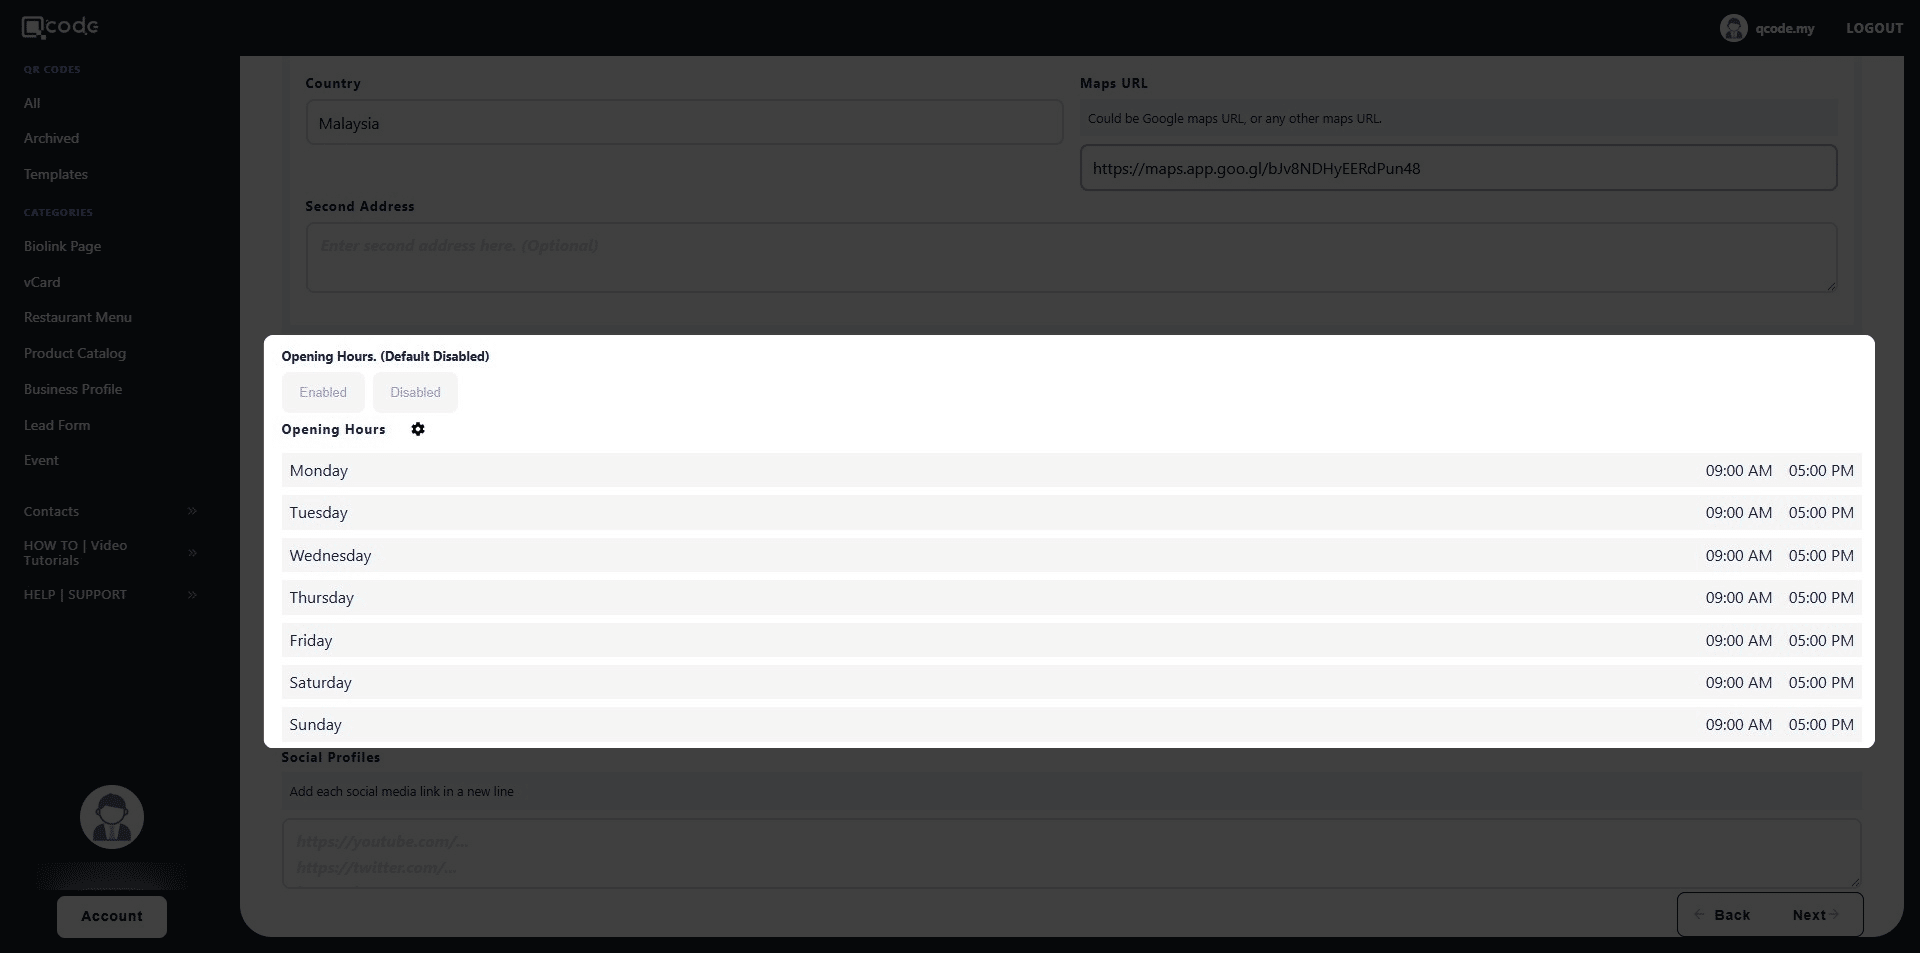
26. Insert the URL of your Google Maps here

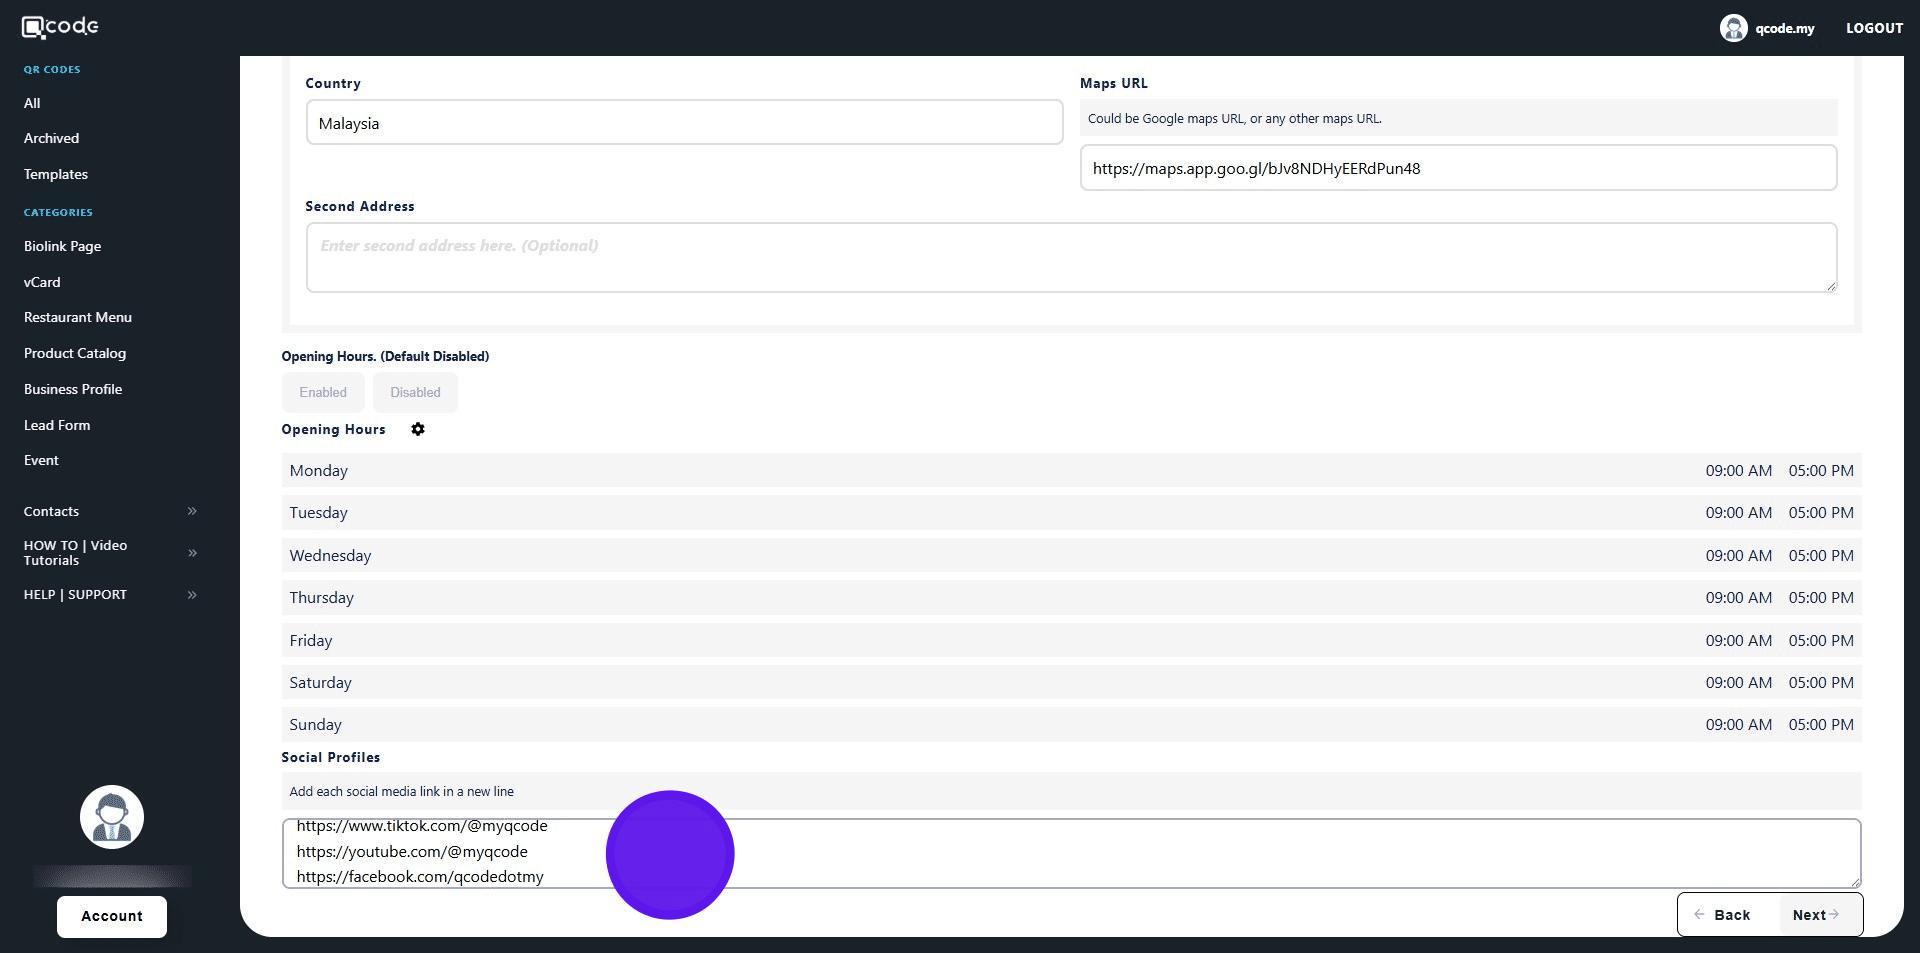
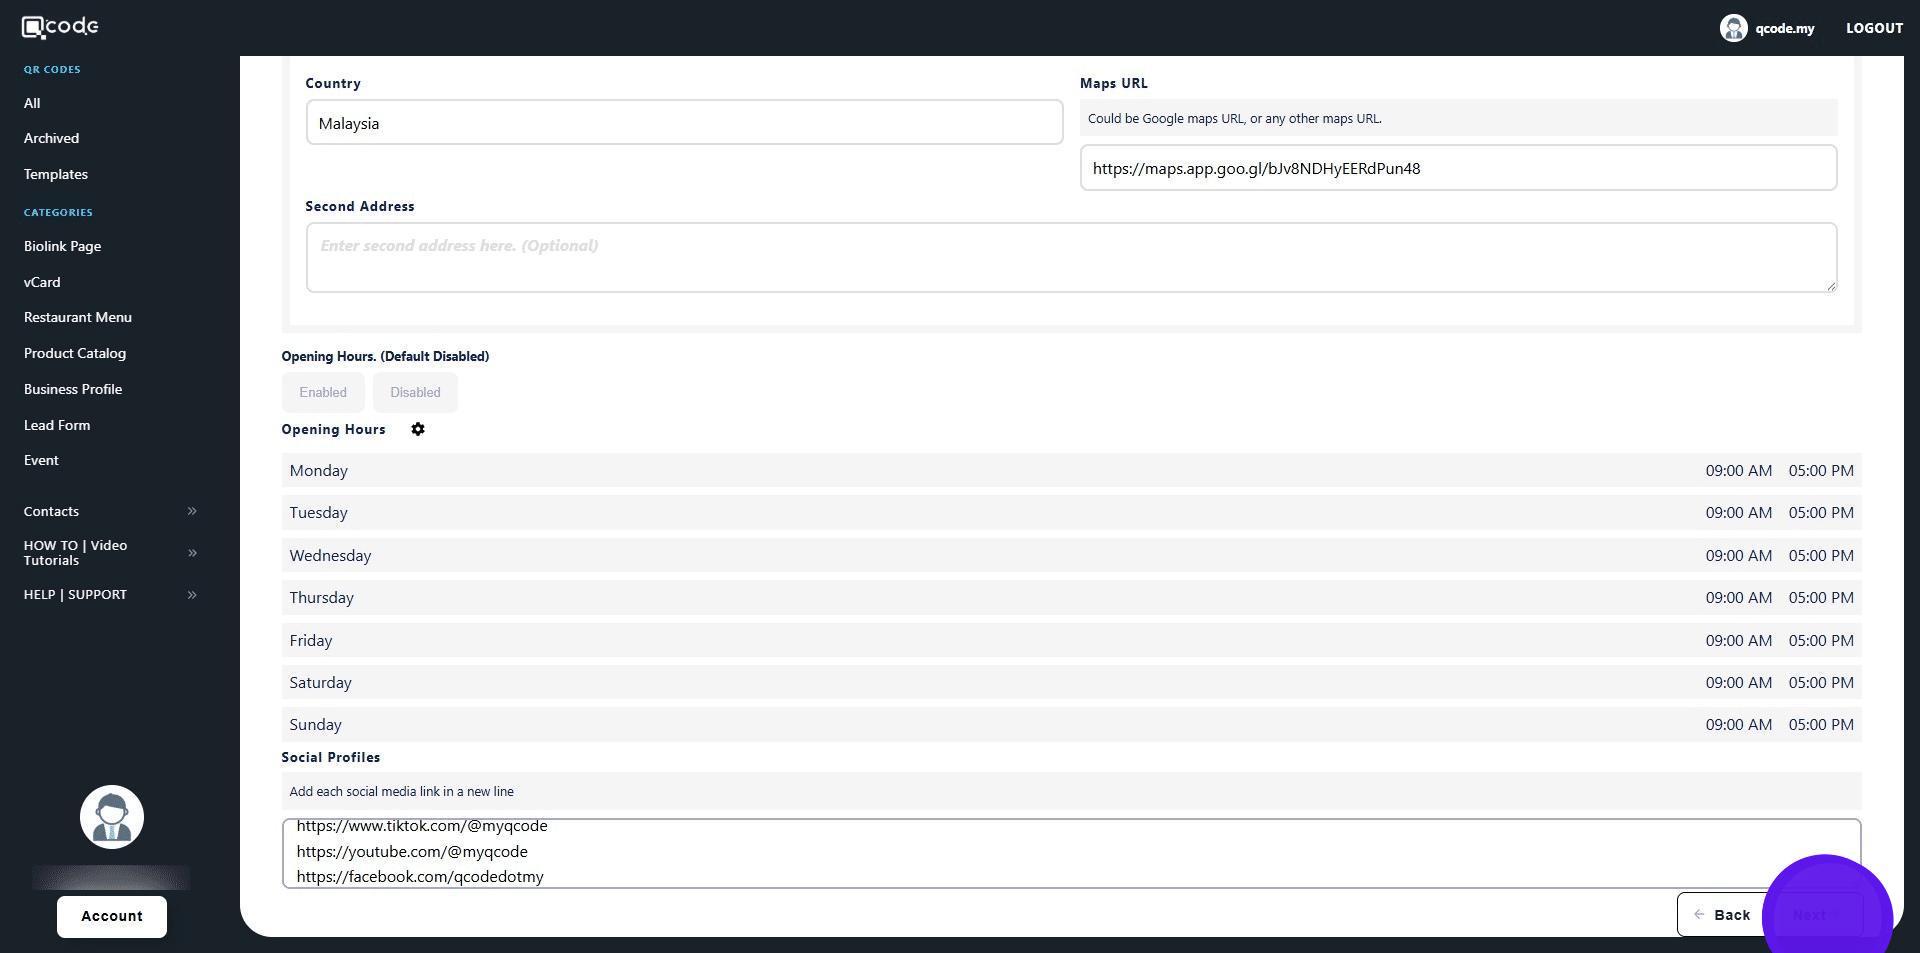
27. Here is the settings for opening hours. Click the link to learn more: https://kb.imoolah.network/guides/mbtKyRzccP3YSopGckez
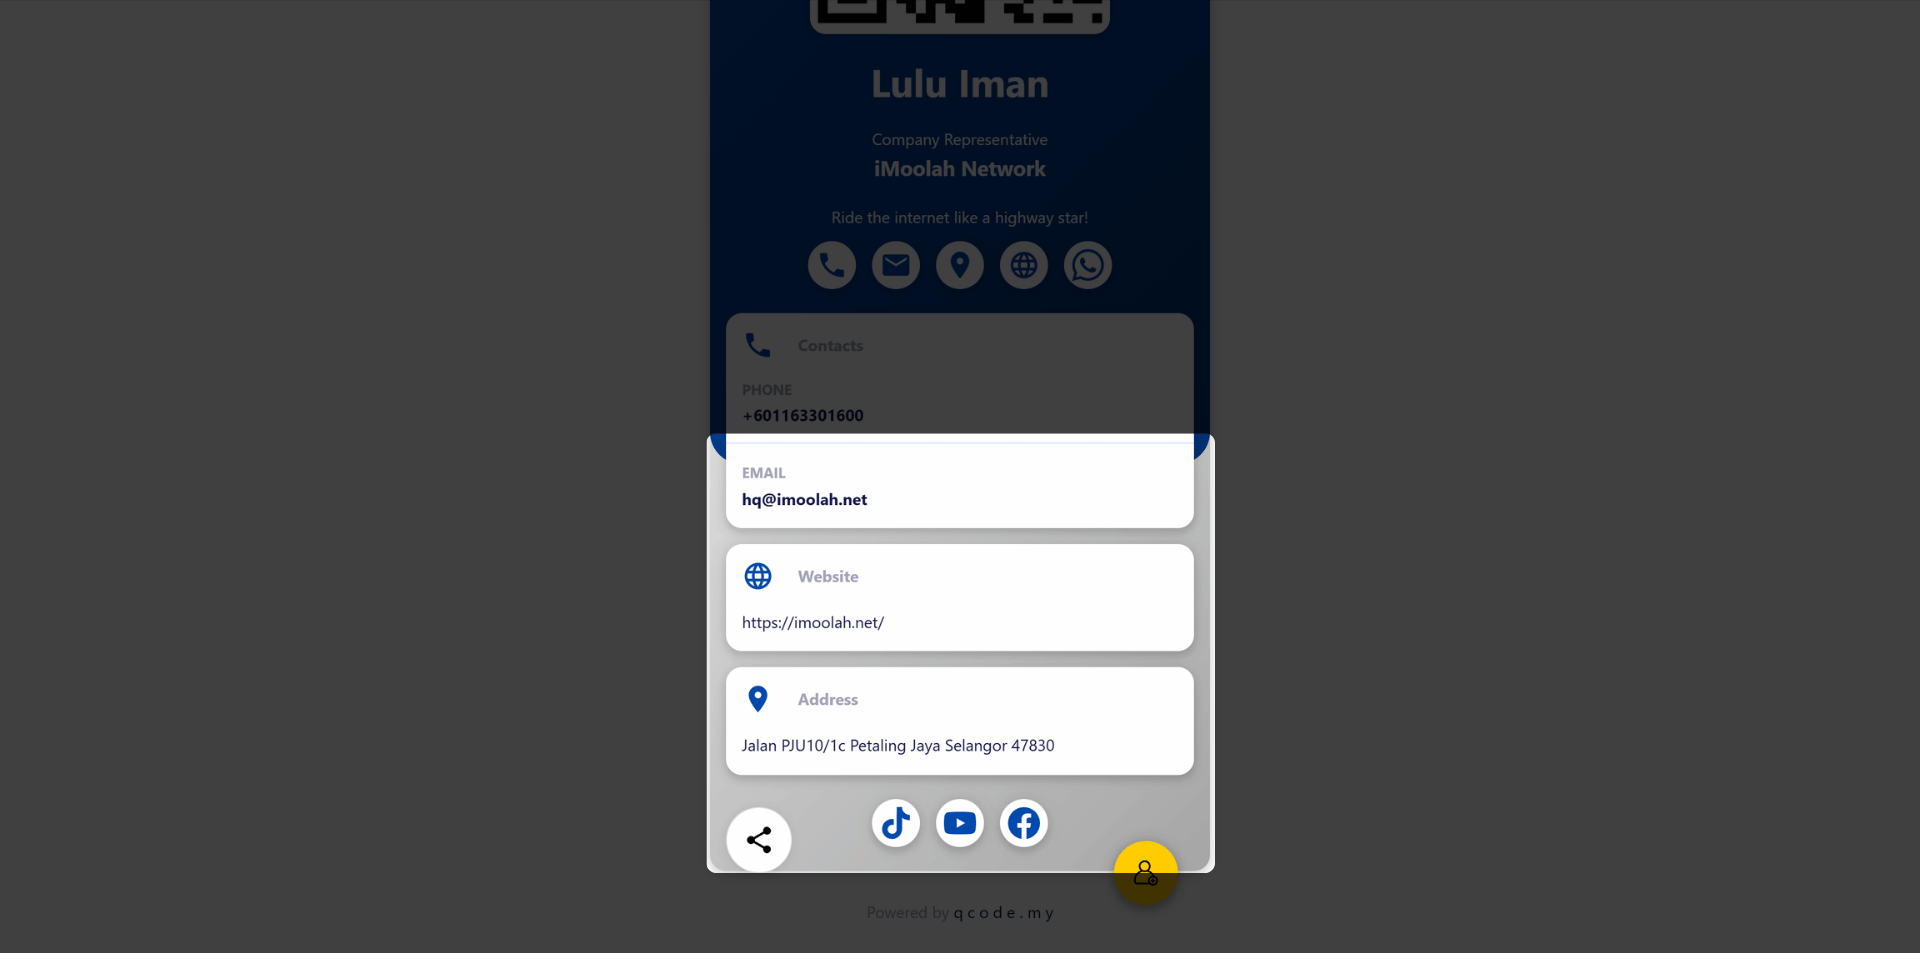
28. Insert your social media links here
29. Click on Next to move to the next page
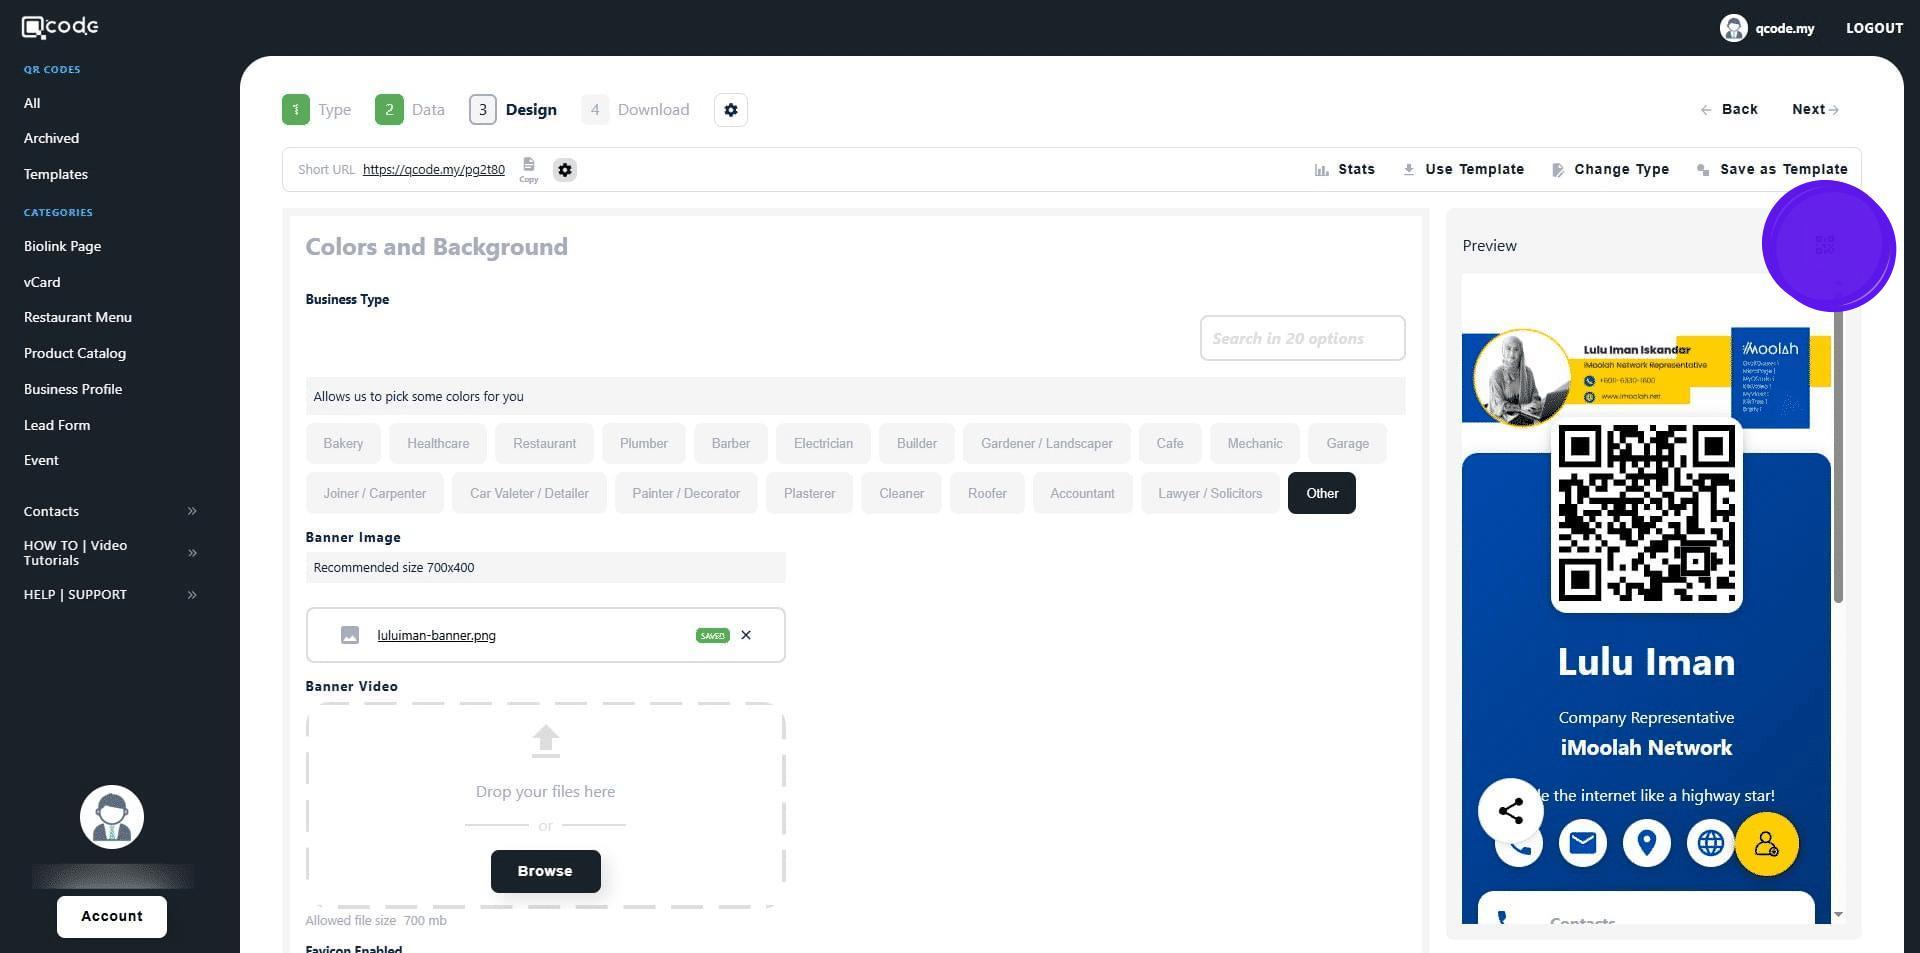
30. Click on Other to manually adjust your vCard colors

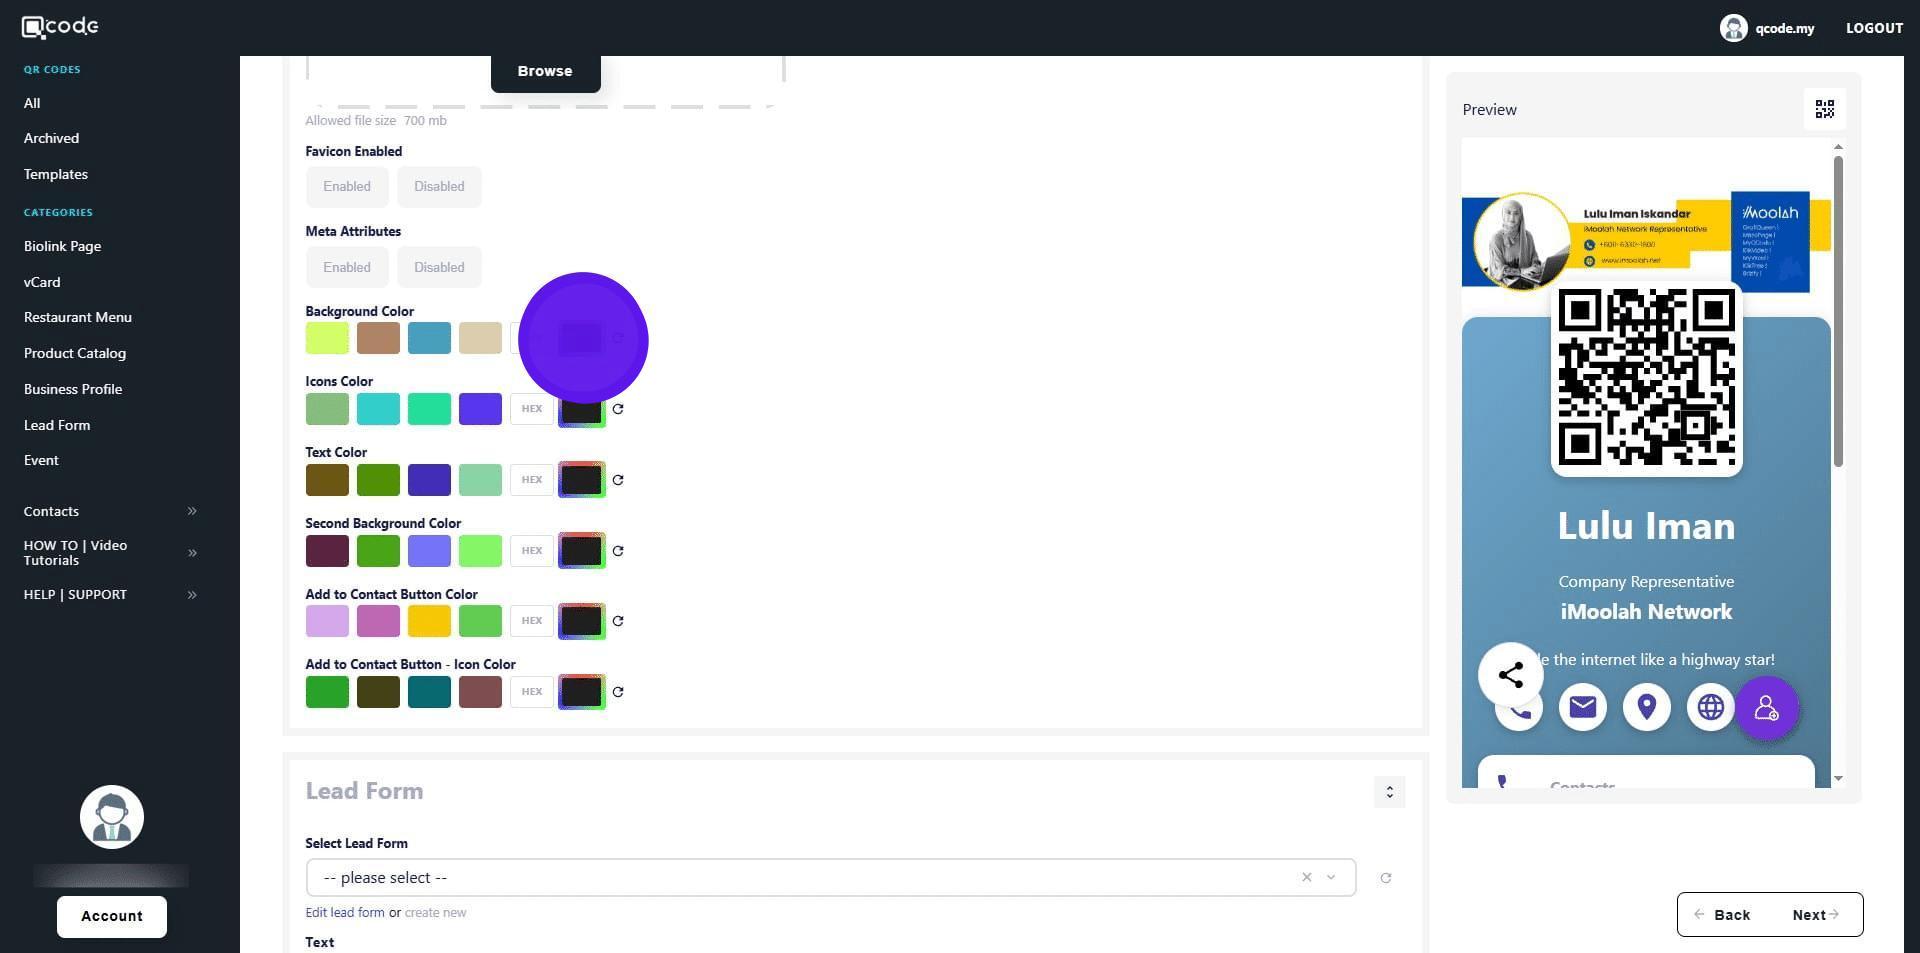
31. Click on Browse to upload your banner image
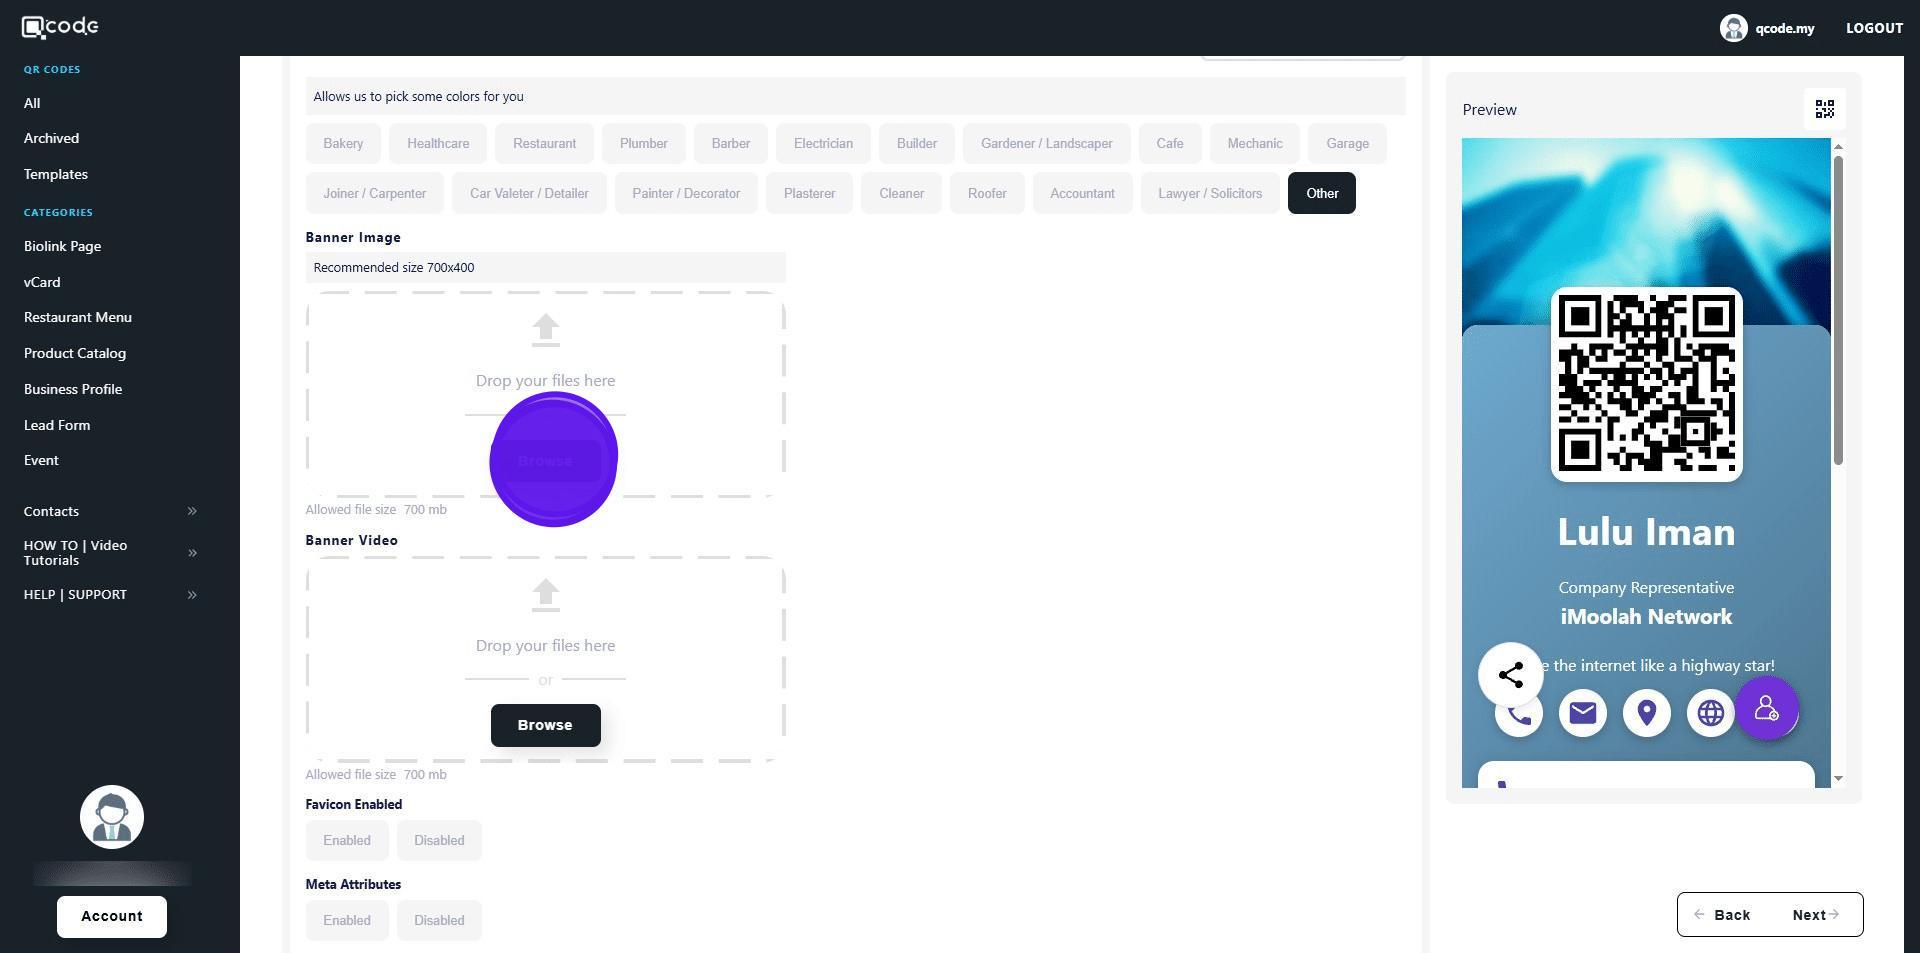
32. Click here to change background colors
33. Click here to change icons color
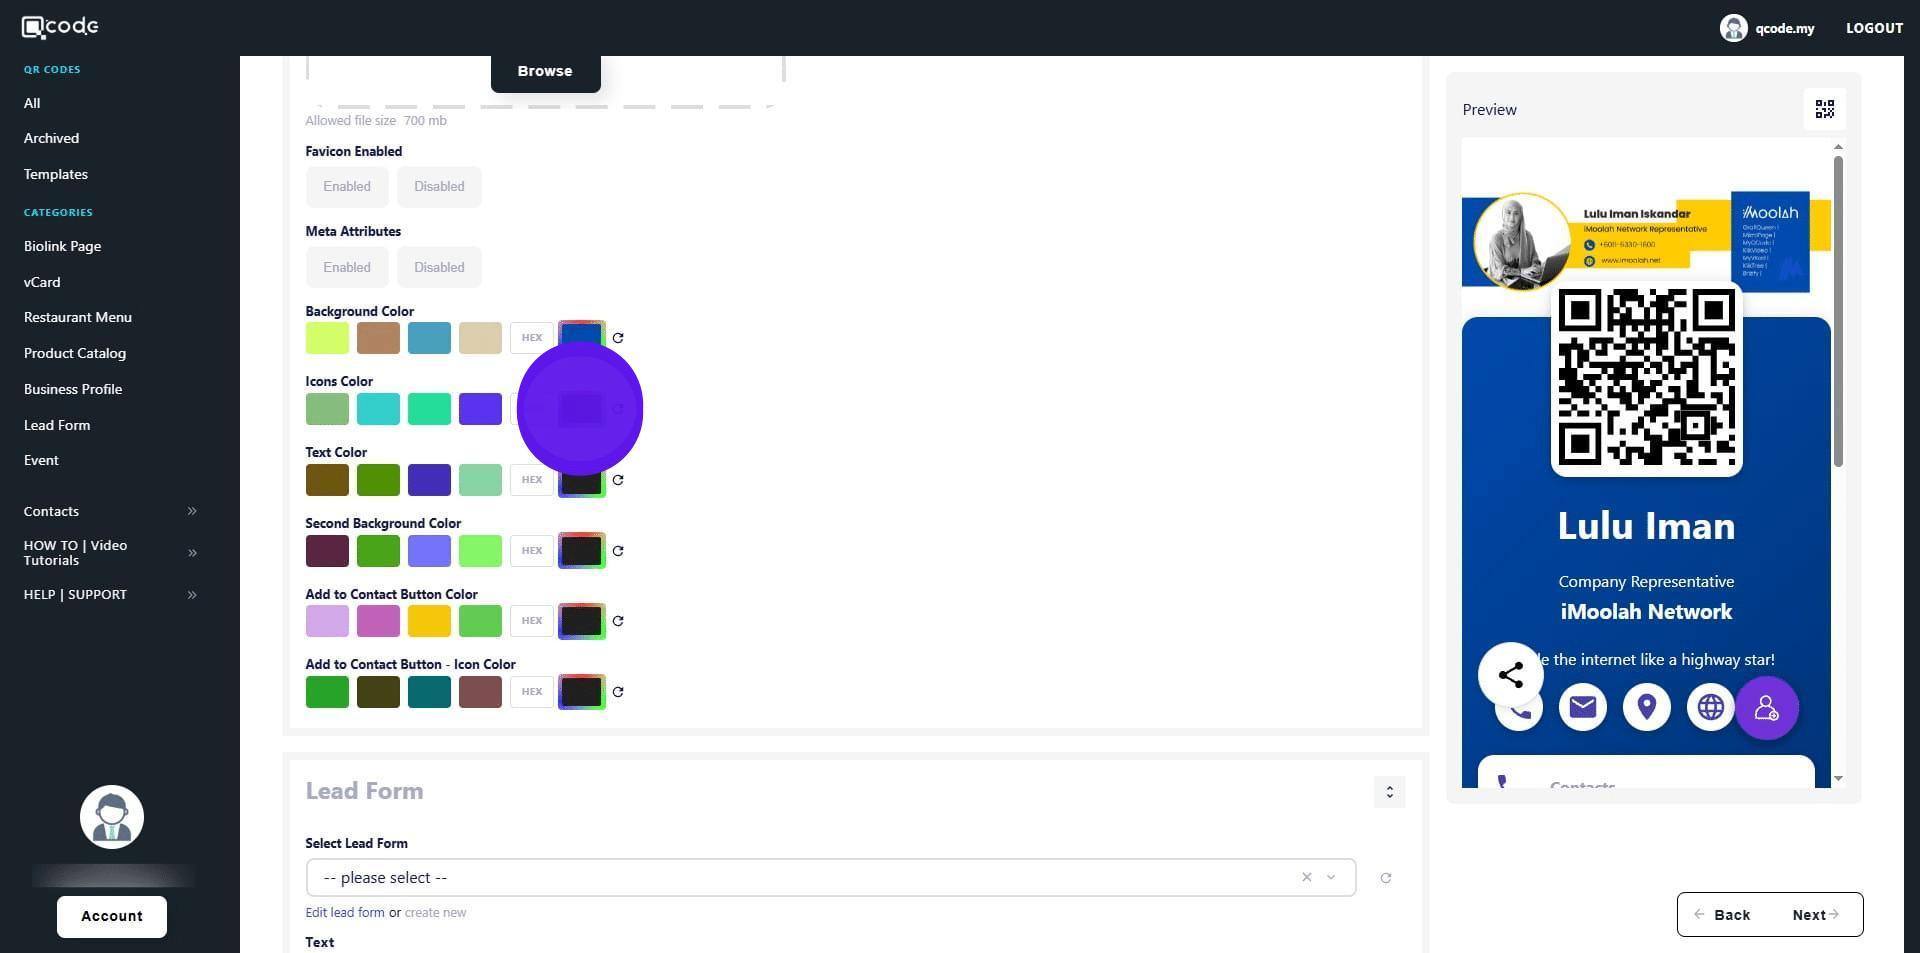
34. Click here to change text color

35. Click here to change second background color
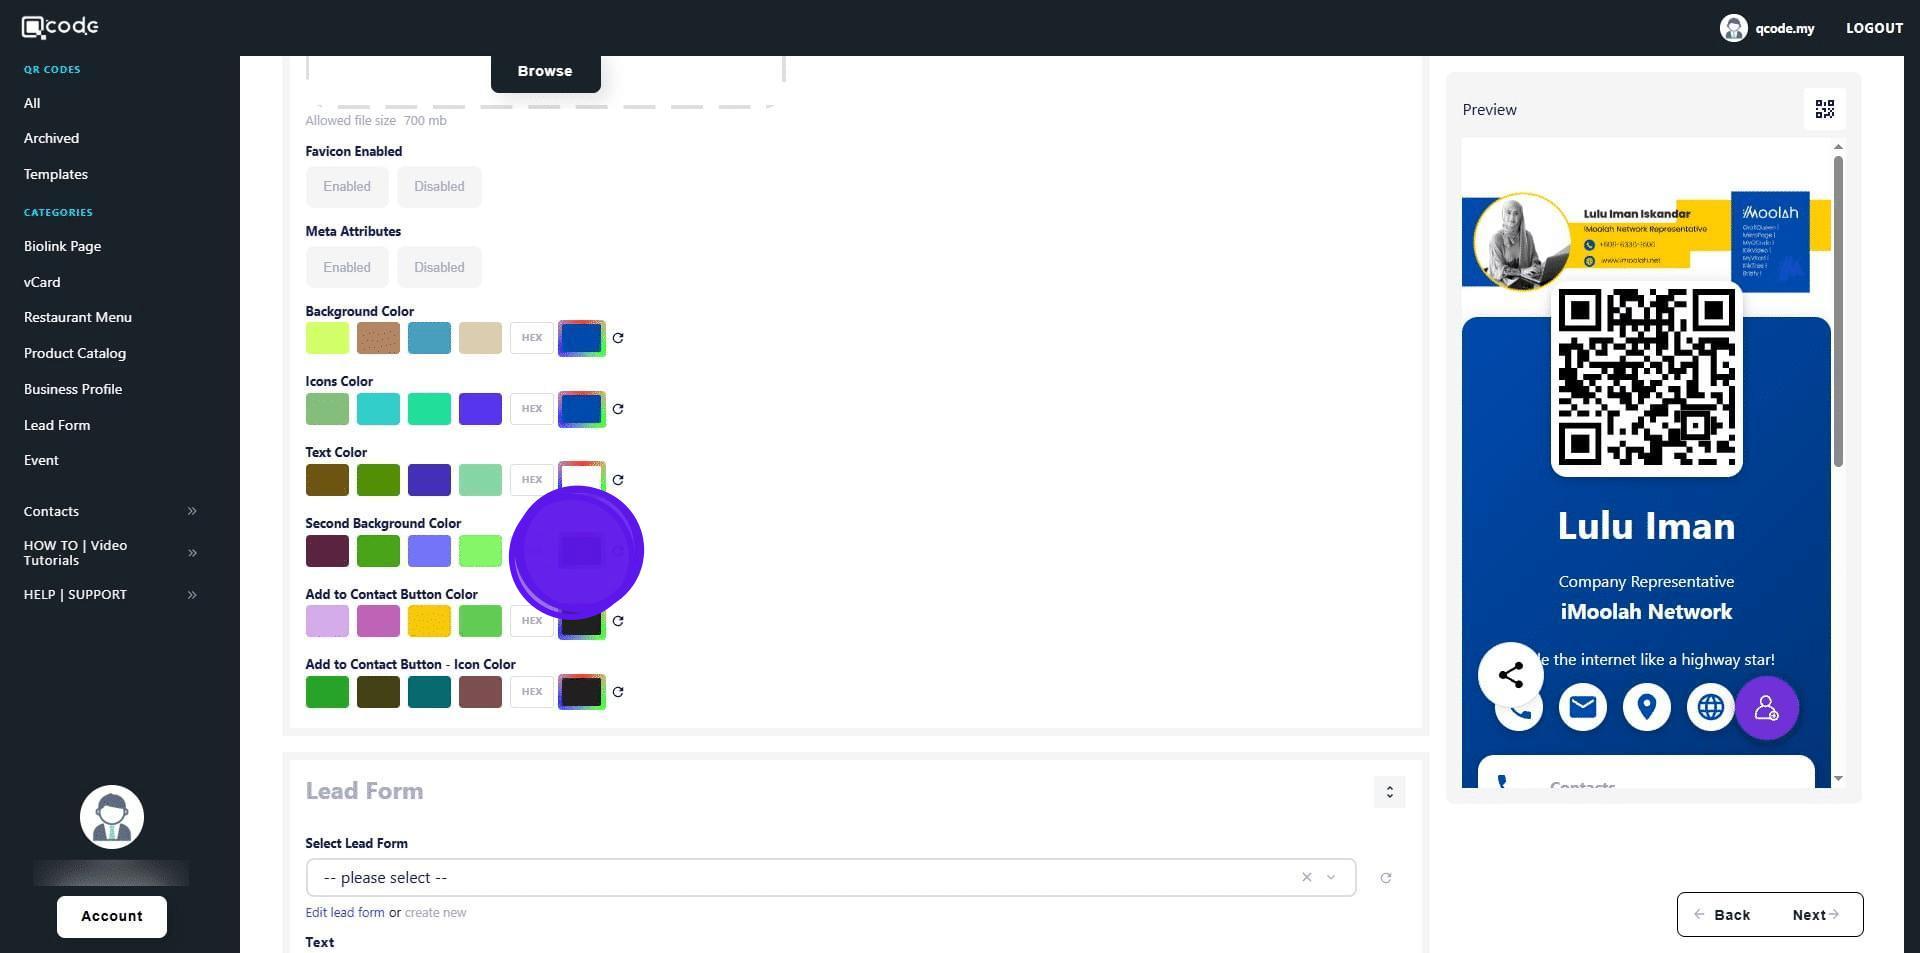
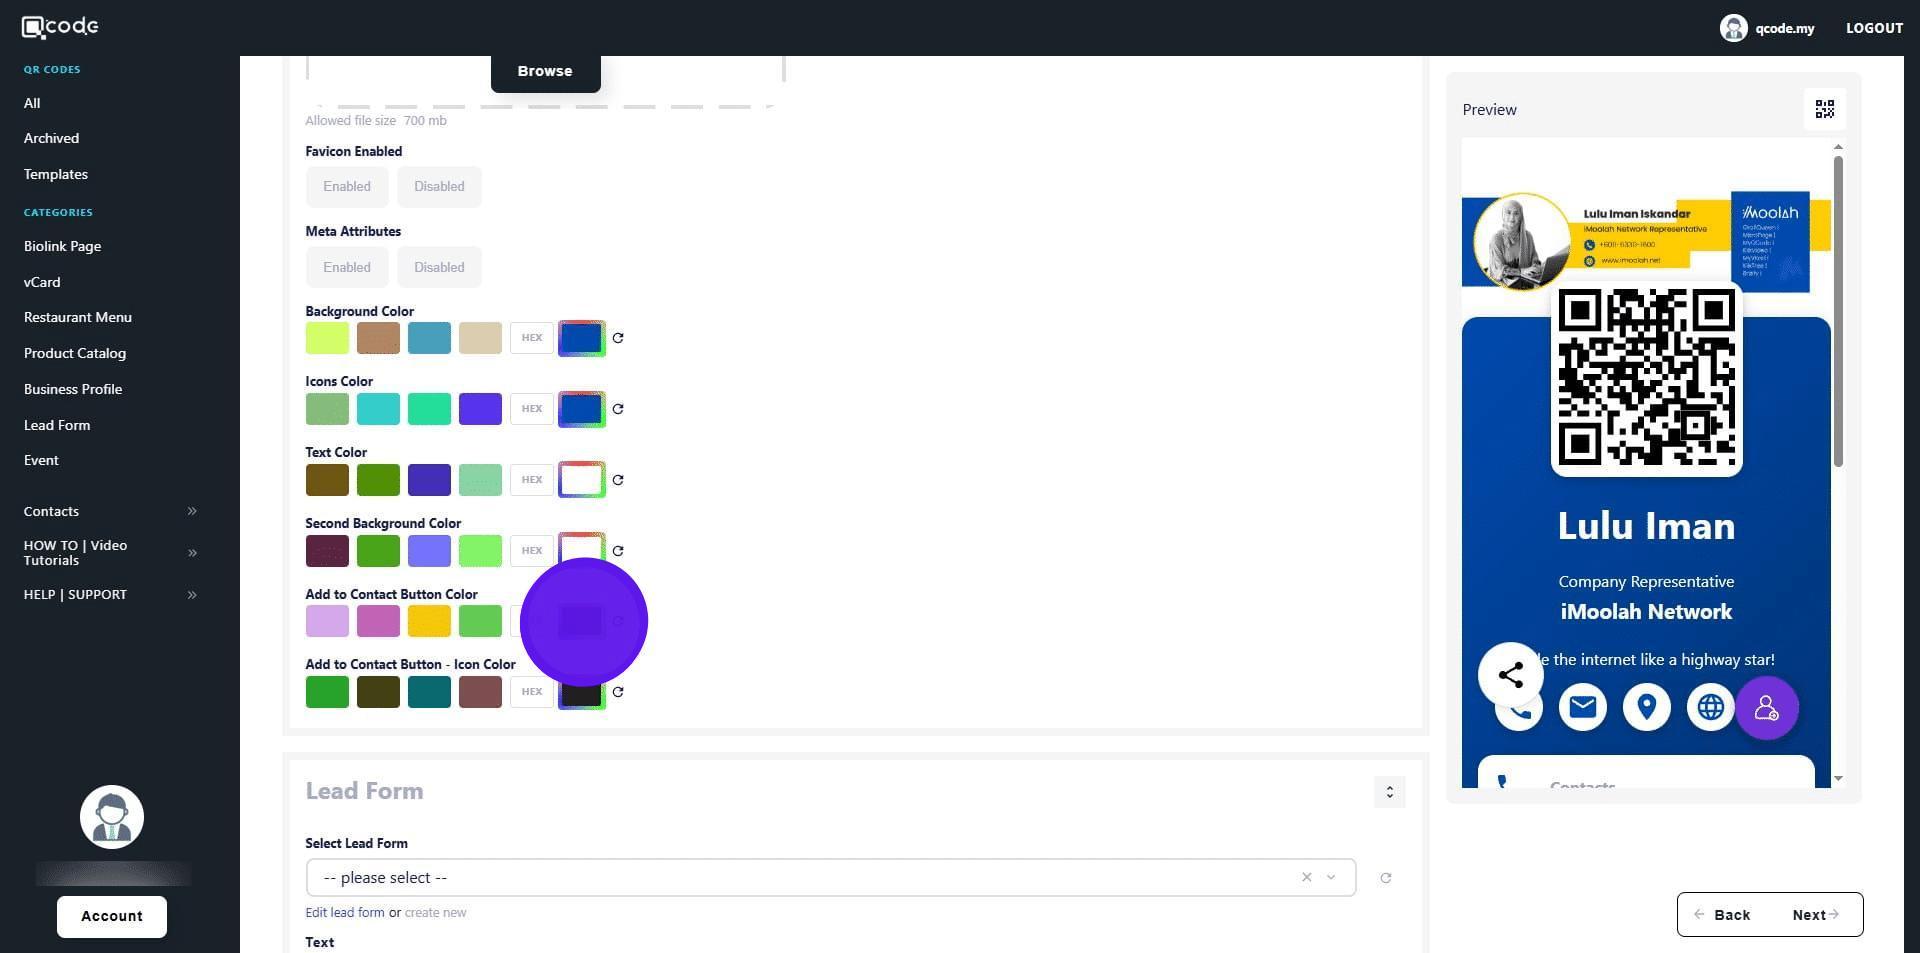
36. The second background color will be applied at the bottom half of your vCard
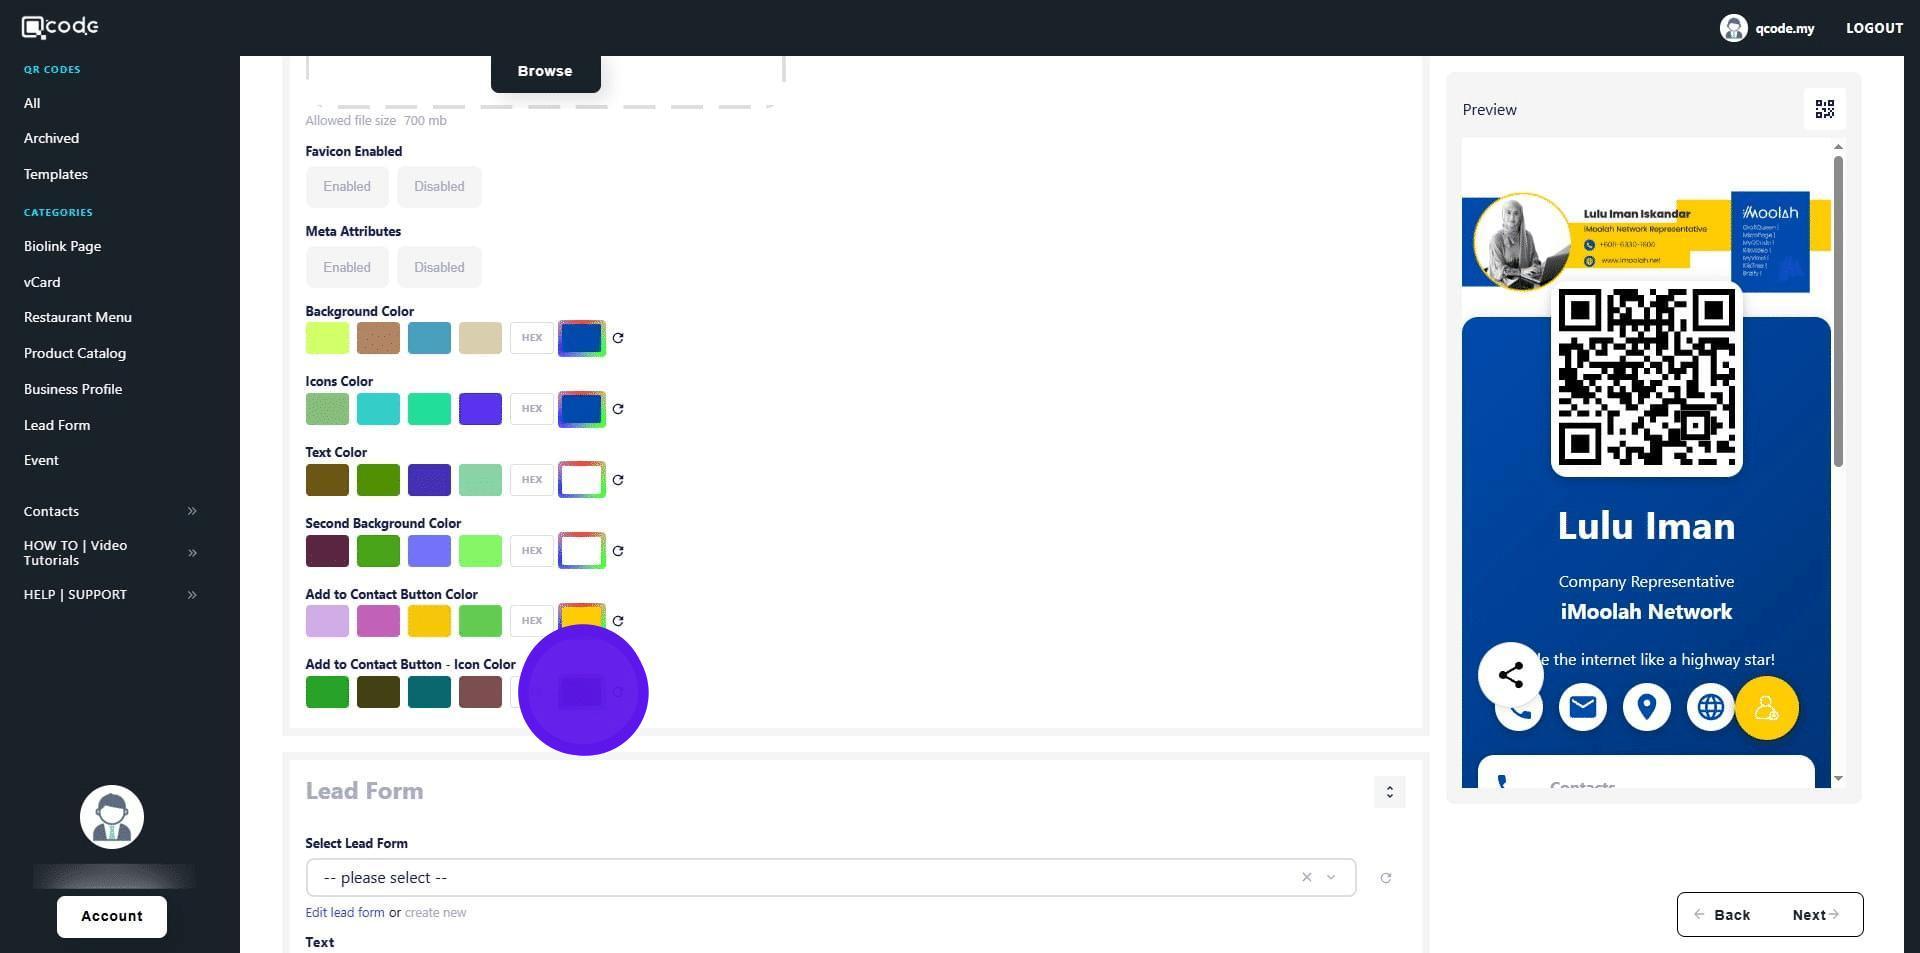
37. Click here to change the contact button color
38. Click here to change the icon color of the contact button
39. Click the QR Code icon to customize your QR Code. Click the link to learn more: https://kb.imoolah.network/guides/YUFgbQ5mkC4Zy2JfZH25
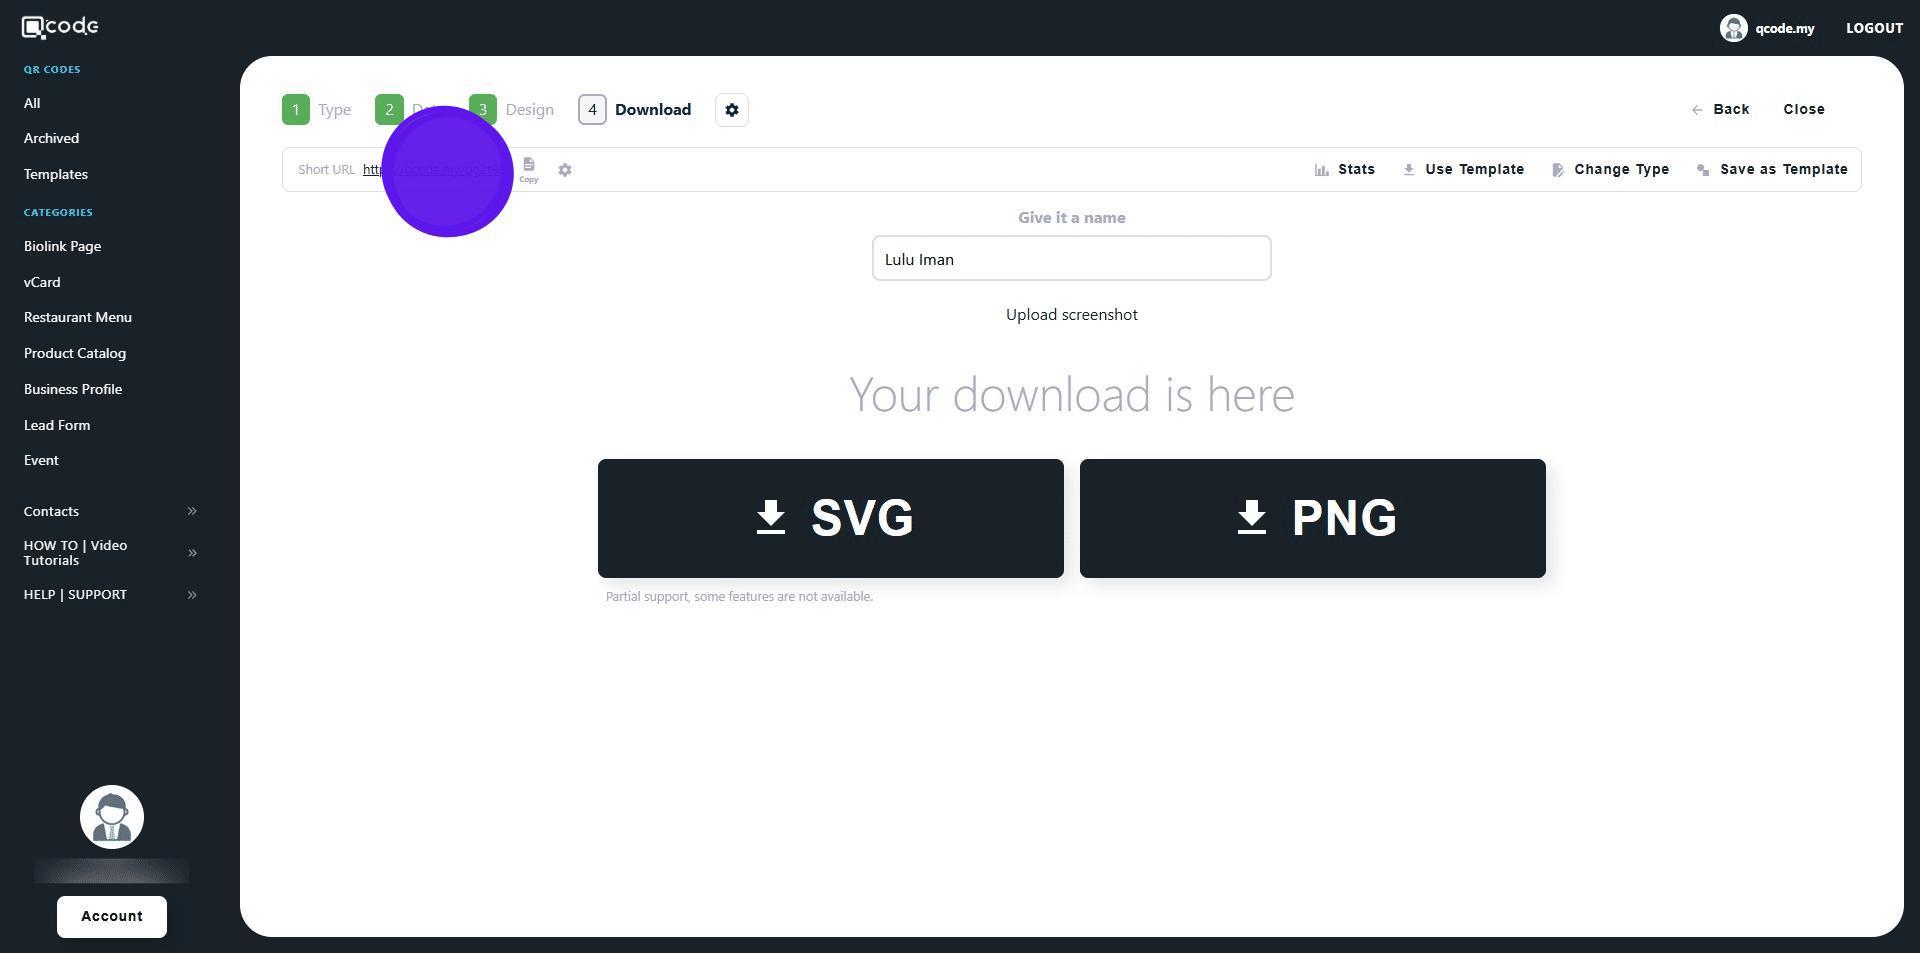
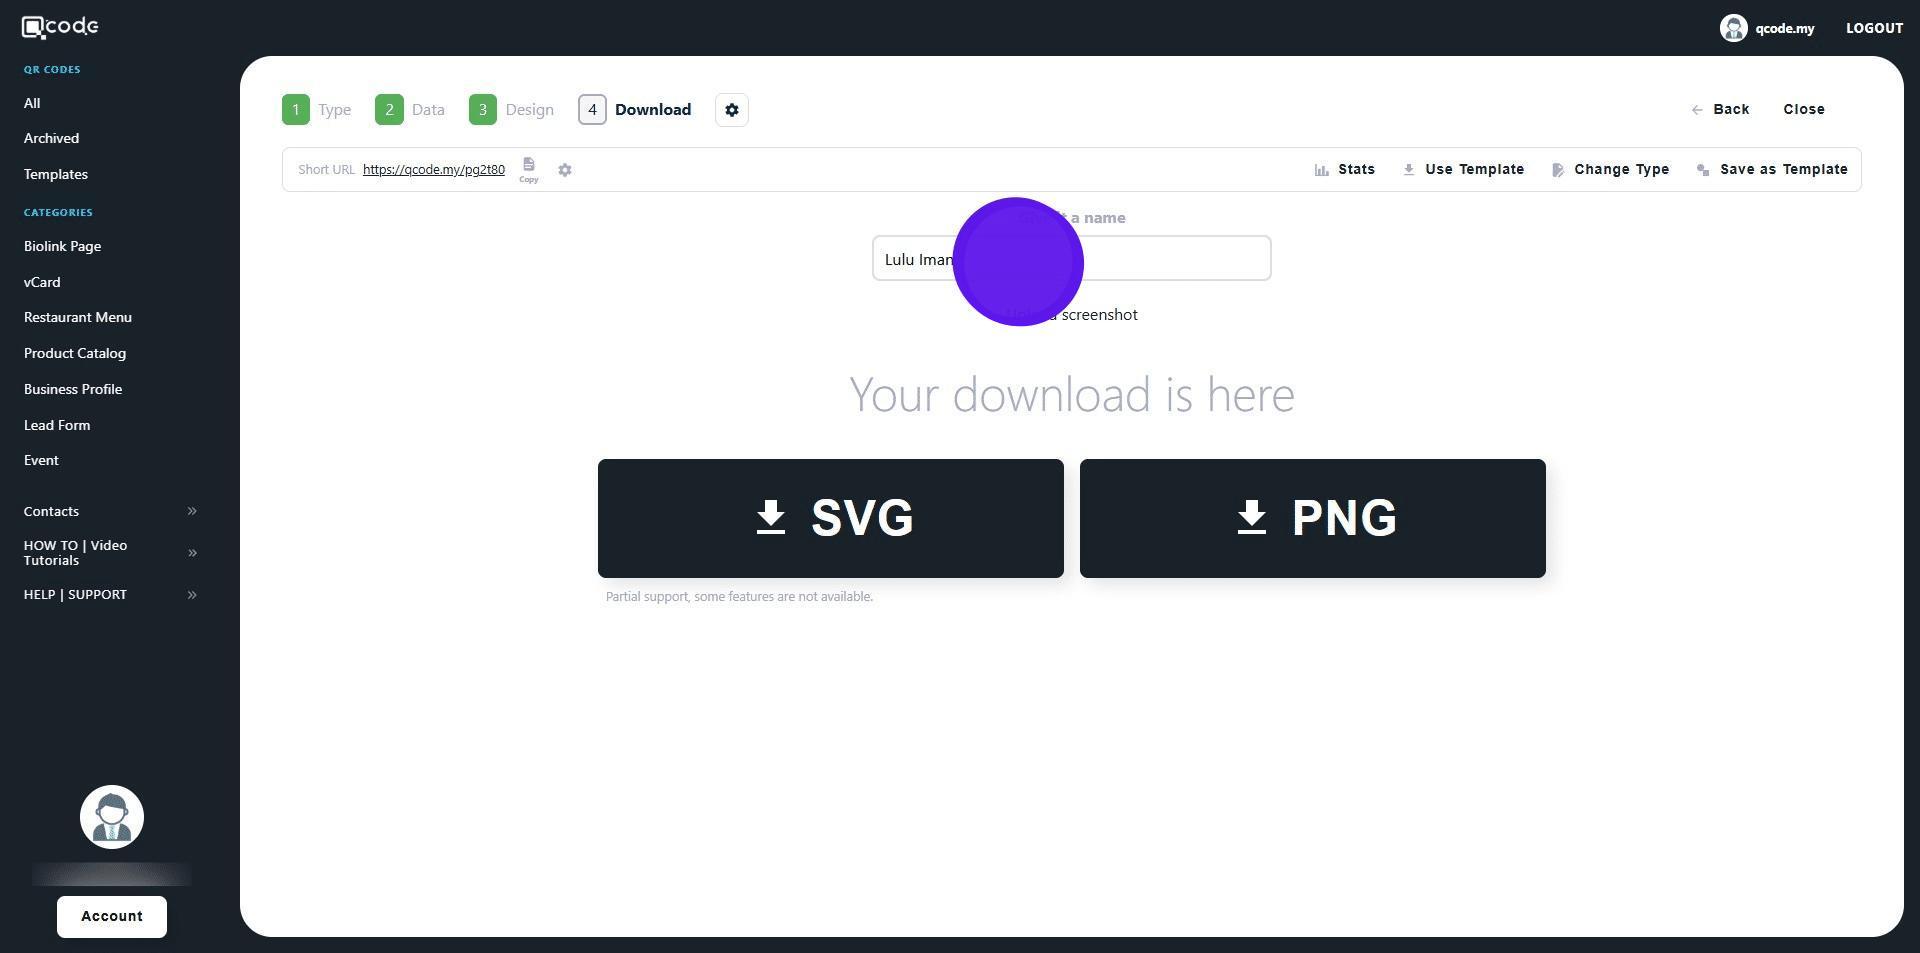
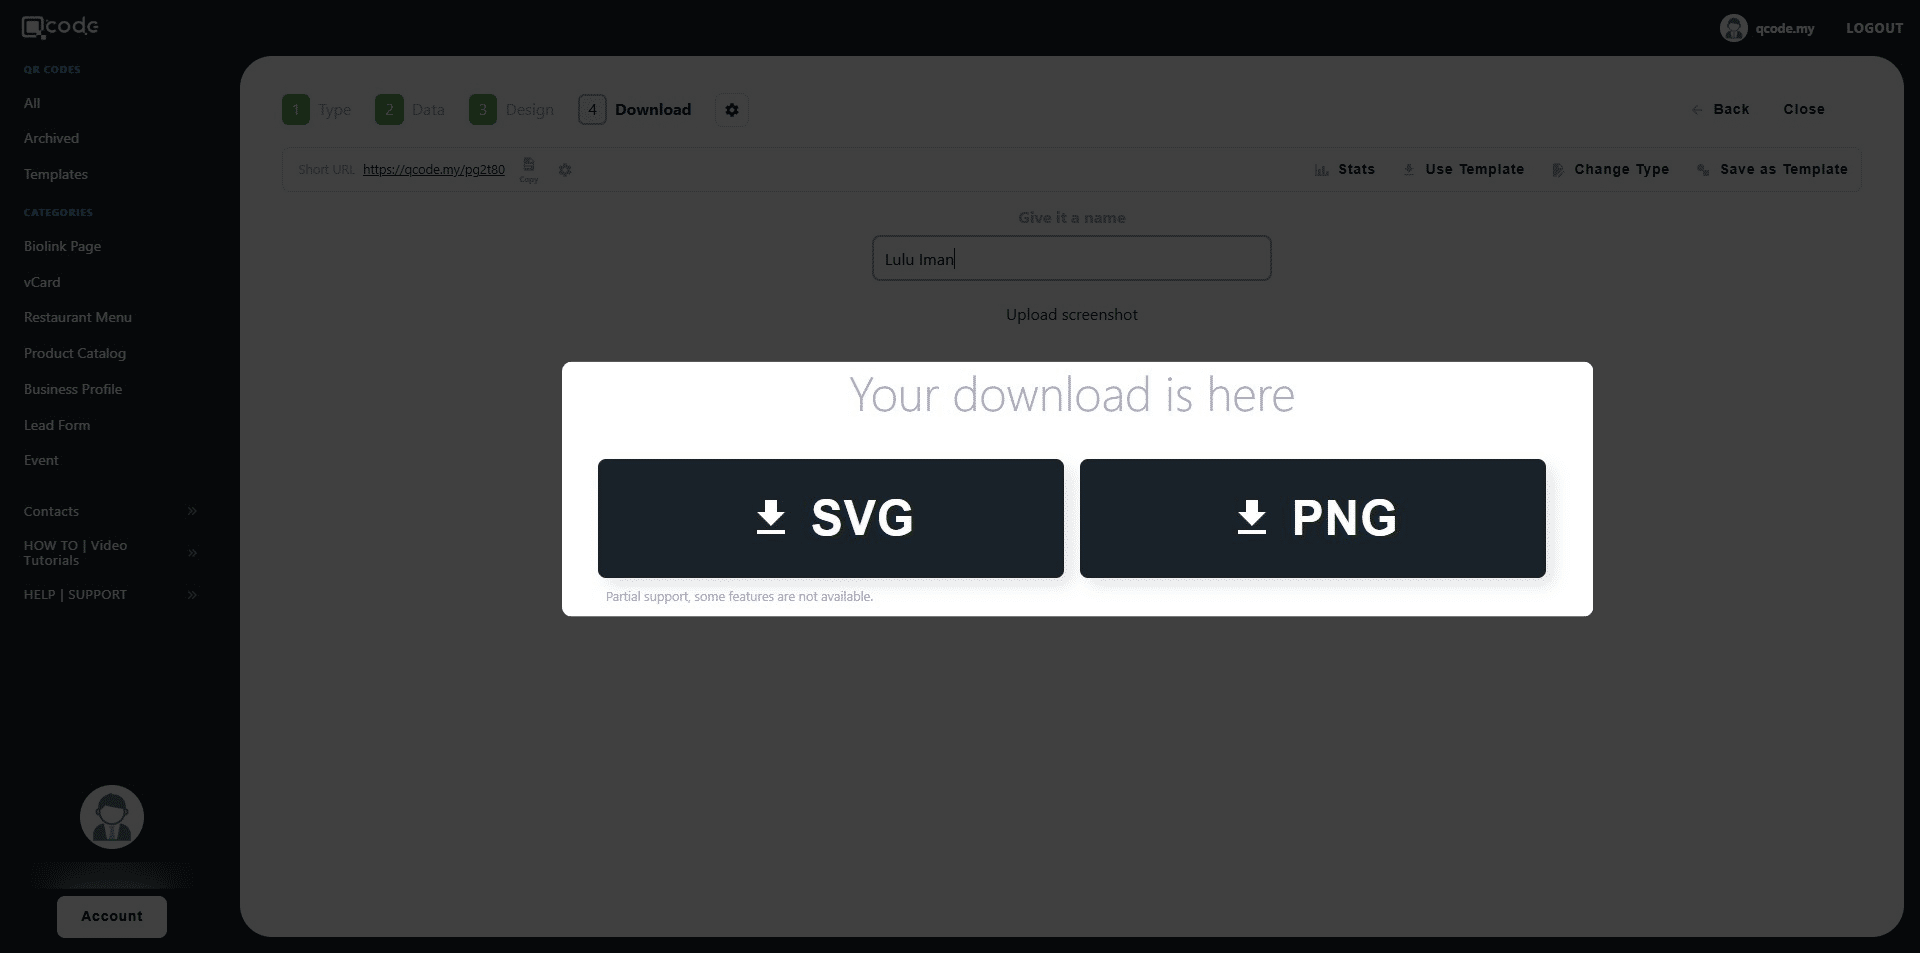
40. Click on Download to download your QR Code
41. Click here to give your vCard QR Code a name
42. Click the following buttons to download your QR Code in the desired formats
43. Click the cog icon to change your Slug/Username. Click the link to learn more: https://kb.imoolah.network/guides/WyWZY38vTRTbItuows4P
44. Click the Short URL to view your vCard