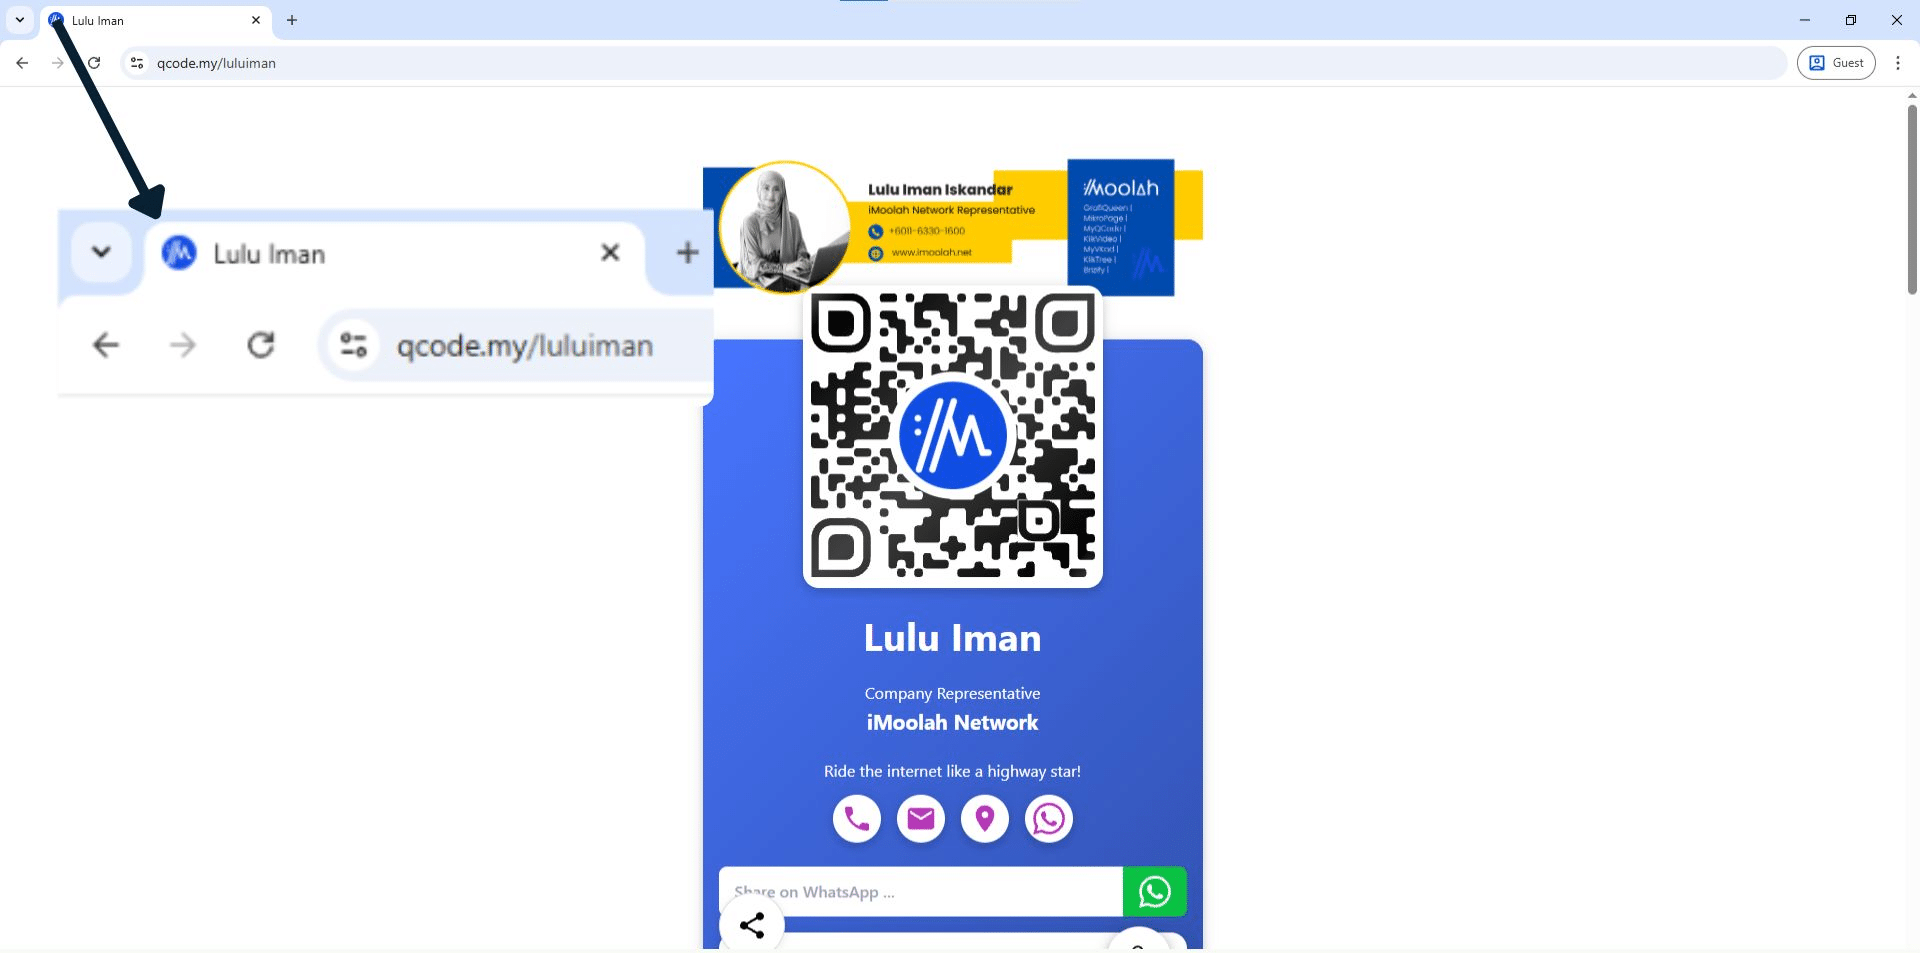
How to create Leads Form QR Code
This guide provides a comprehensive walkthrough on how to create a QR code that directs users to a customized lead capture form. It enables users to gather valuable information from their audience by creating a visually appealing and easily accessible form through a QR code.
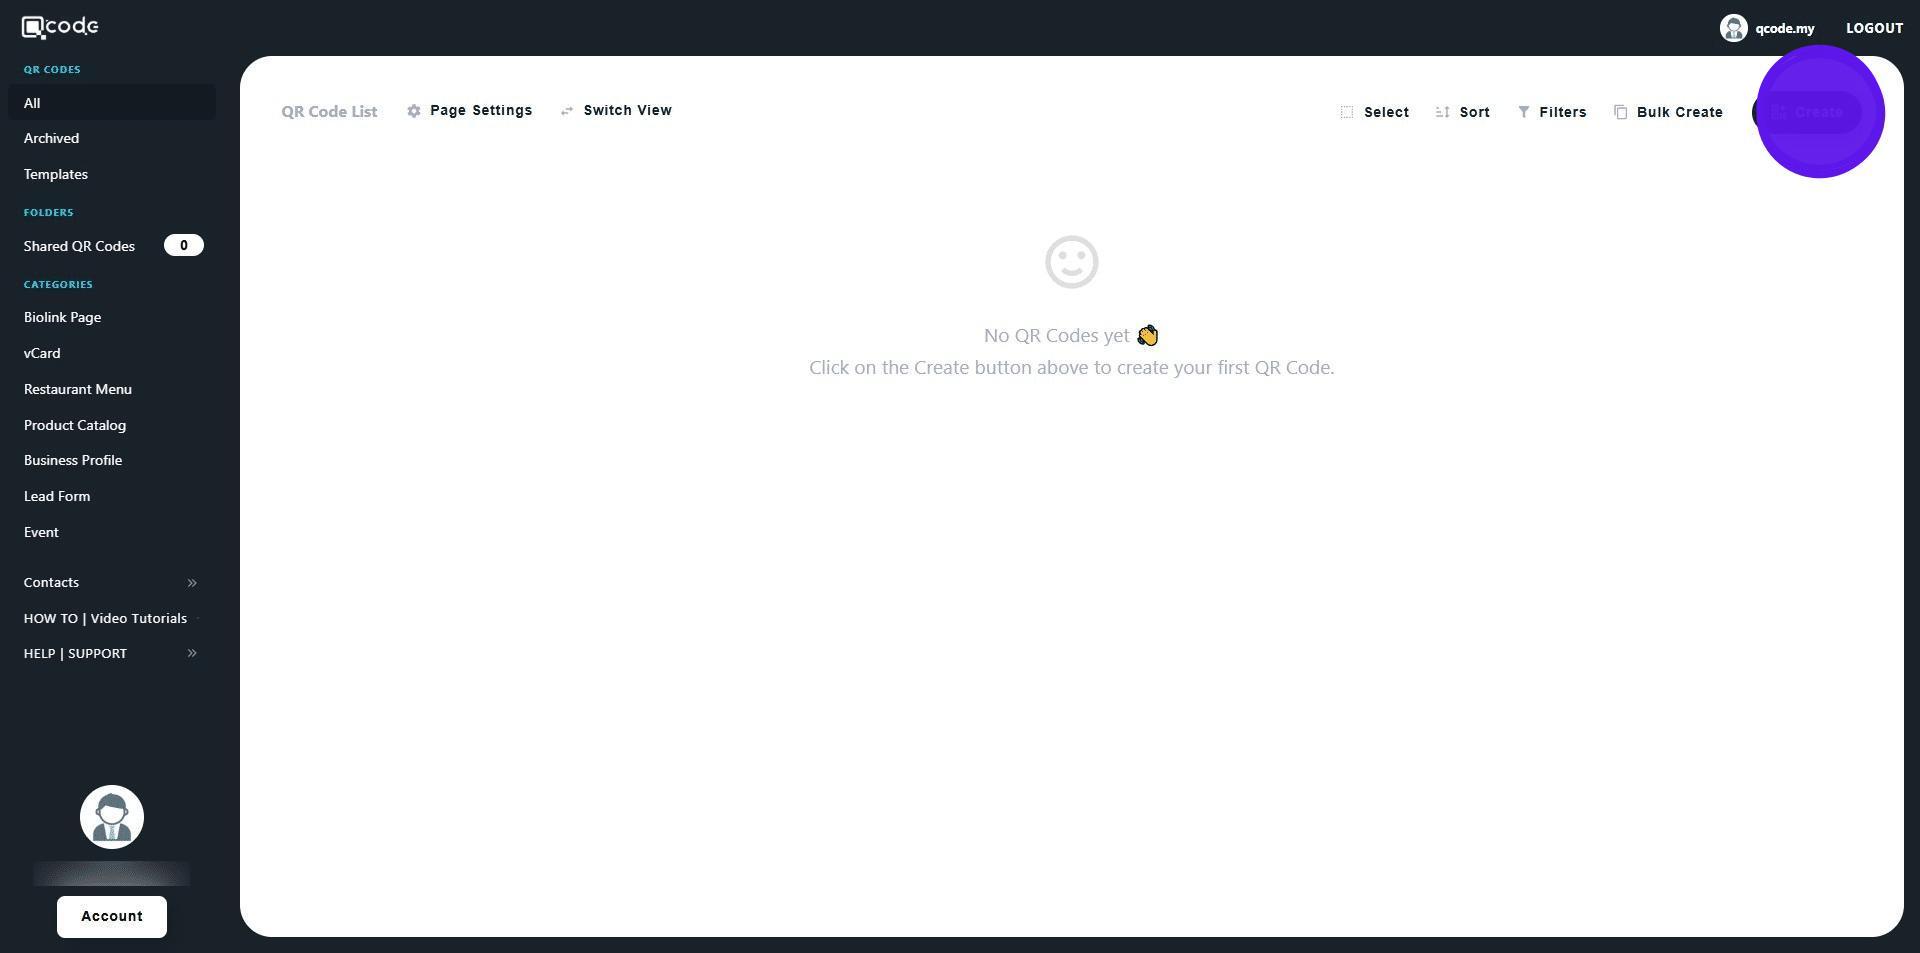
1. Navigate to https://qcode.my/dashboard/qrcodes
2. Click on Create
3. Click on Start from scratch
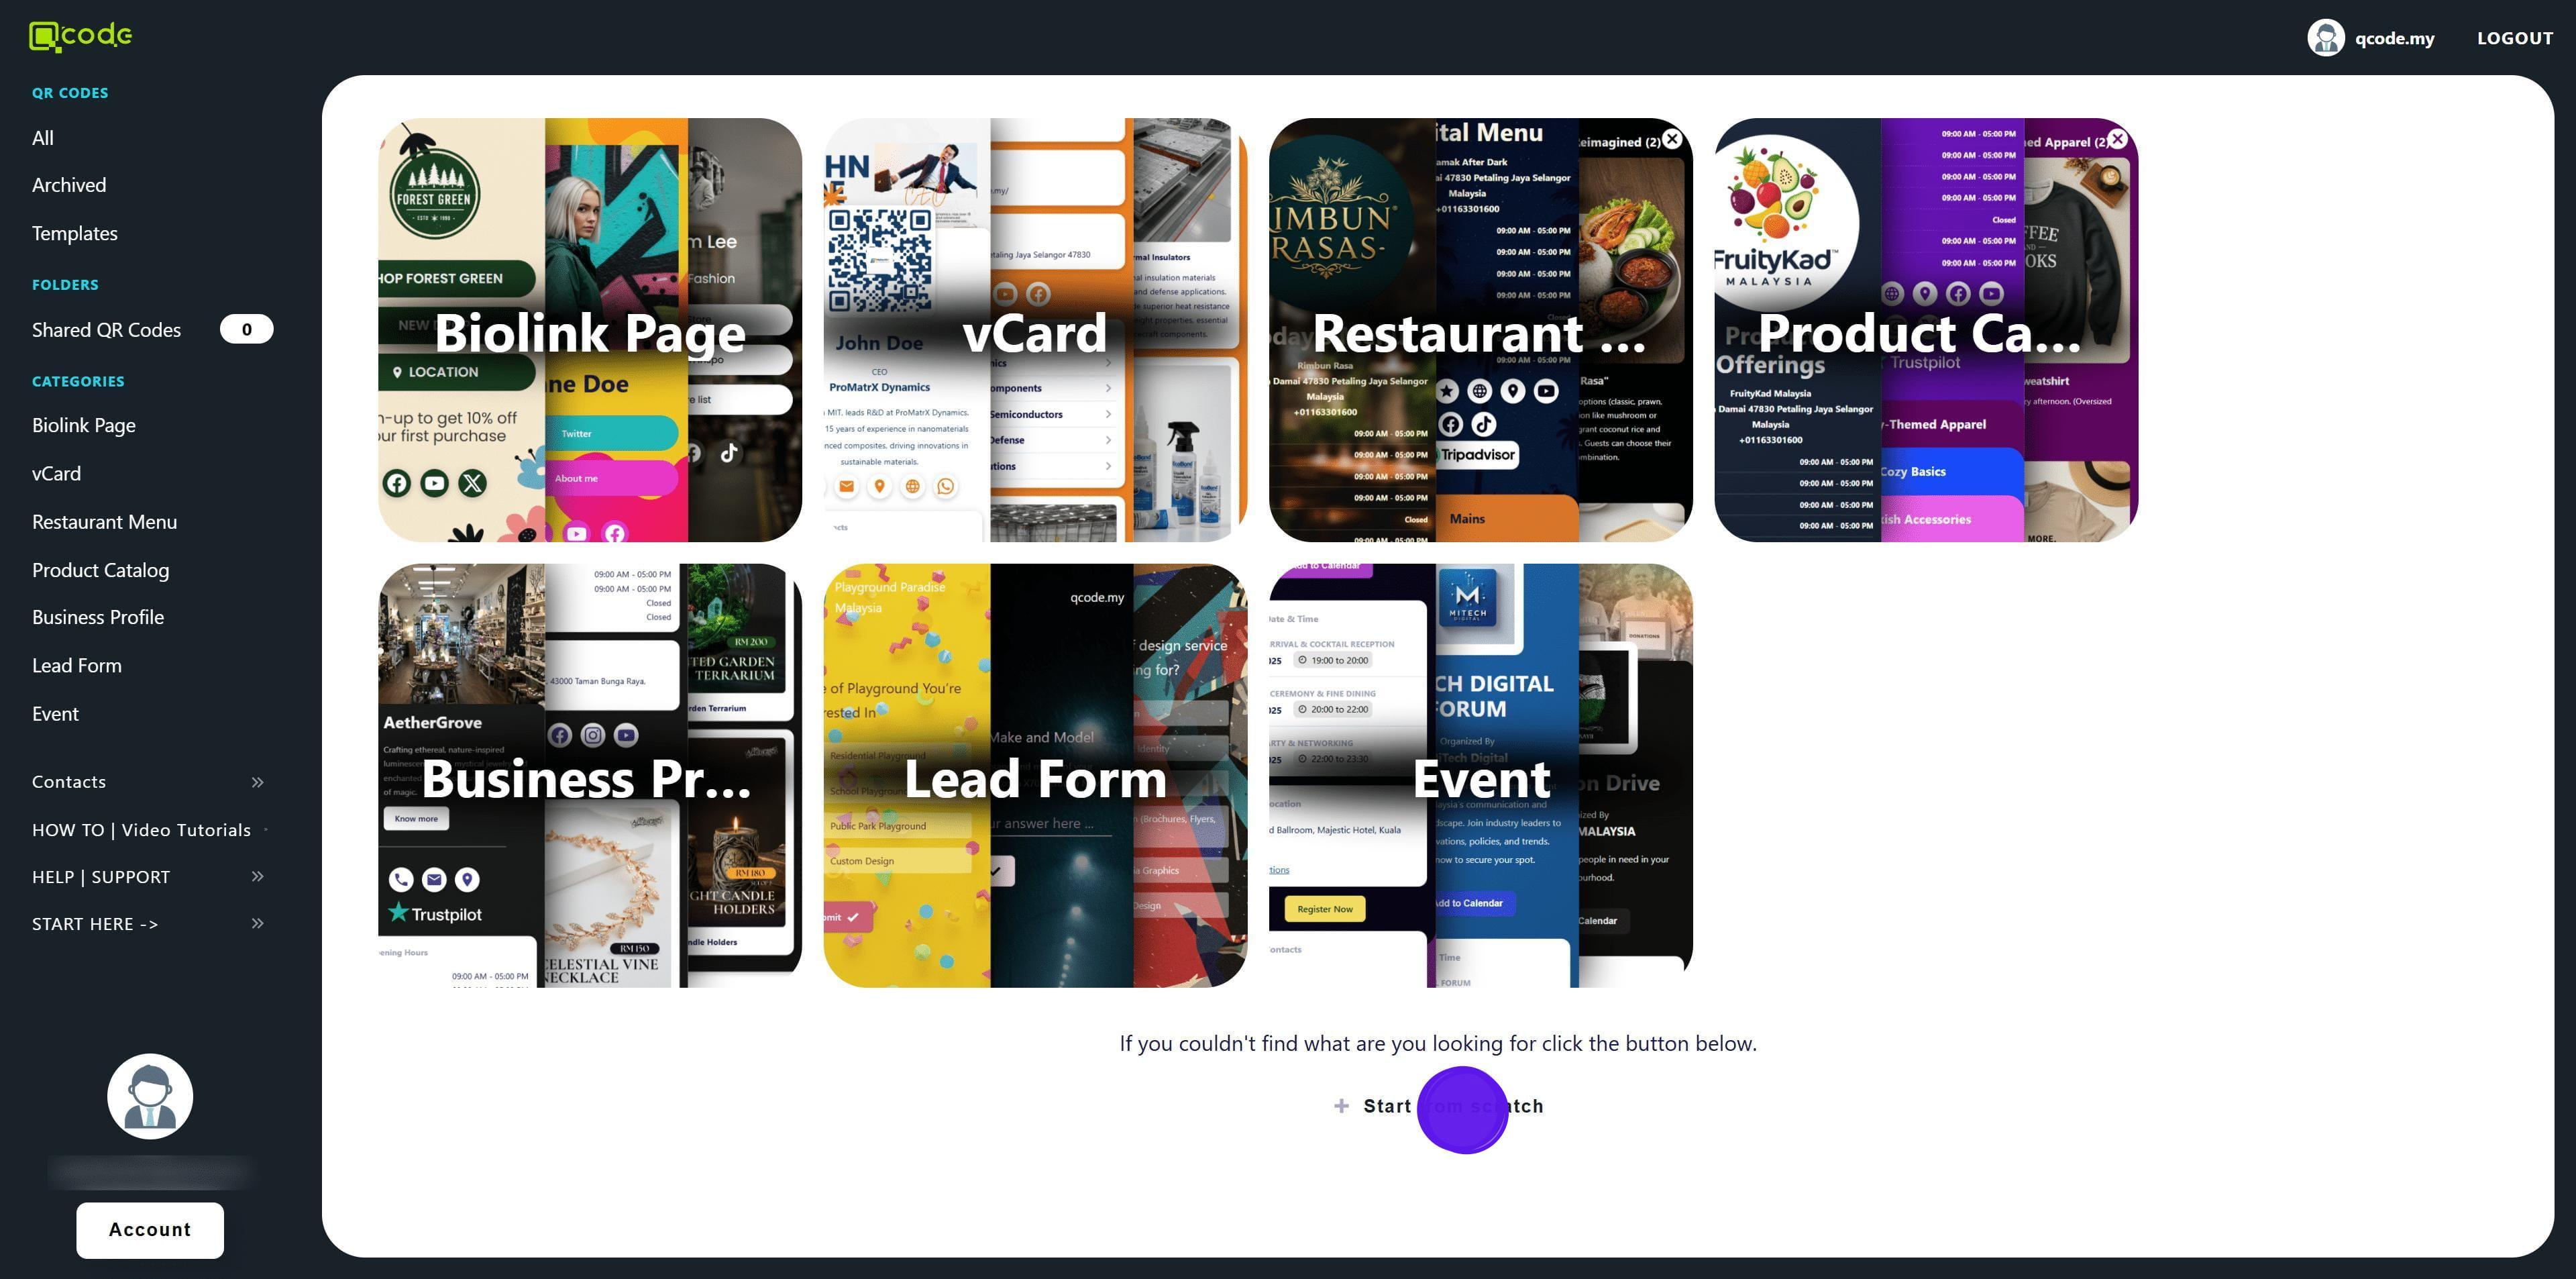
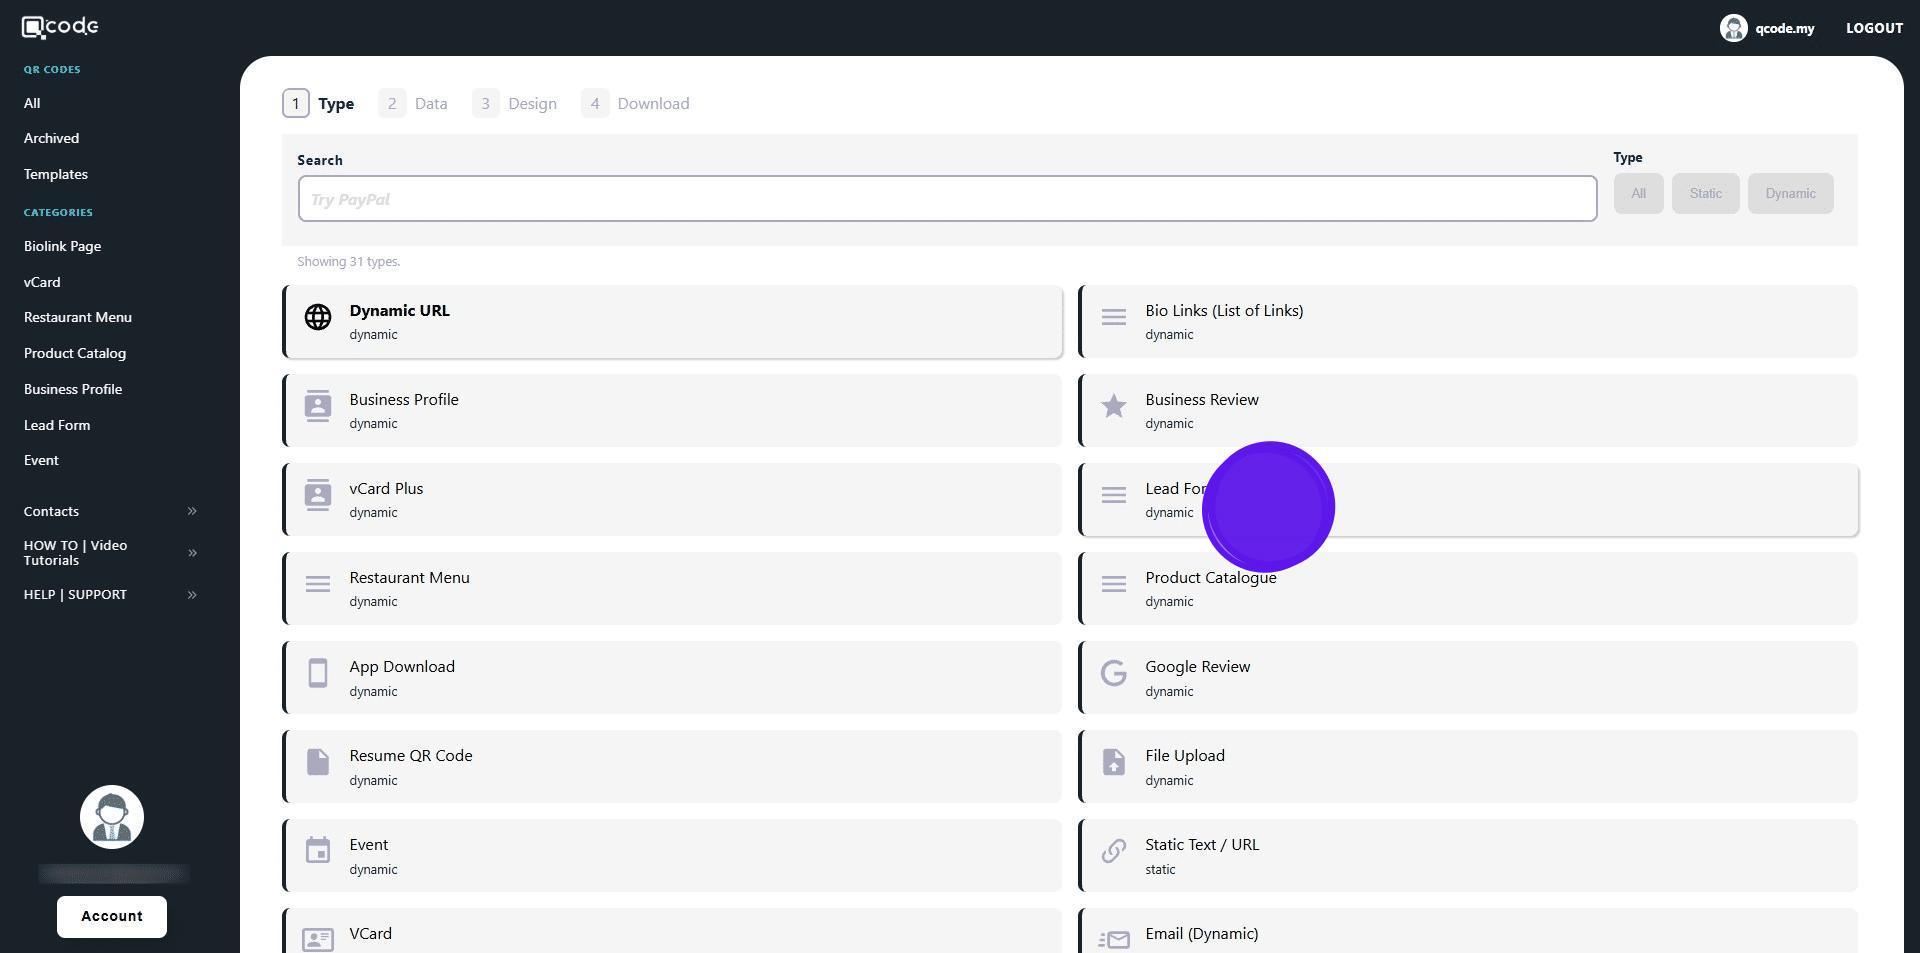
4. Click on Lead Form
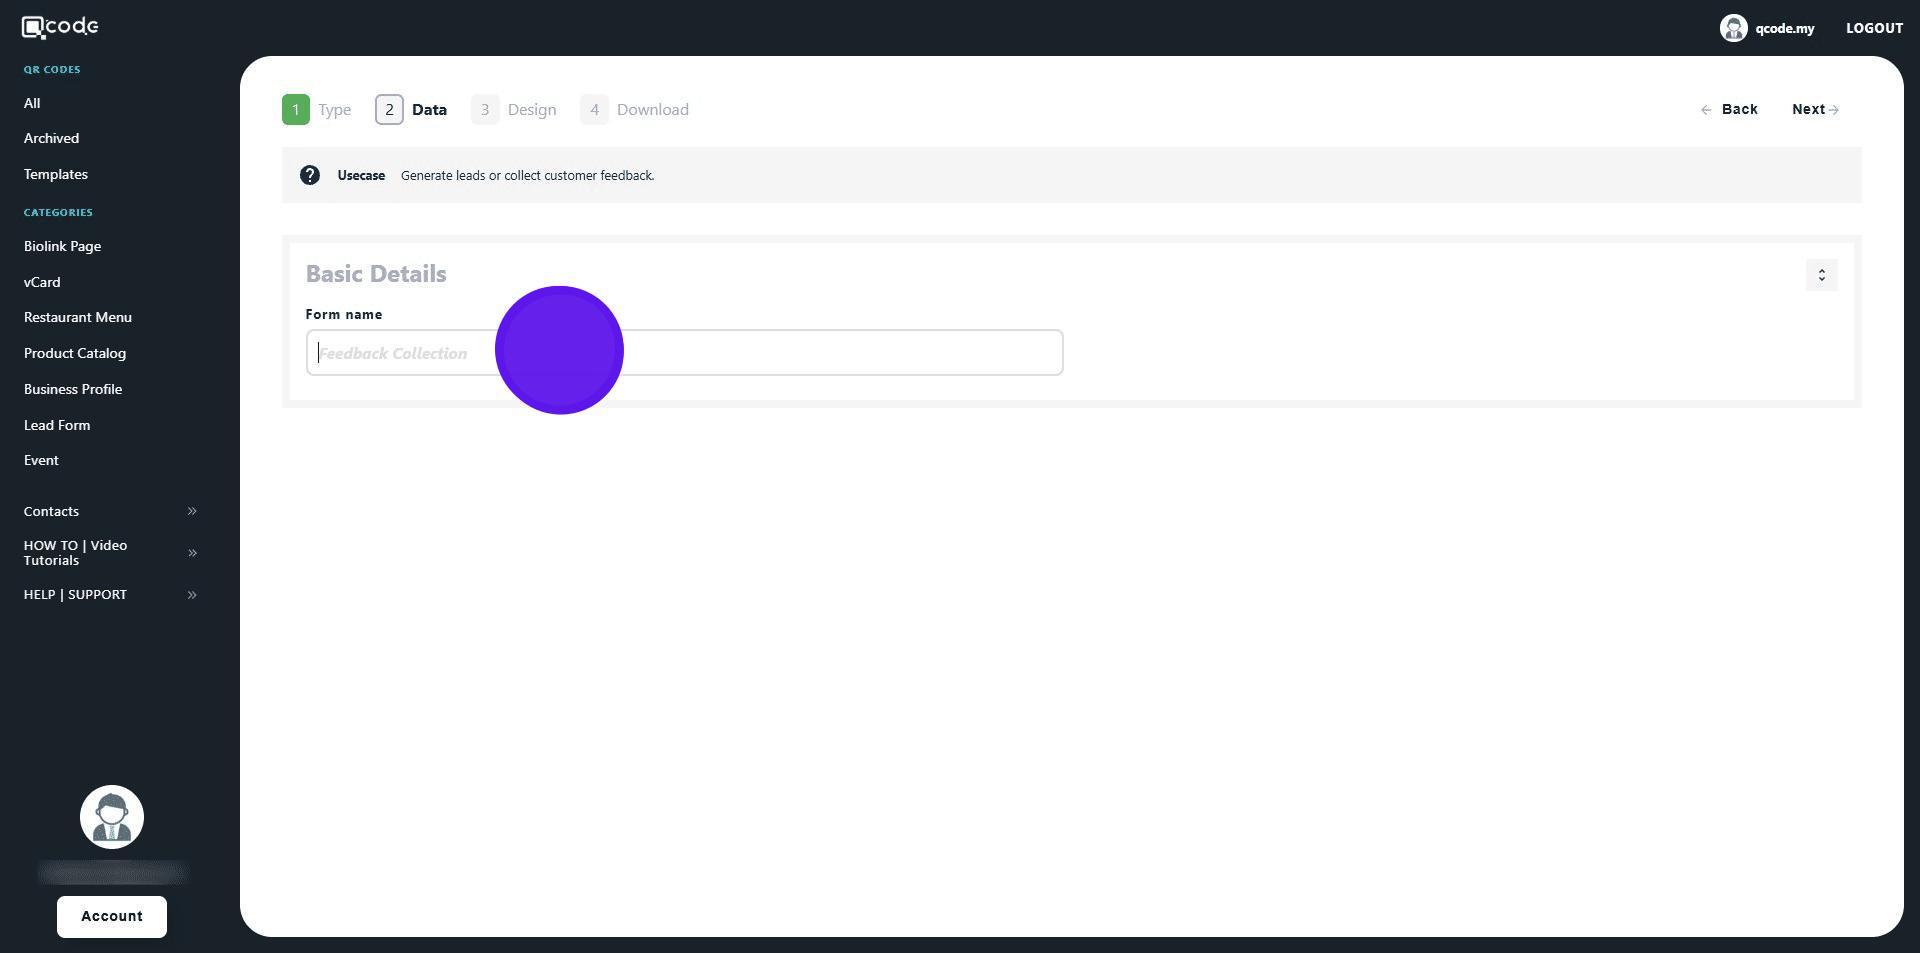
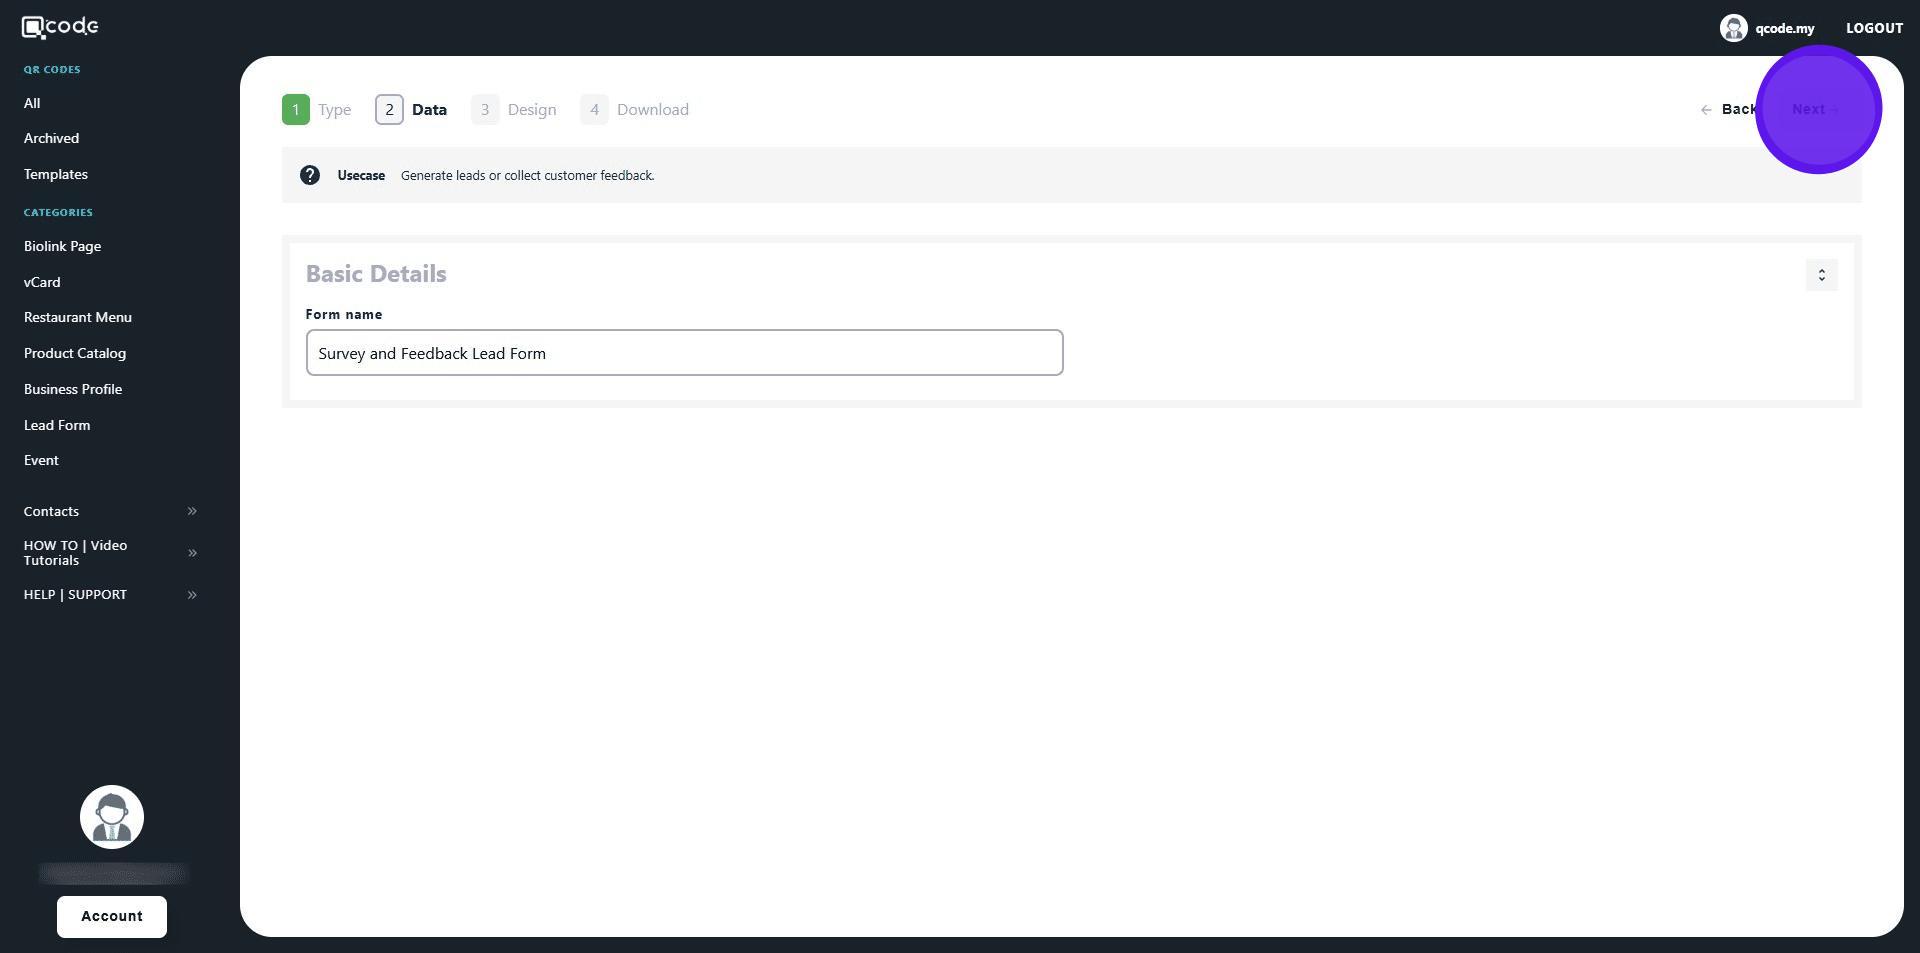
5. Type in your Form name here
6. Click on Next to move to the next page
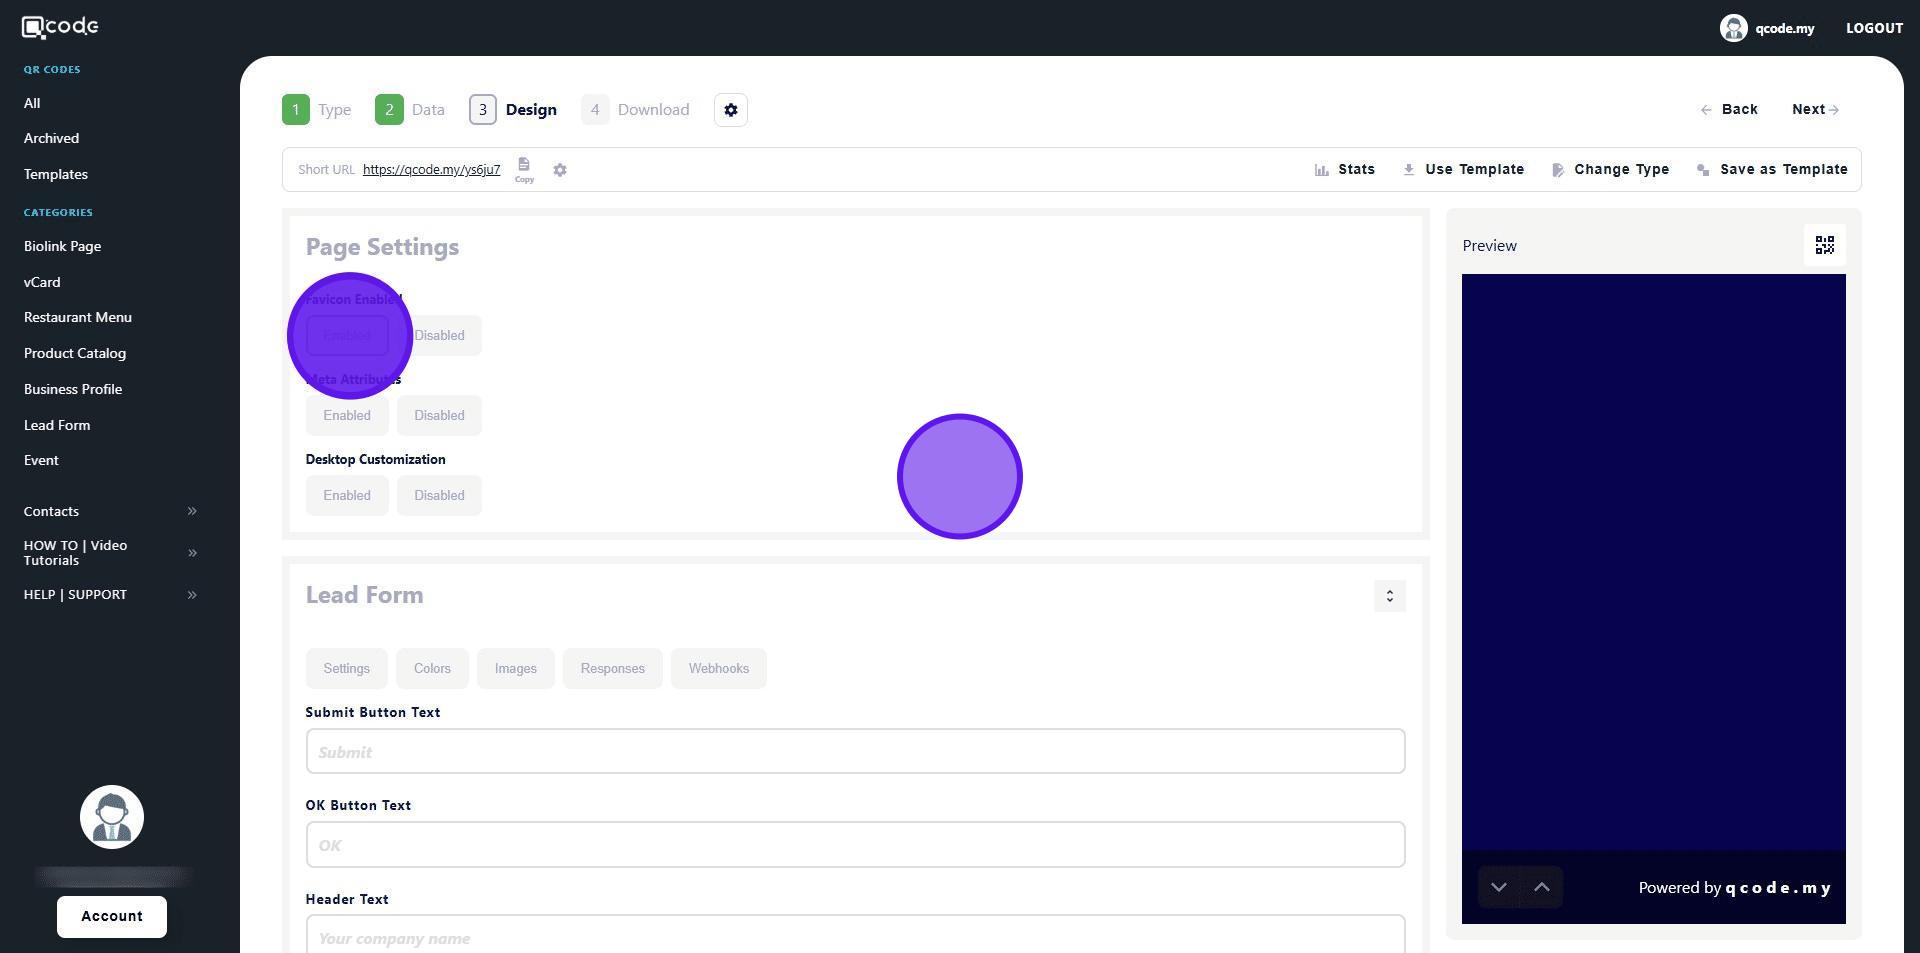
7. Click the following button to enable favicon
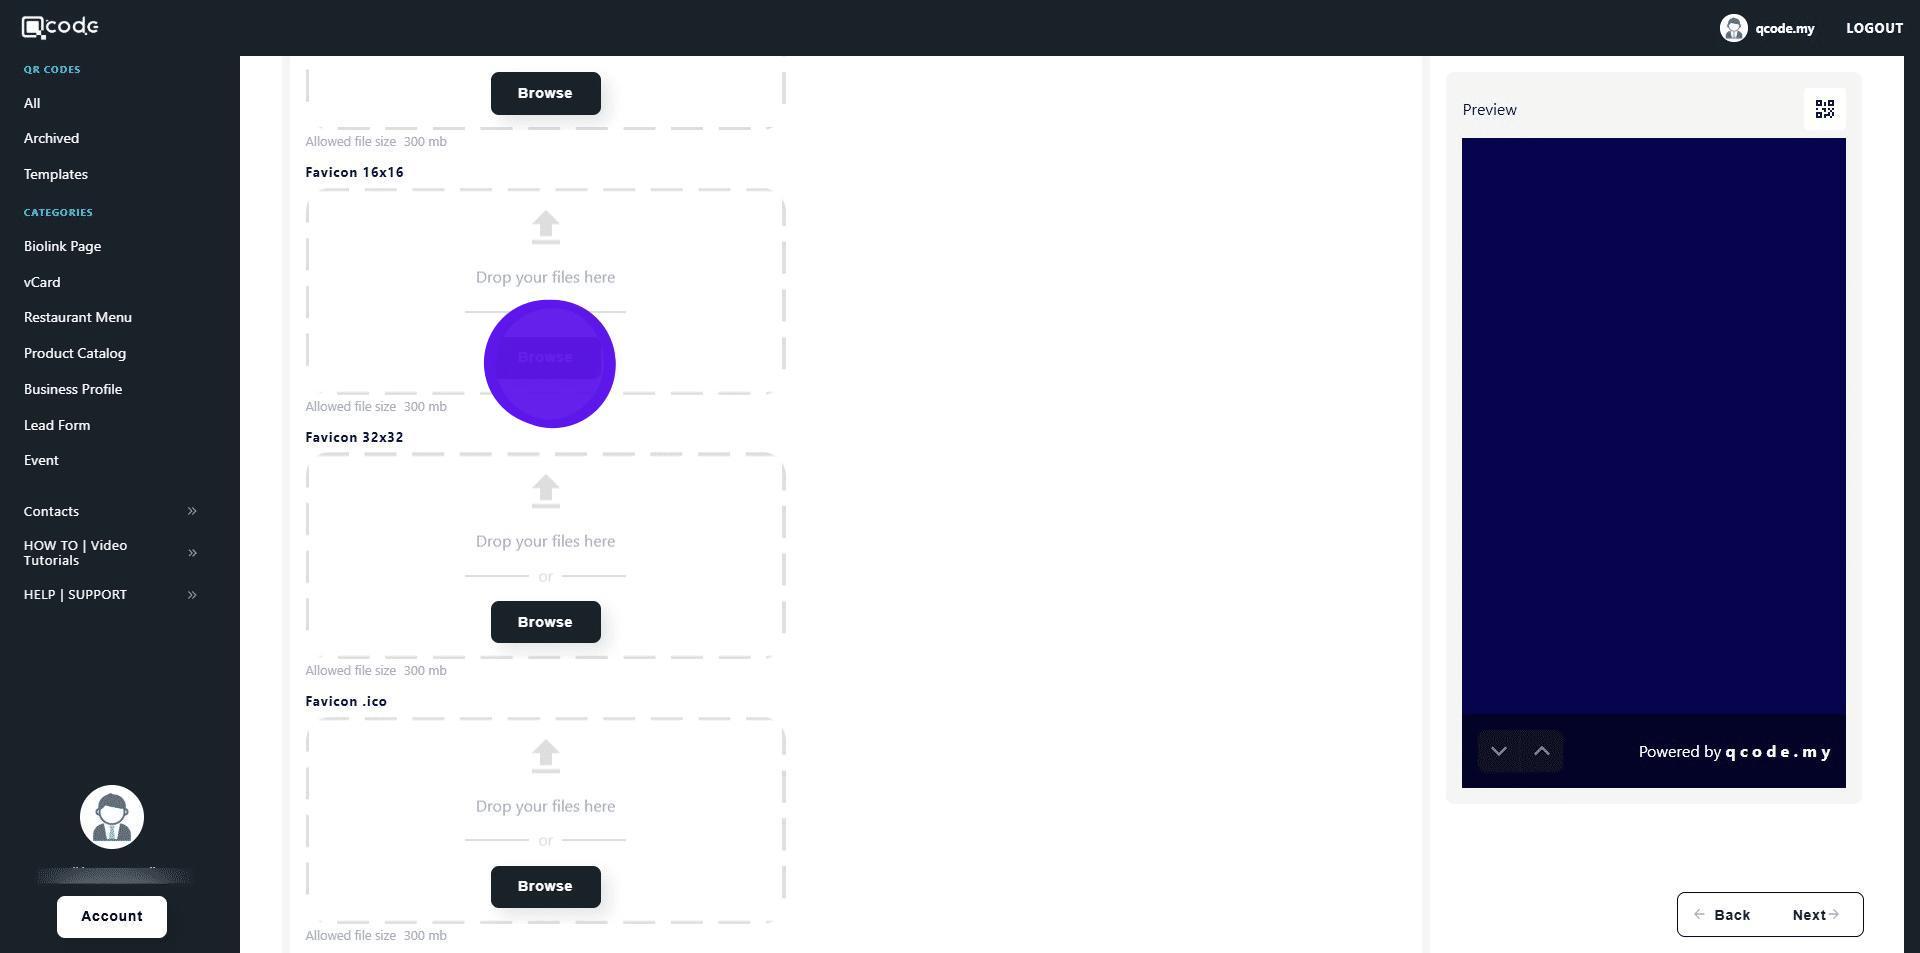
8. Click on Browse to upload your favicon
9. Your favicon will change here
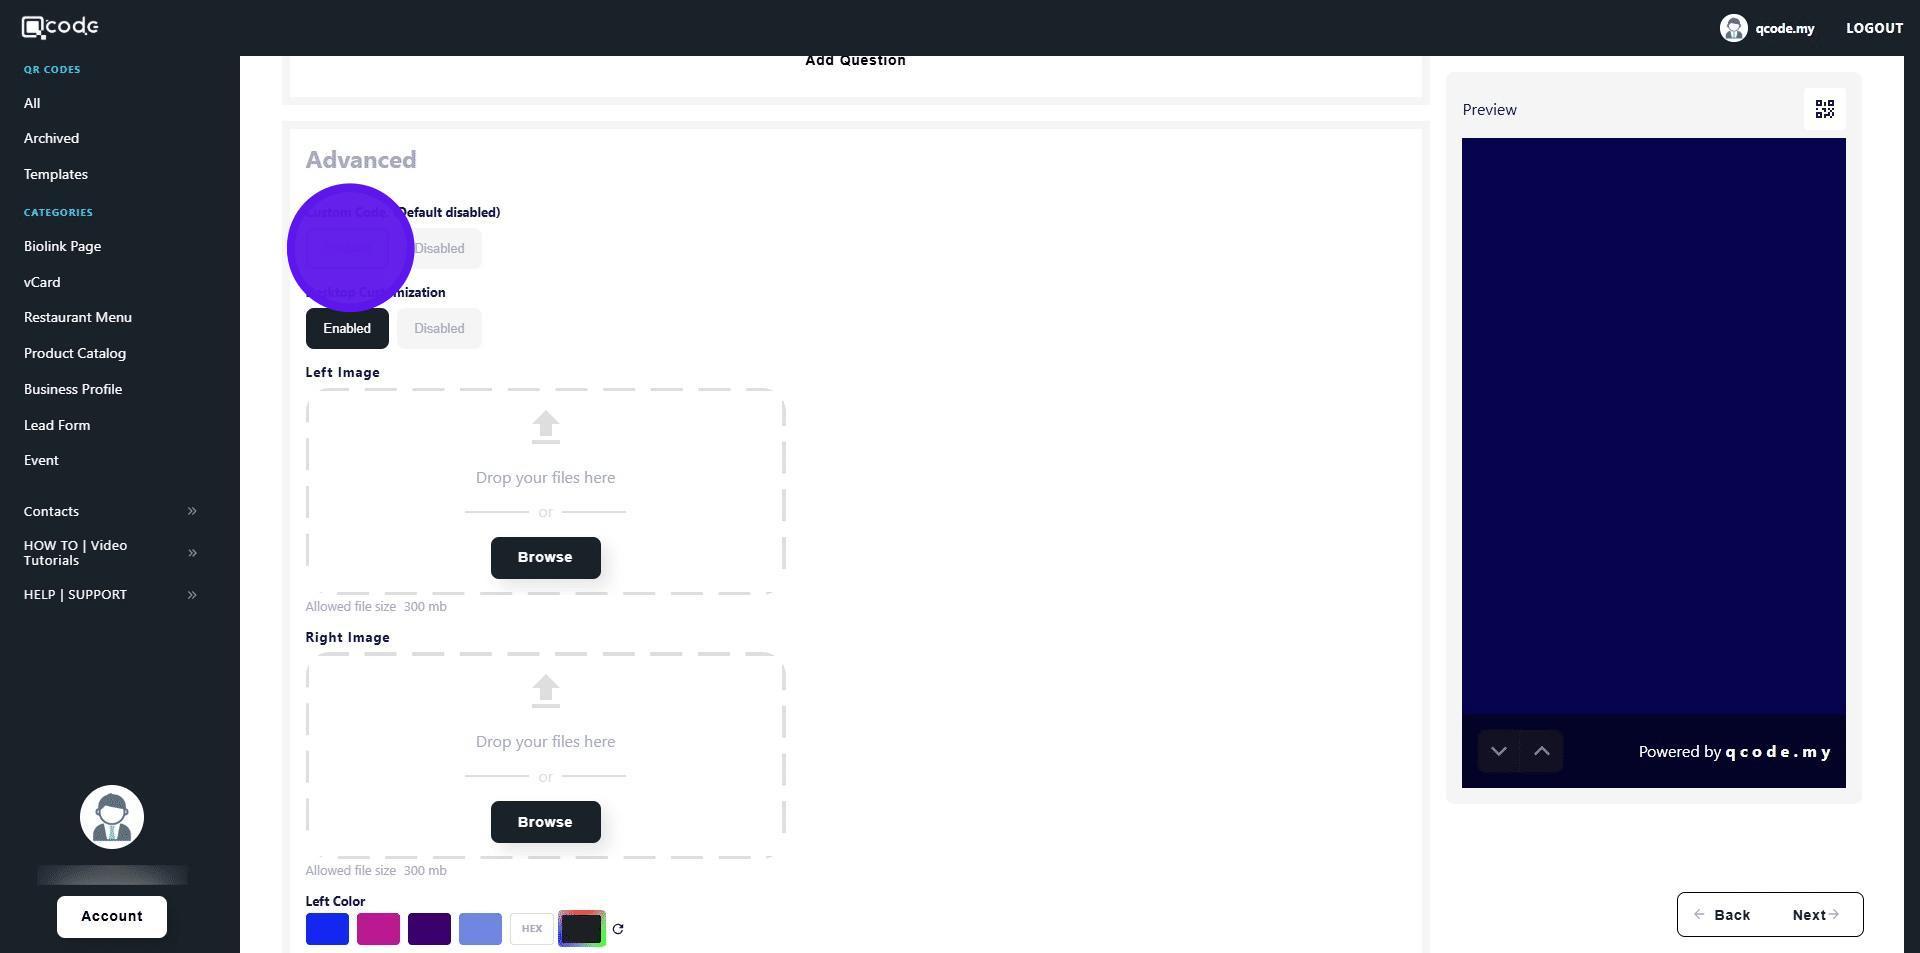
10. Click here to enable Desktop Customization
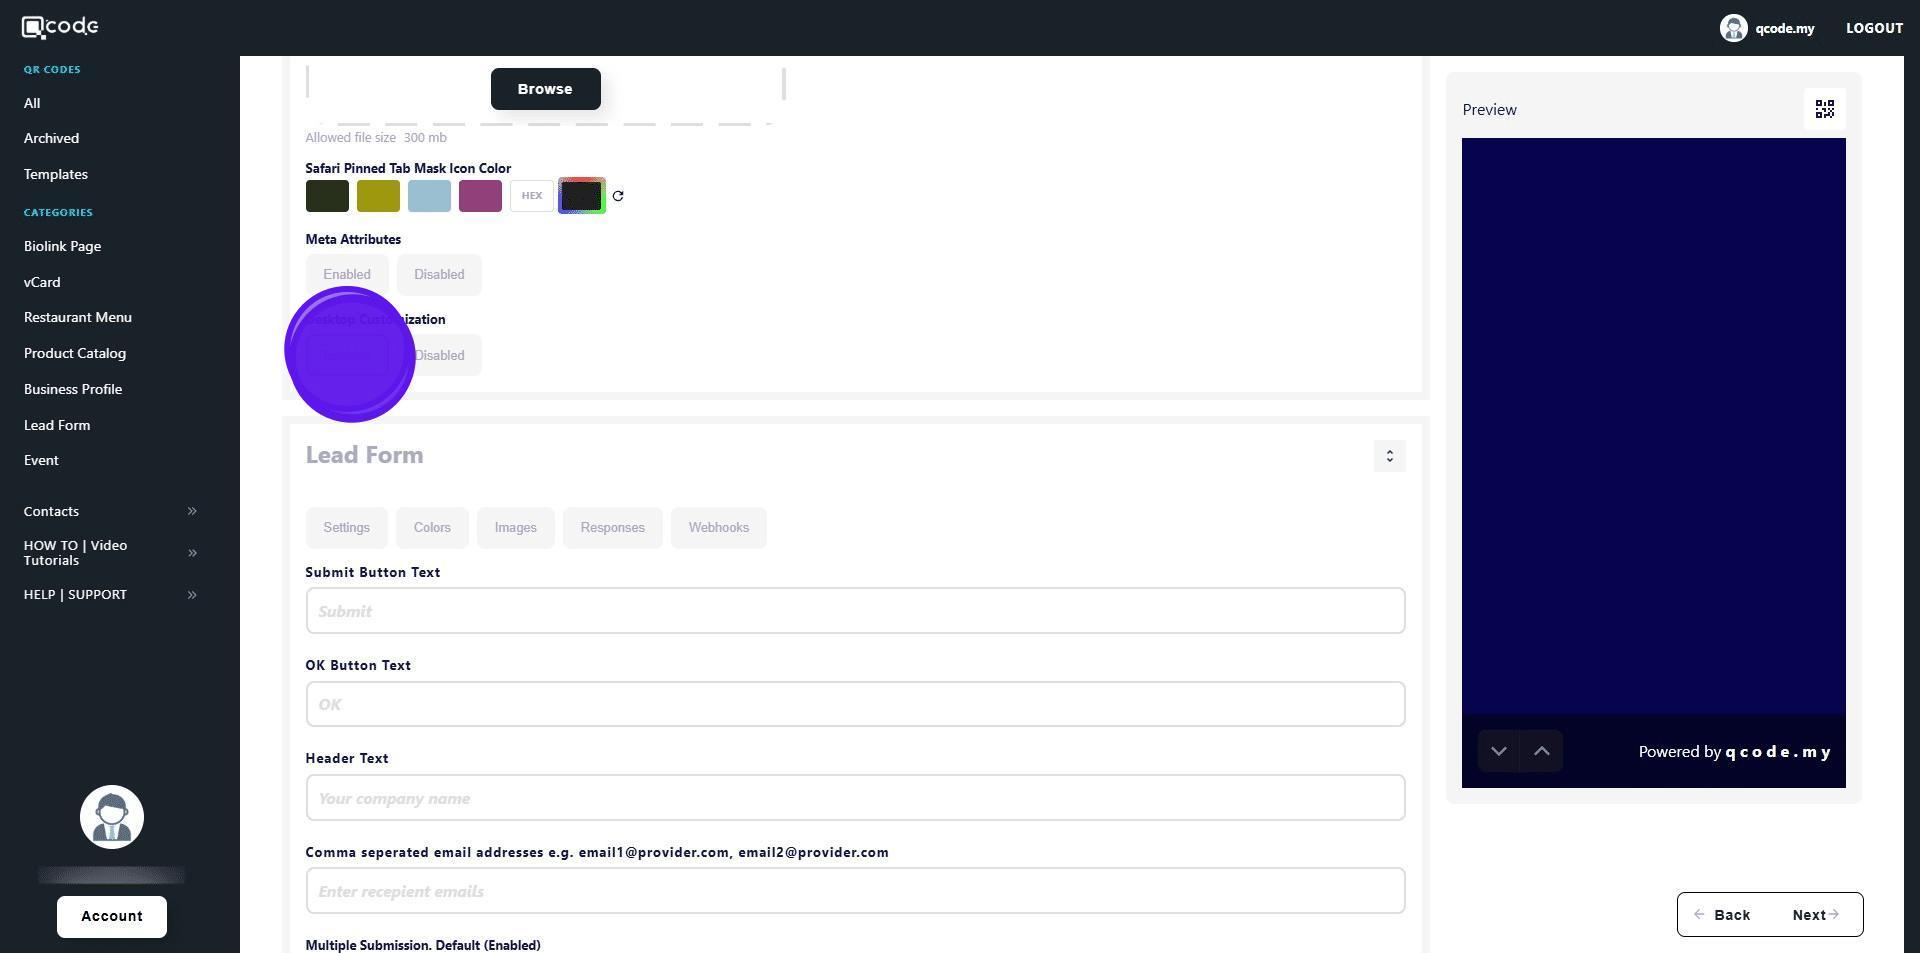
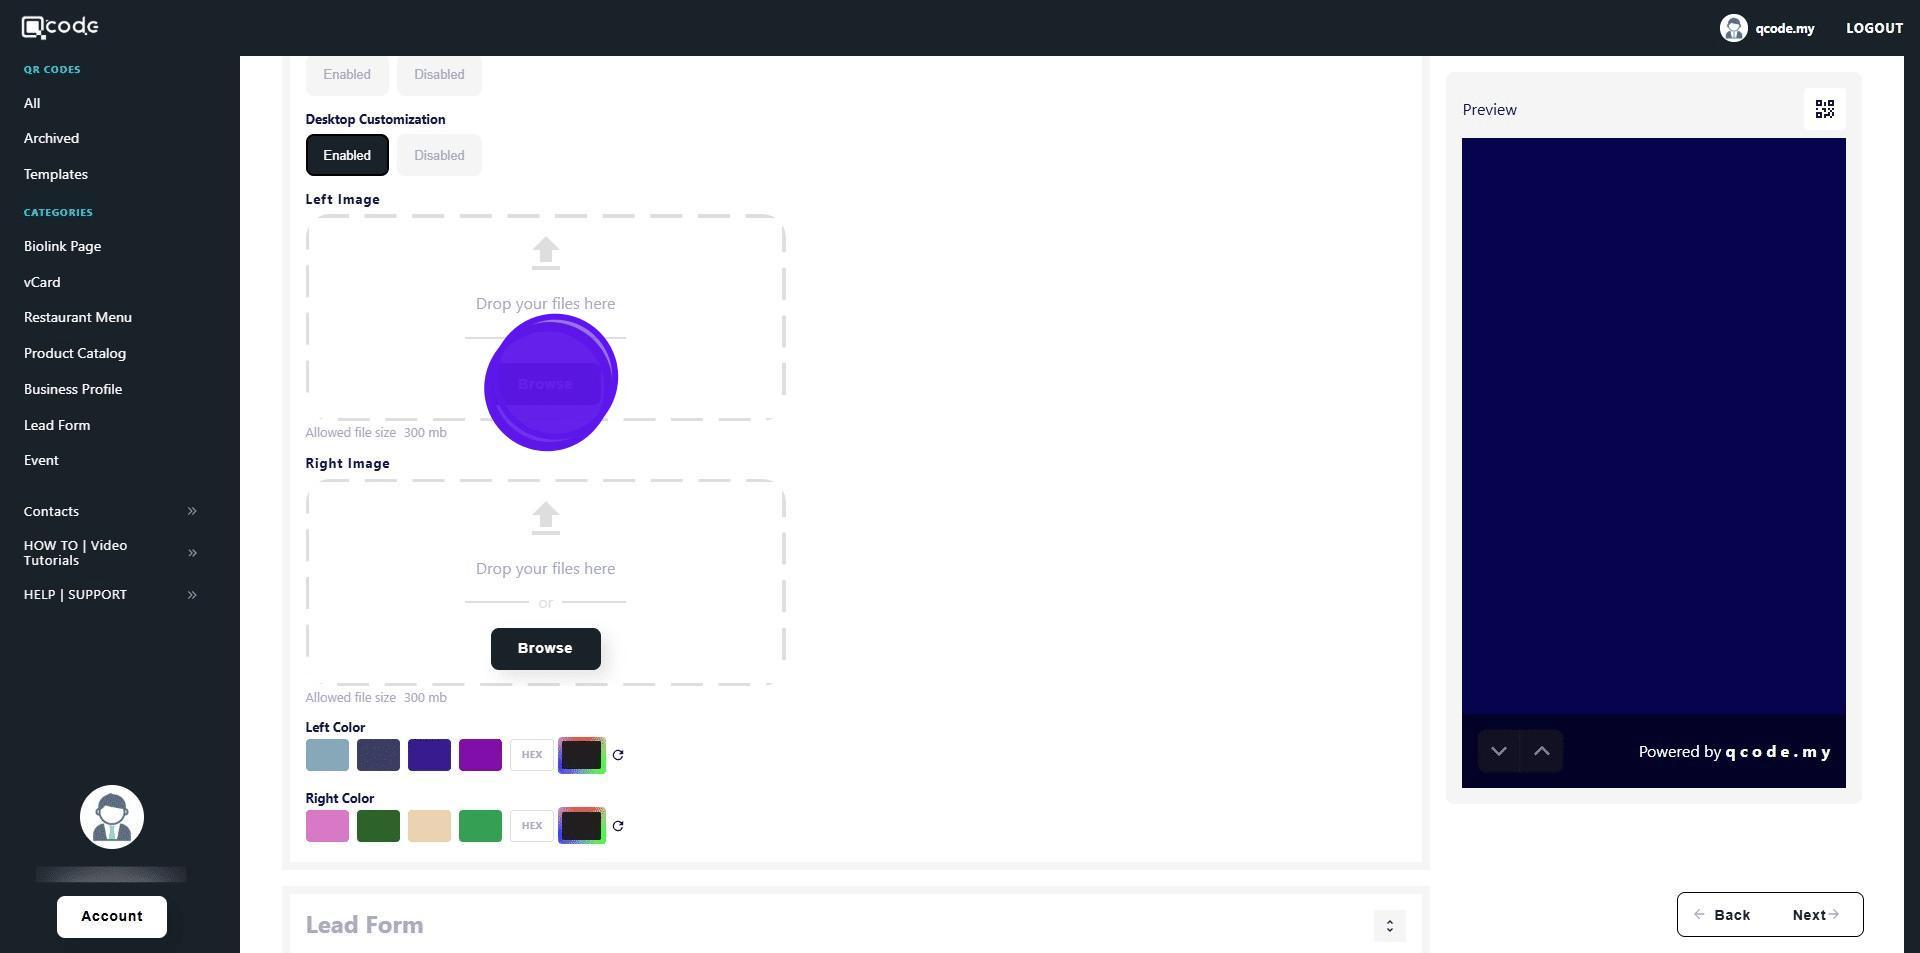
11. Click on Browse button to upload
12. Your left and right images will be applied on desktop devices like this:

13. You can also use solid colors instead of images by clicking either Left Color or Right Color
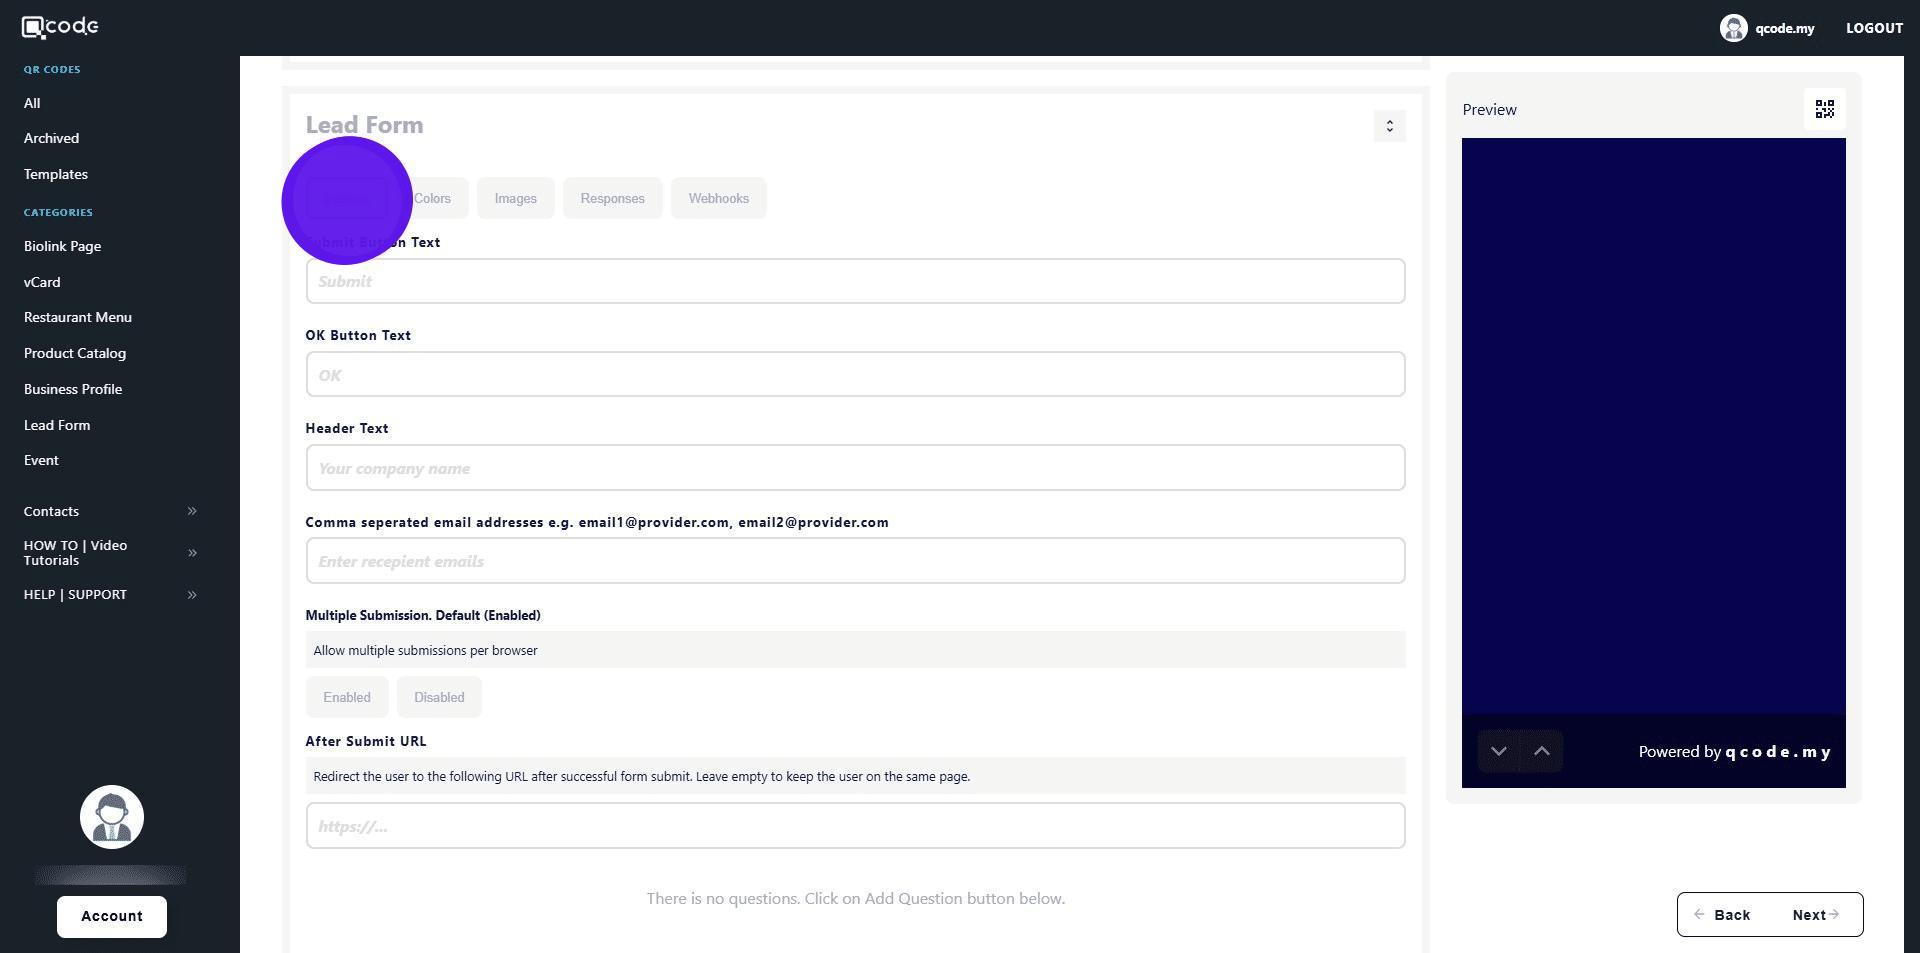
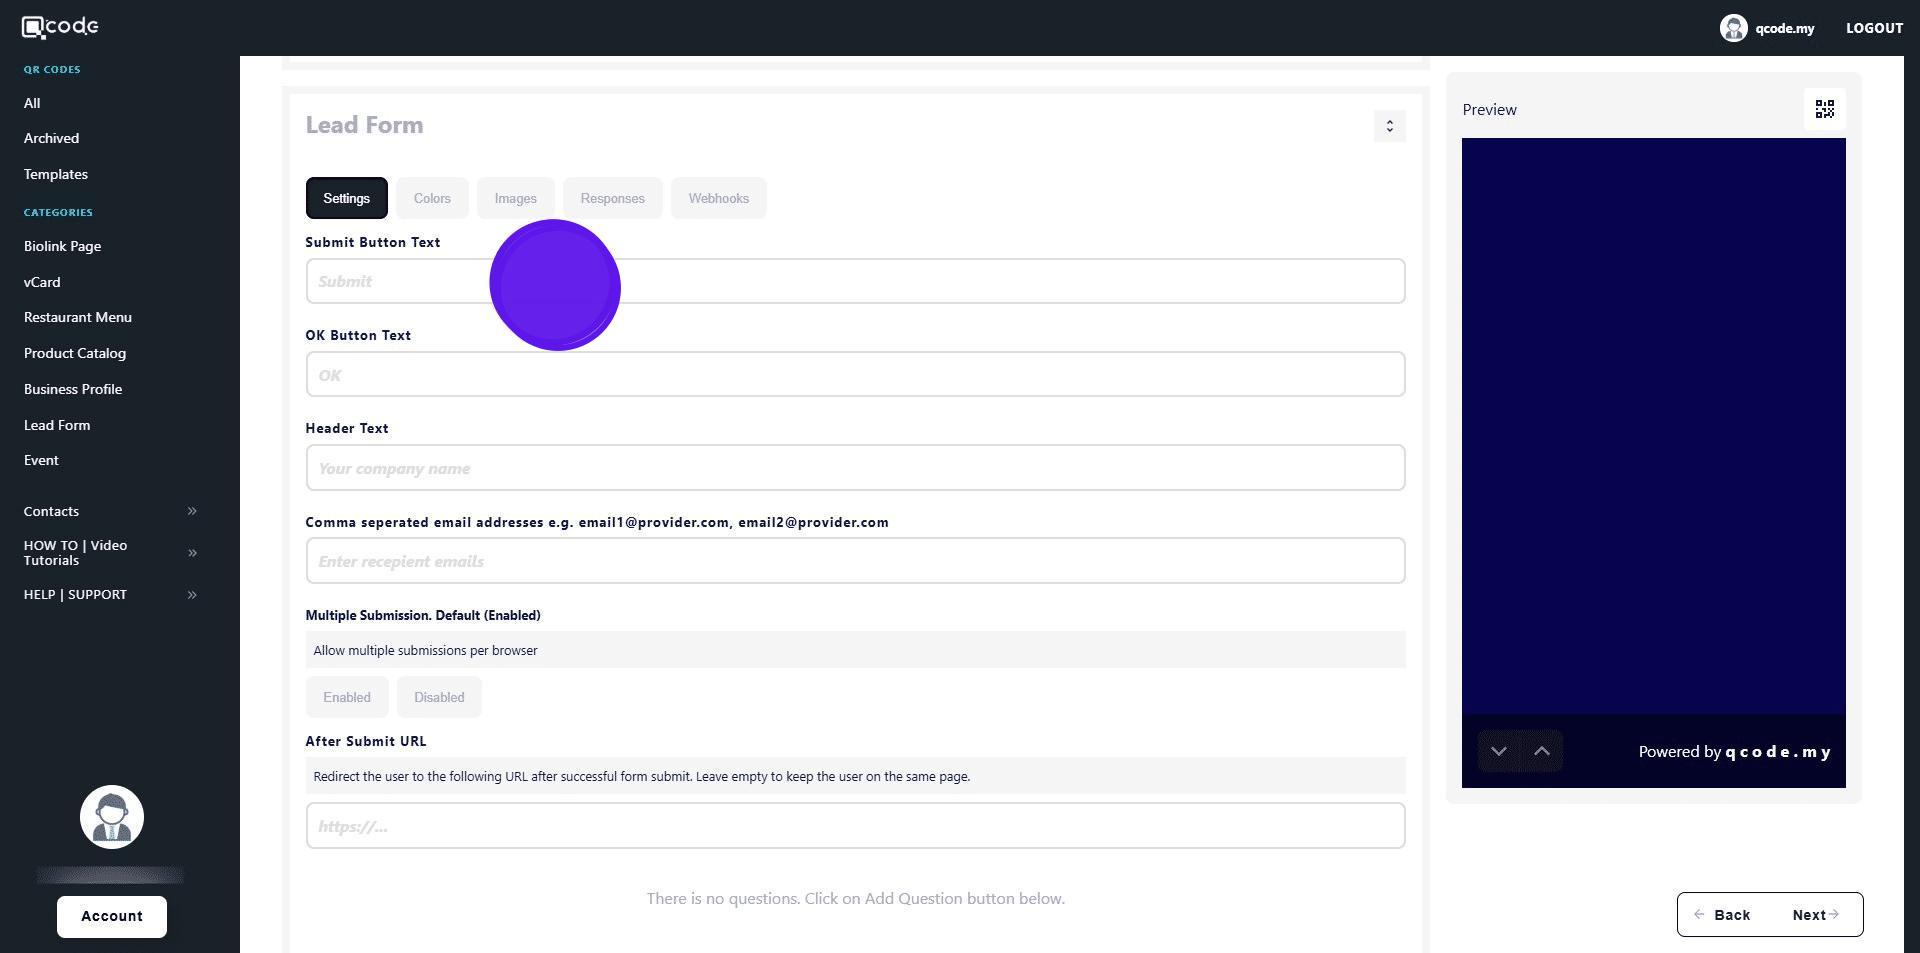
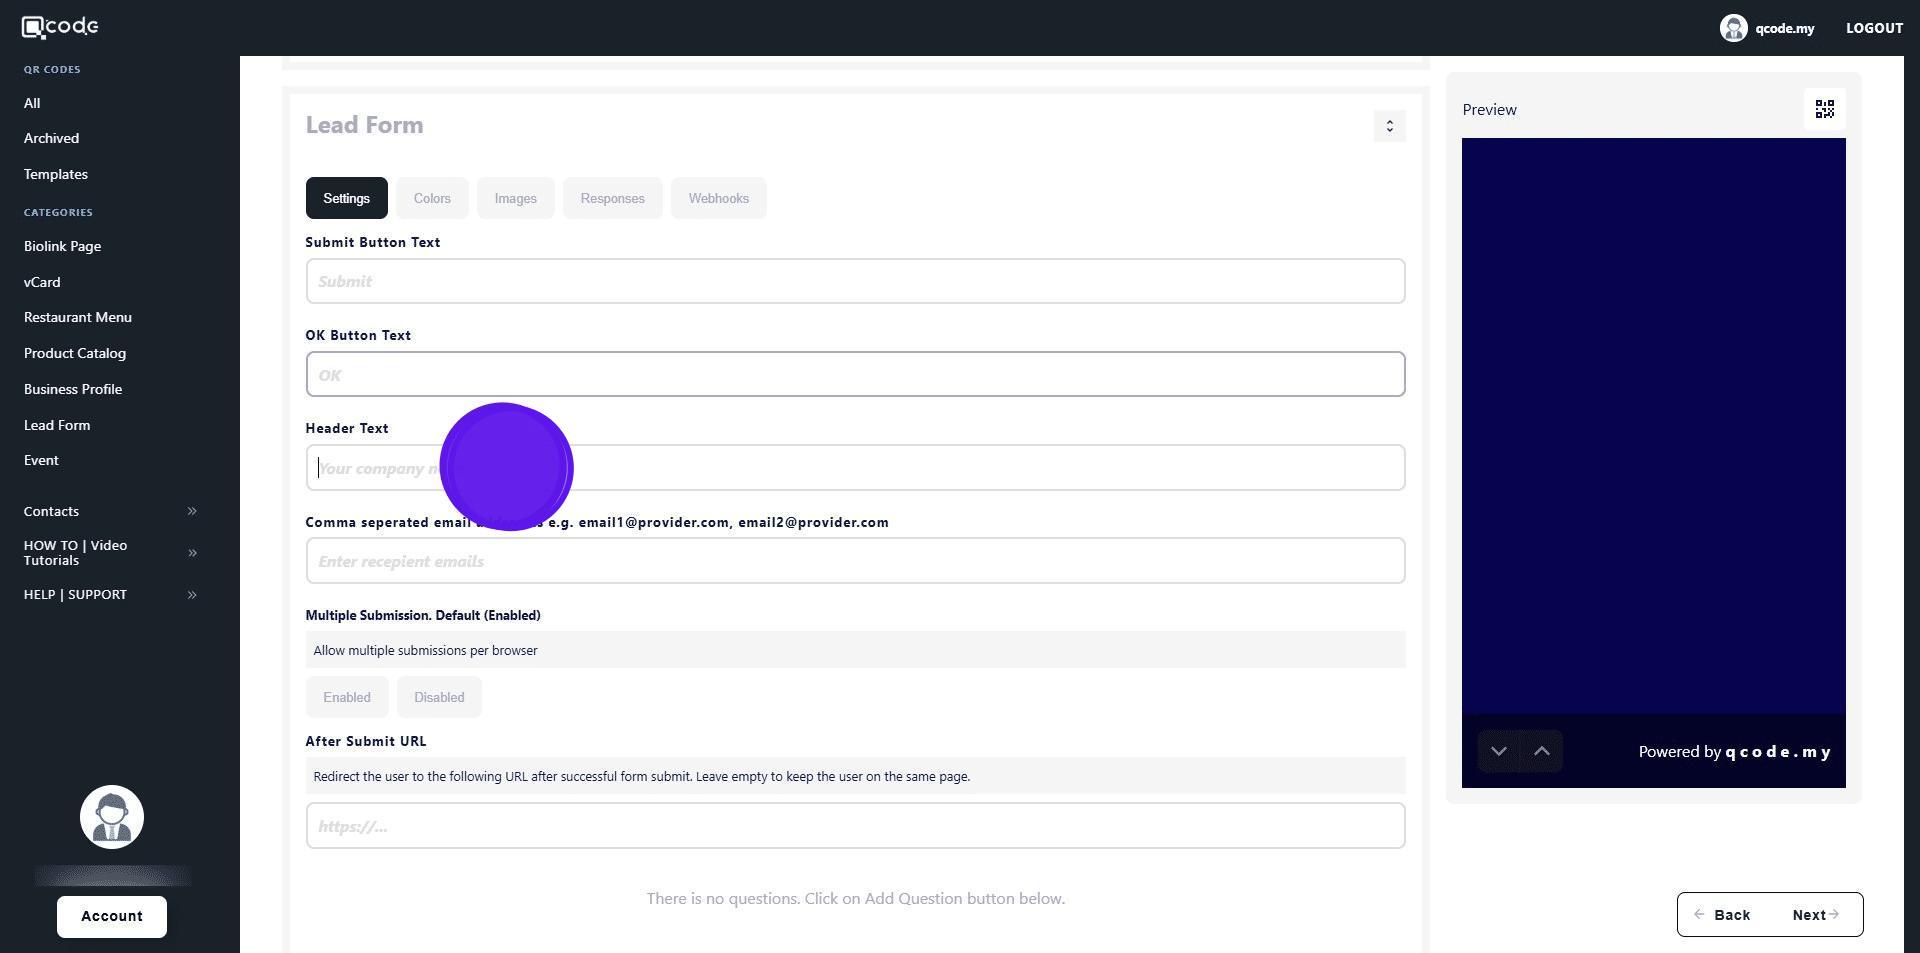
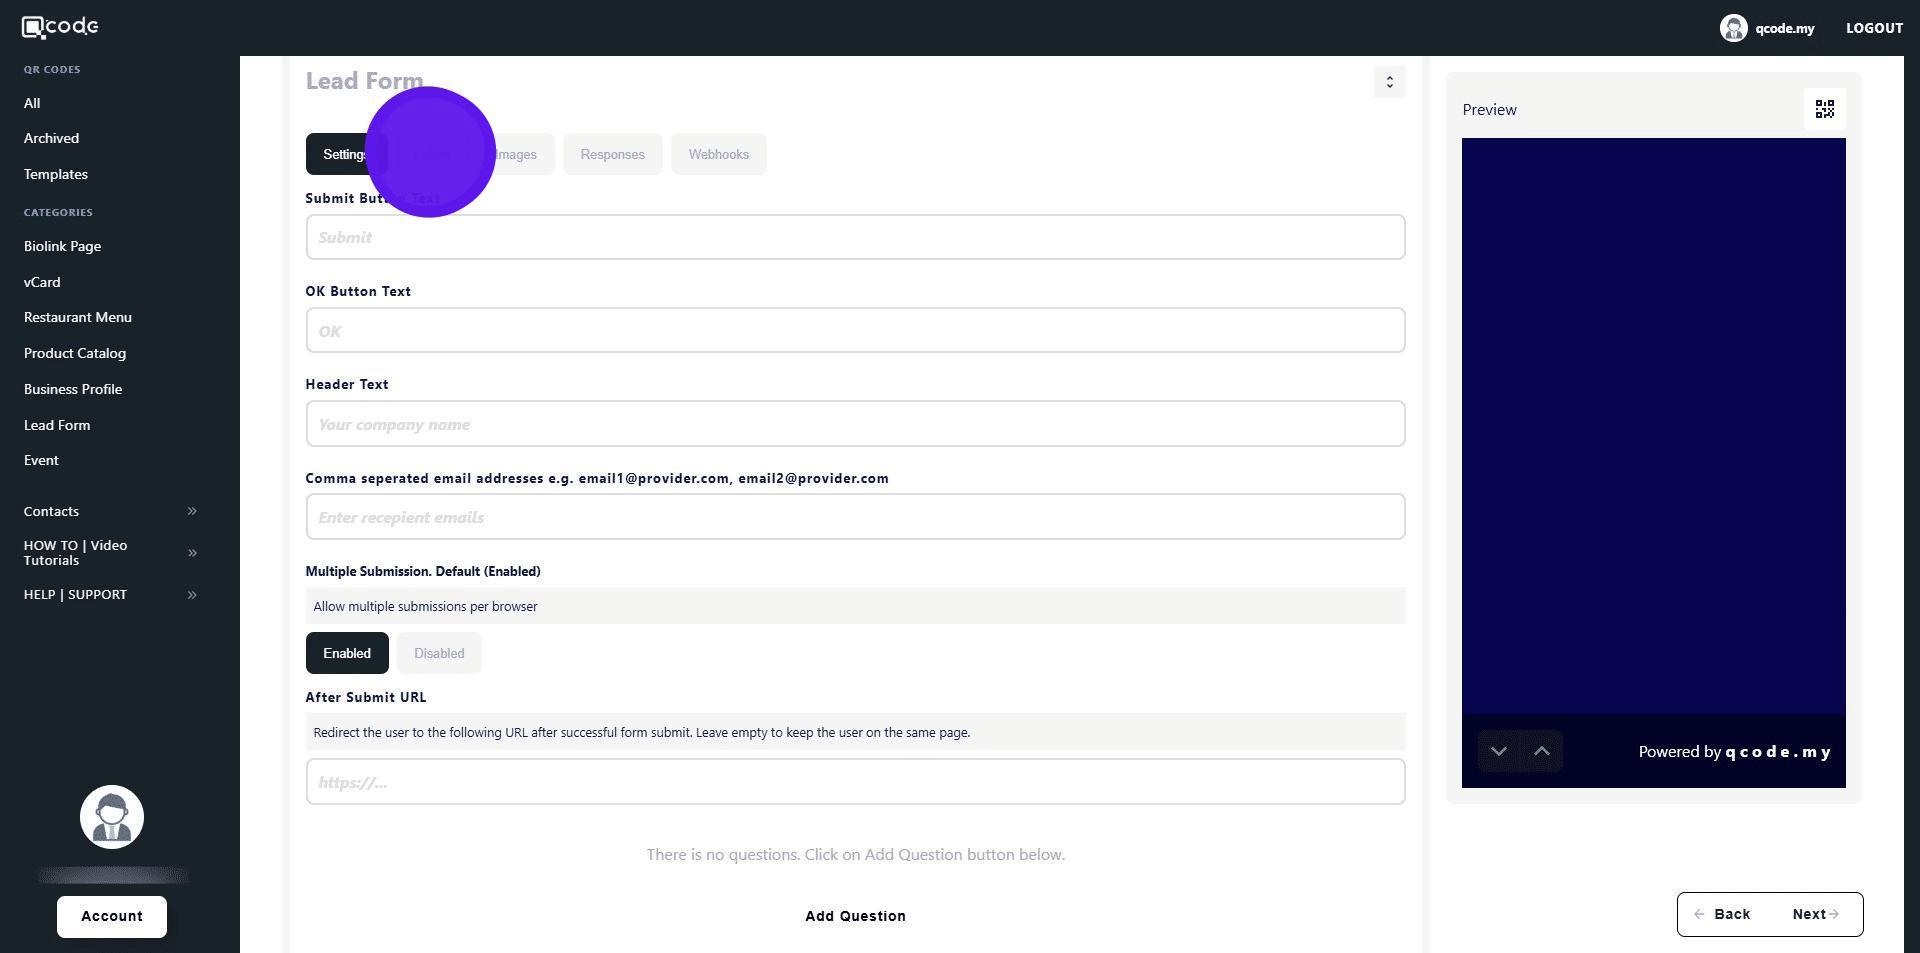
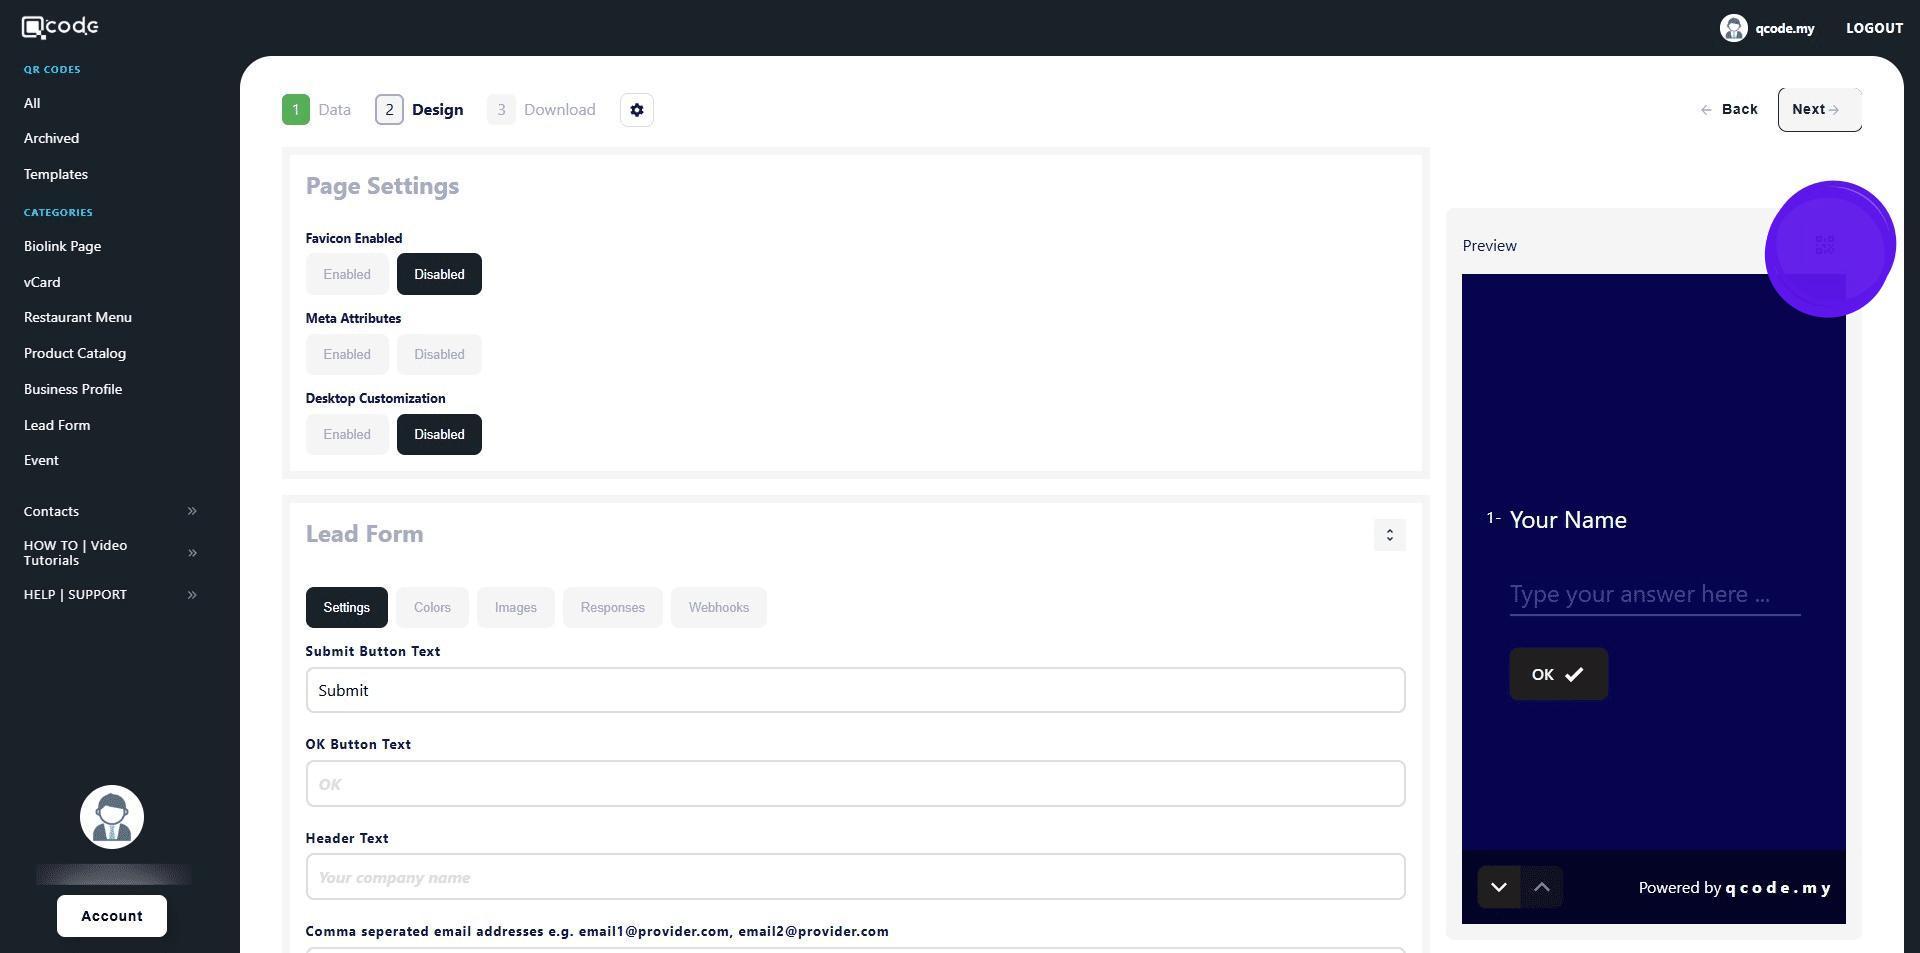
14. Click on Settings to change the settings of your Leads form
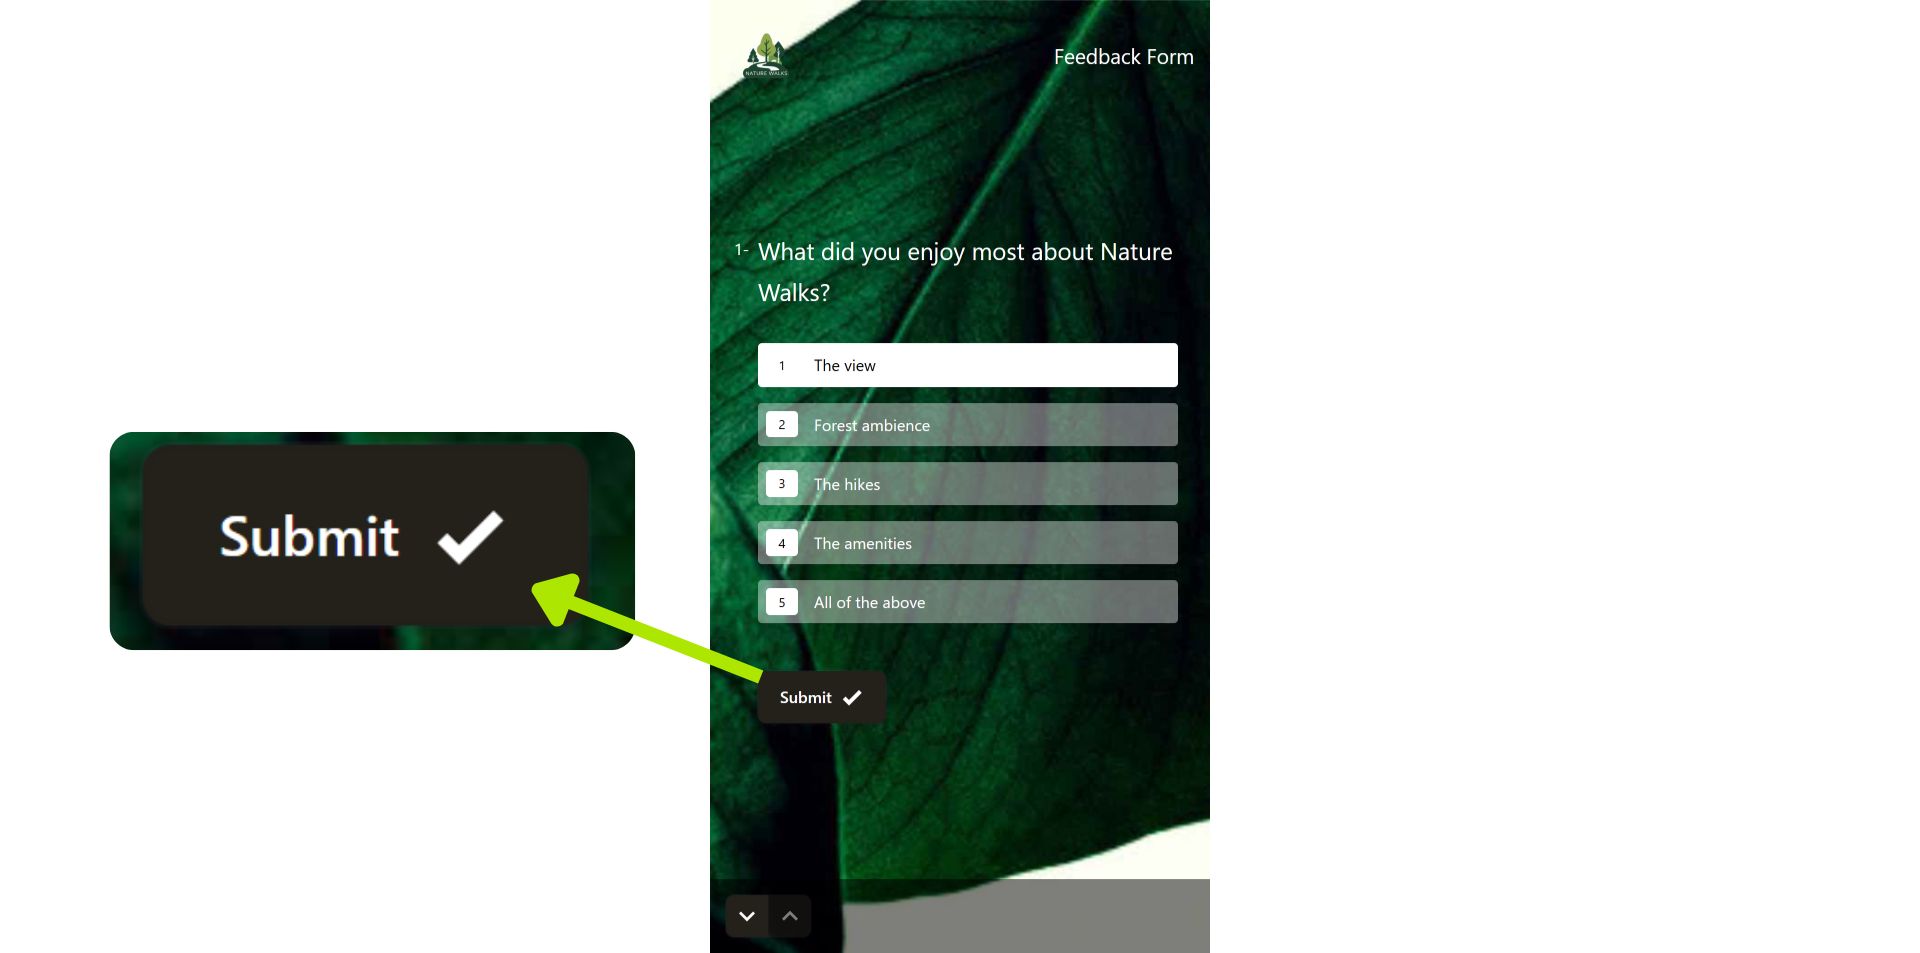
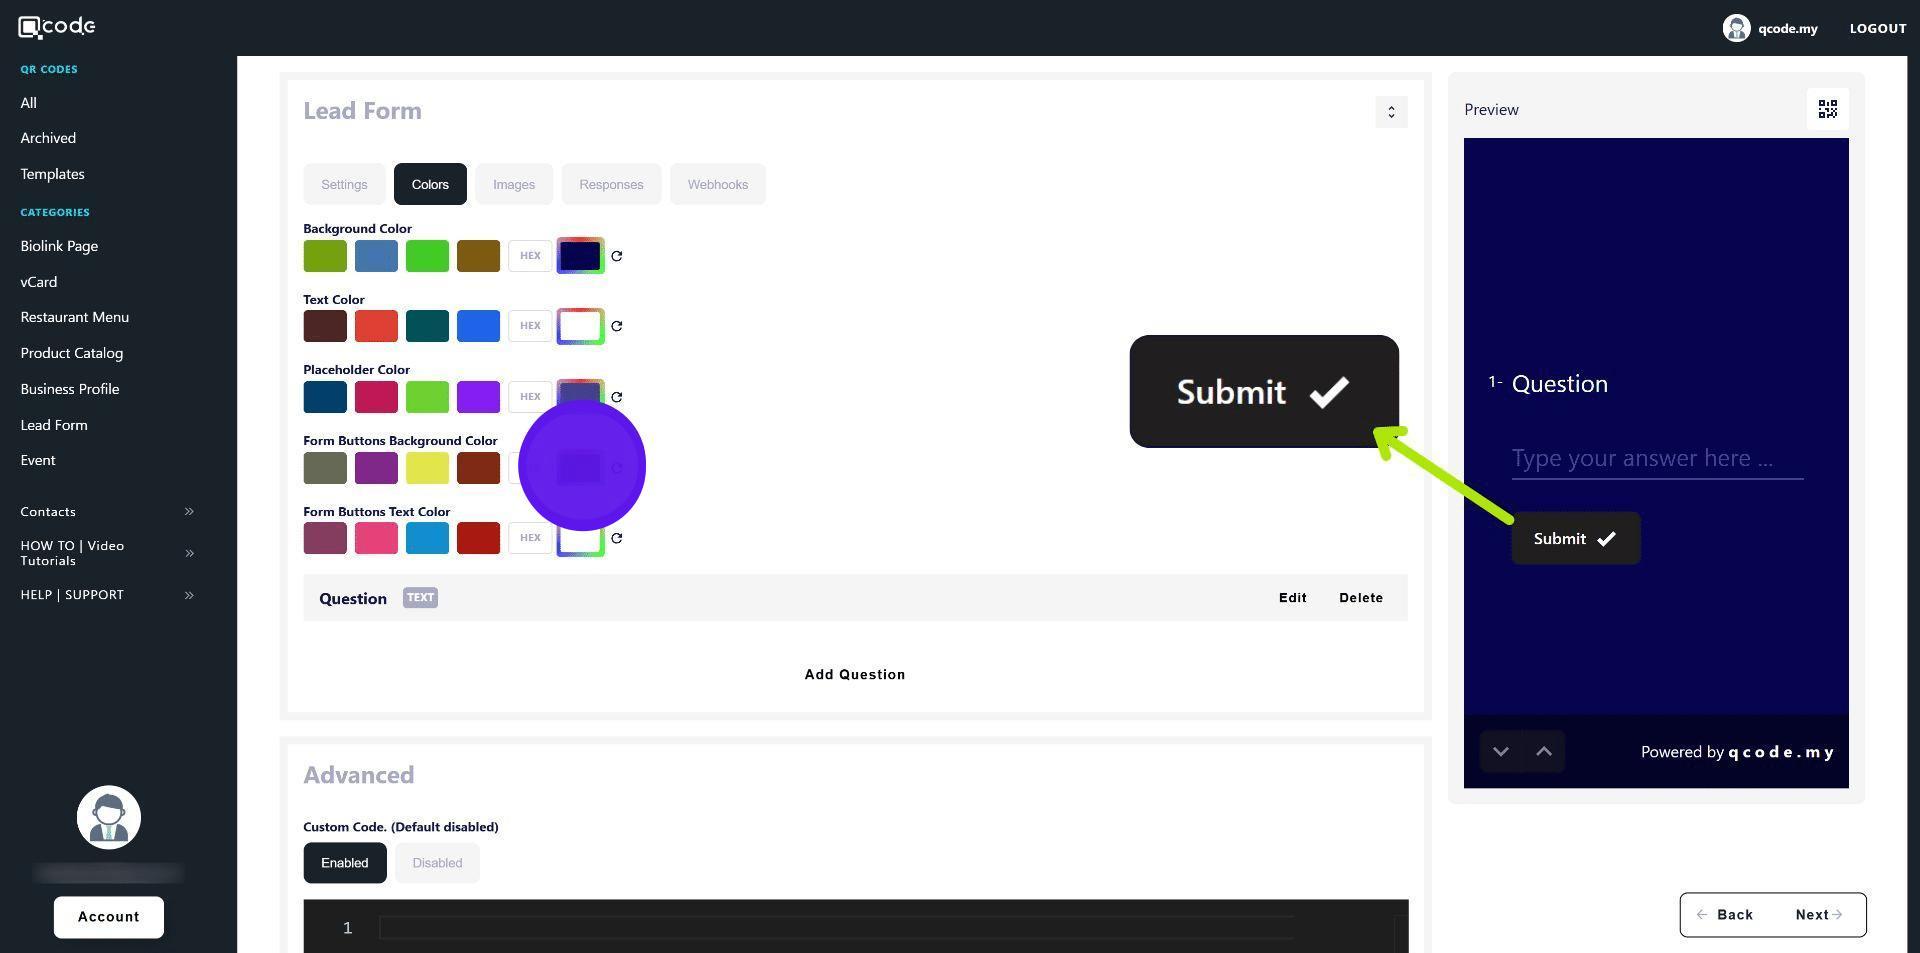
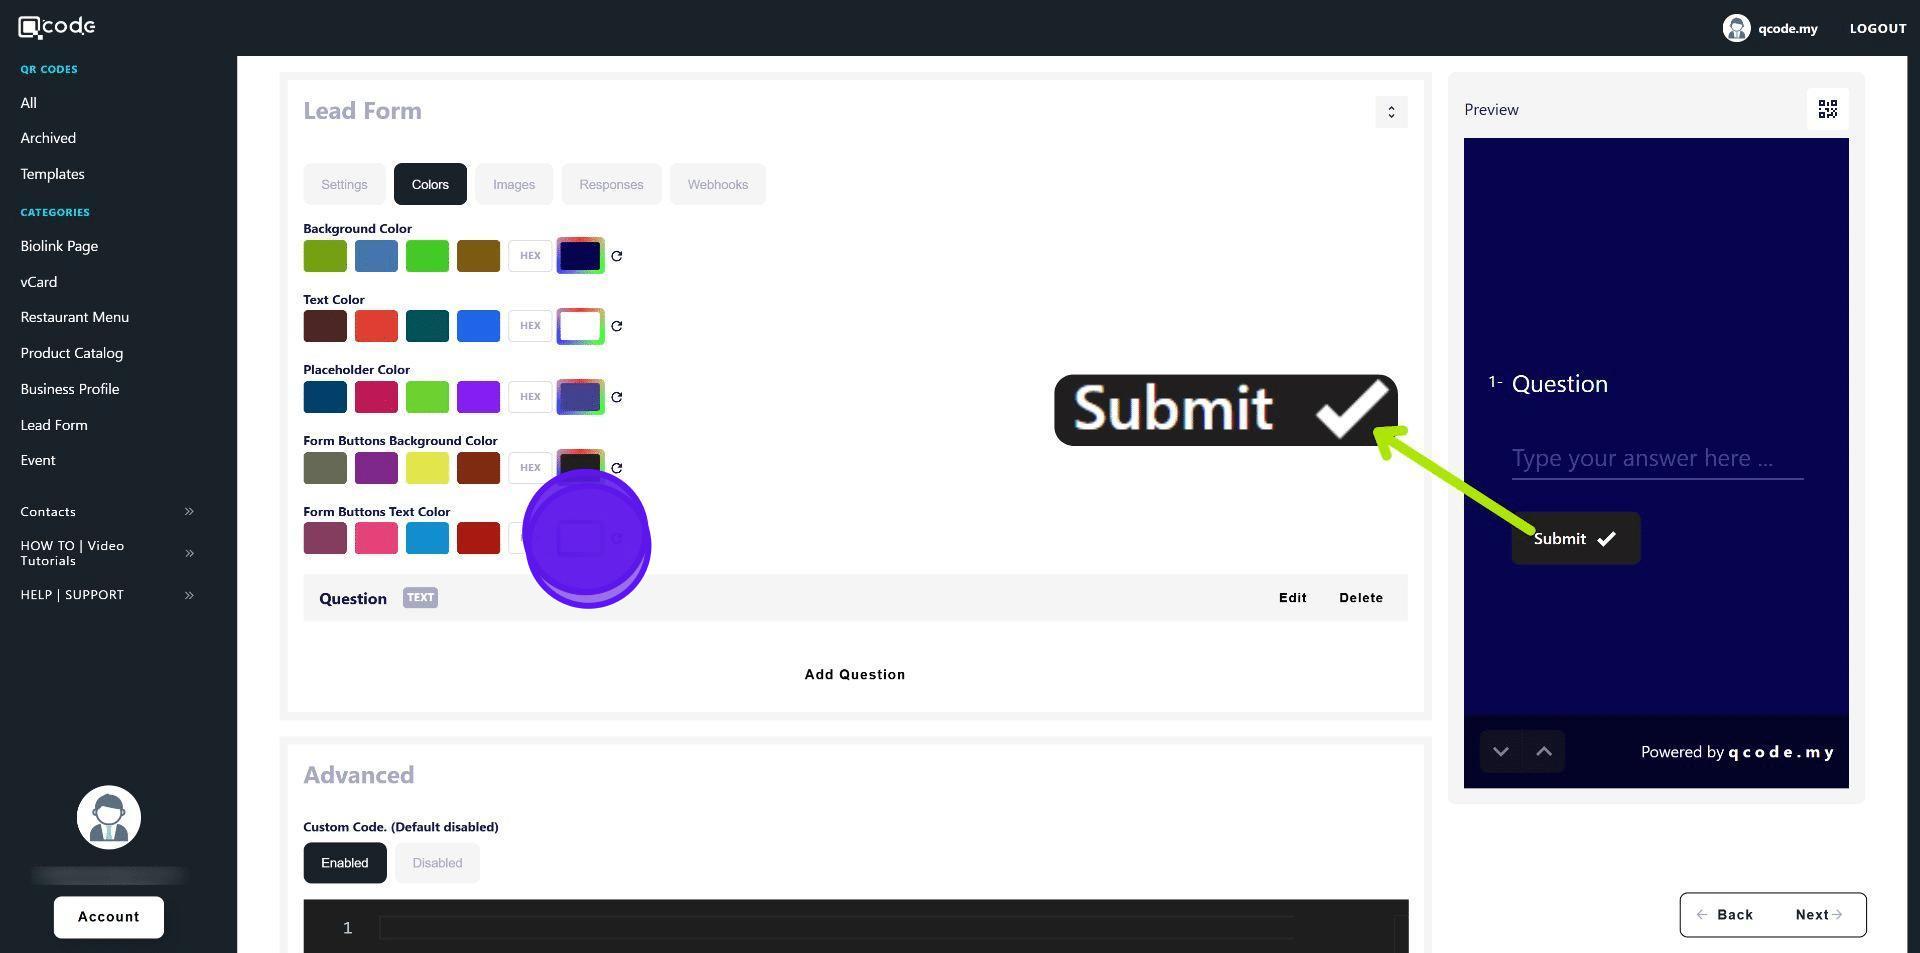
15. Type in your desired text placeholder for the Submit button here
16. Your Submit button will appear here at the last question of your Leads form
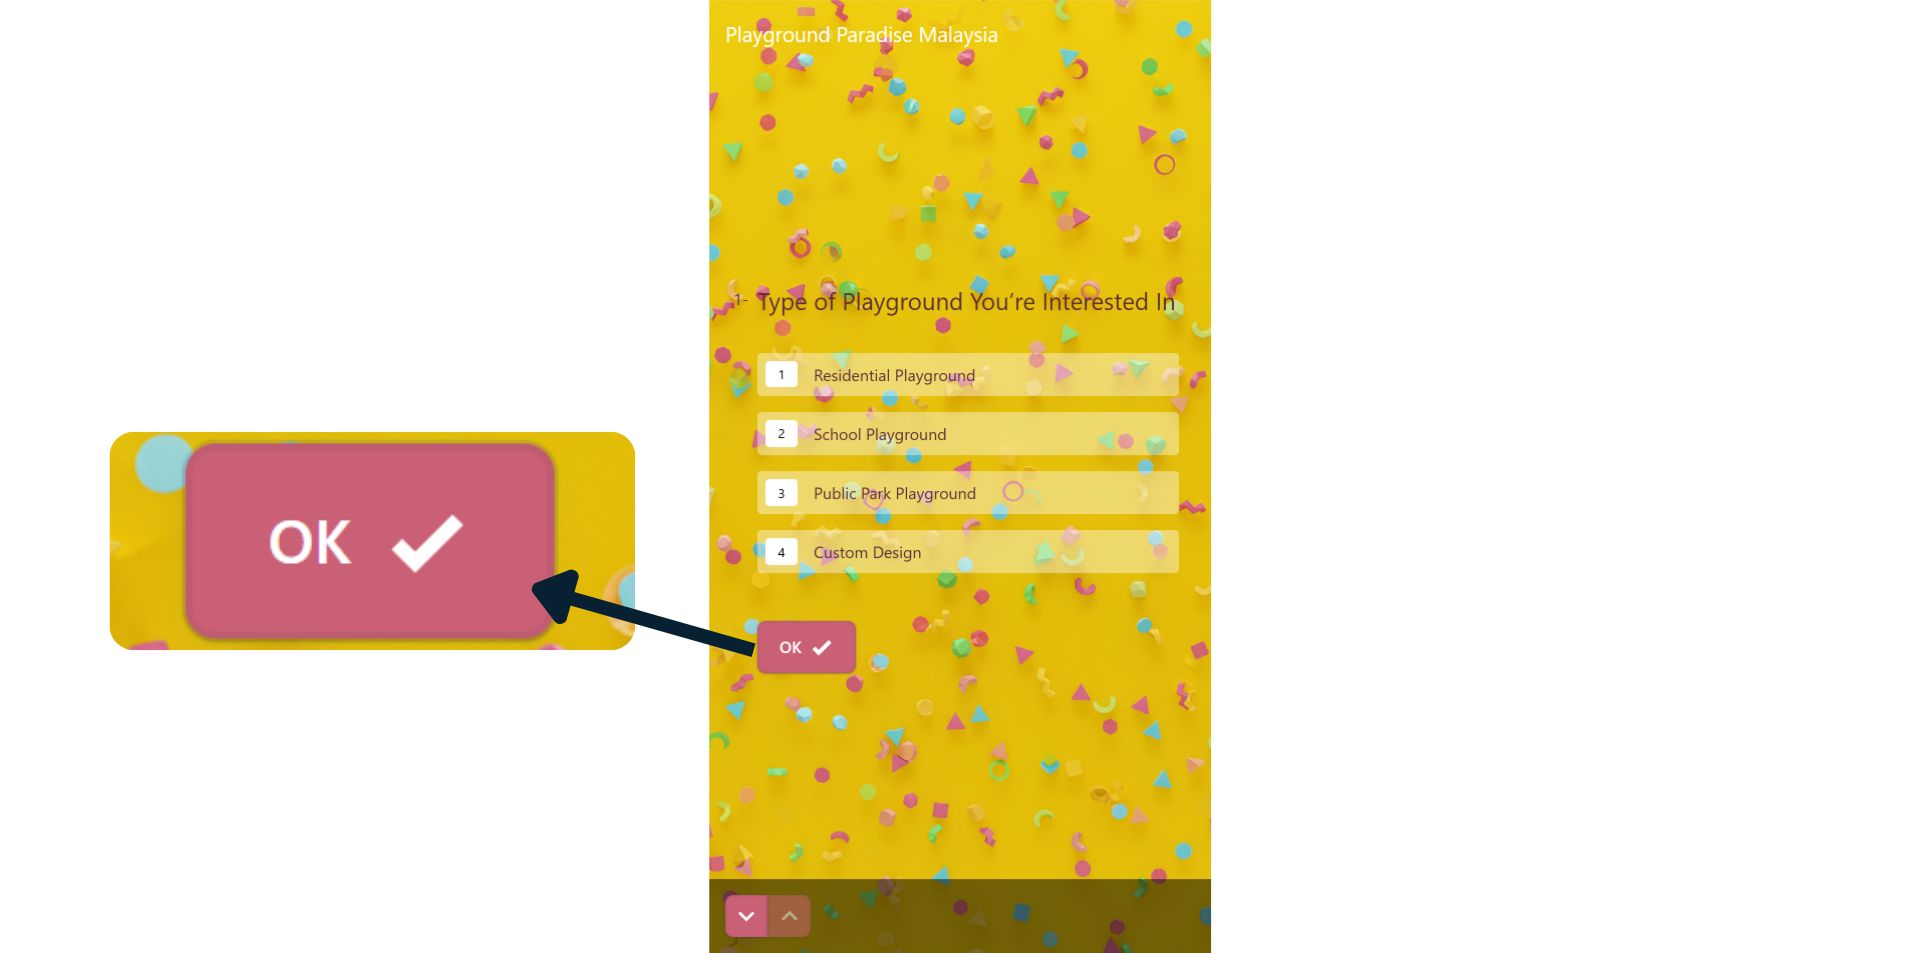
17. Type here to change the text placeholder for the OK button
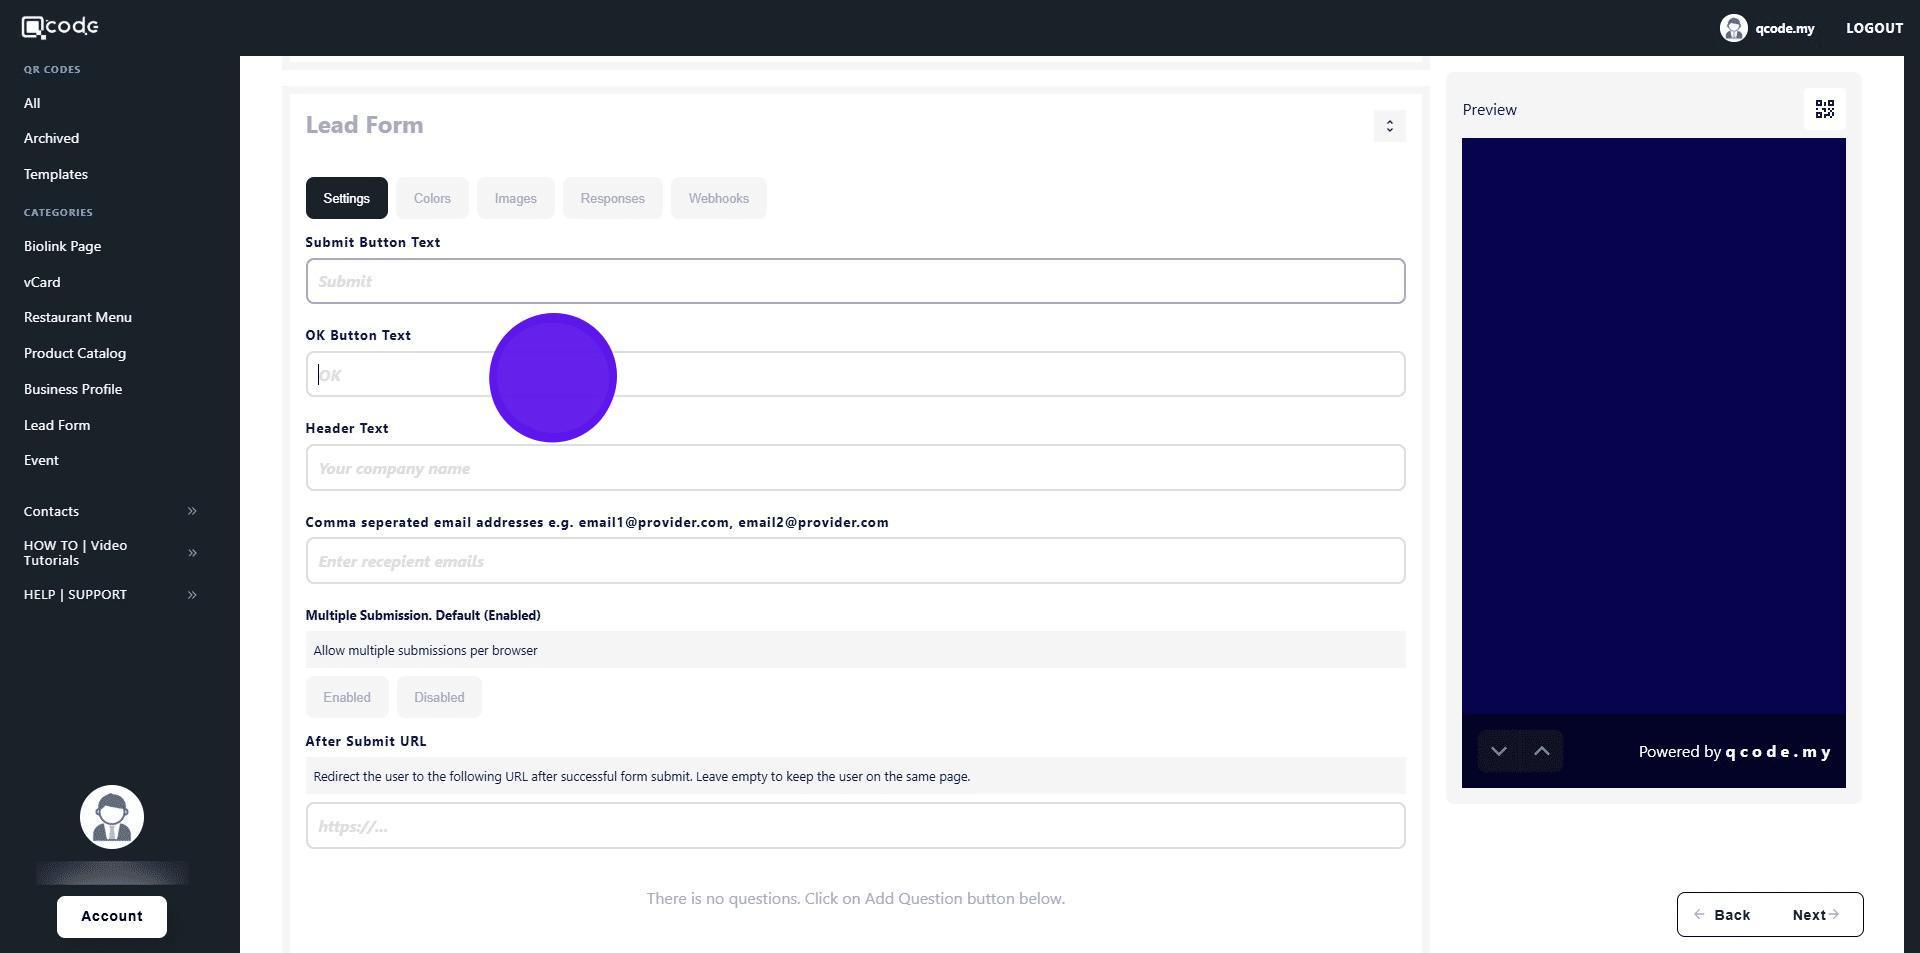
18. Your OK button will appear here
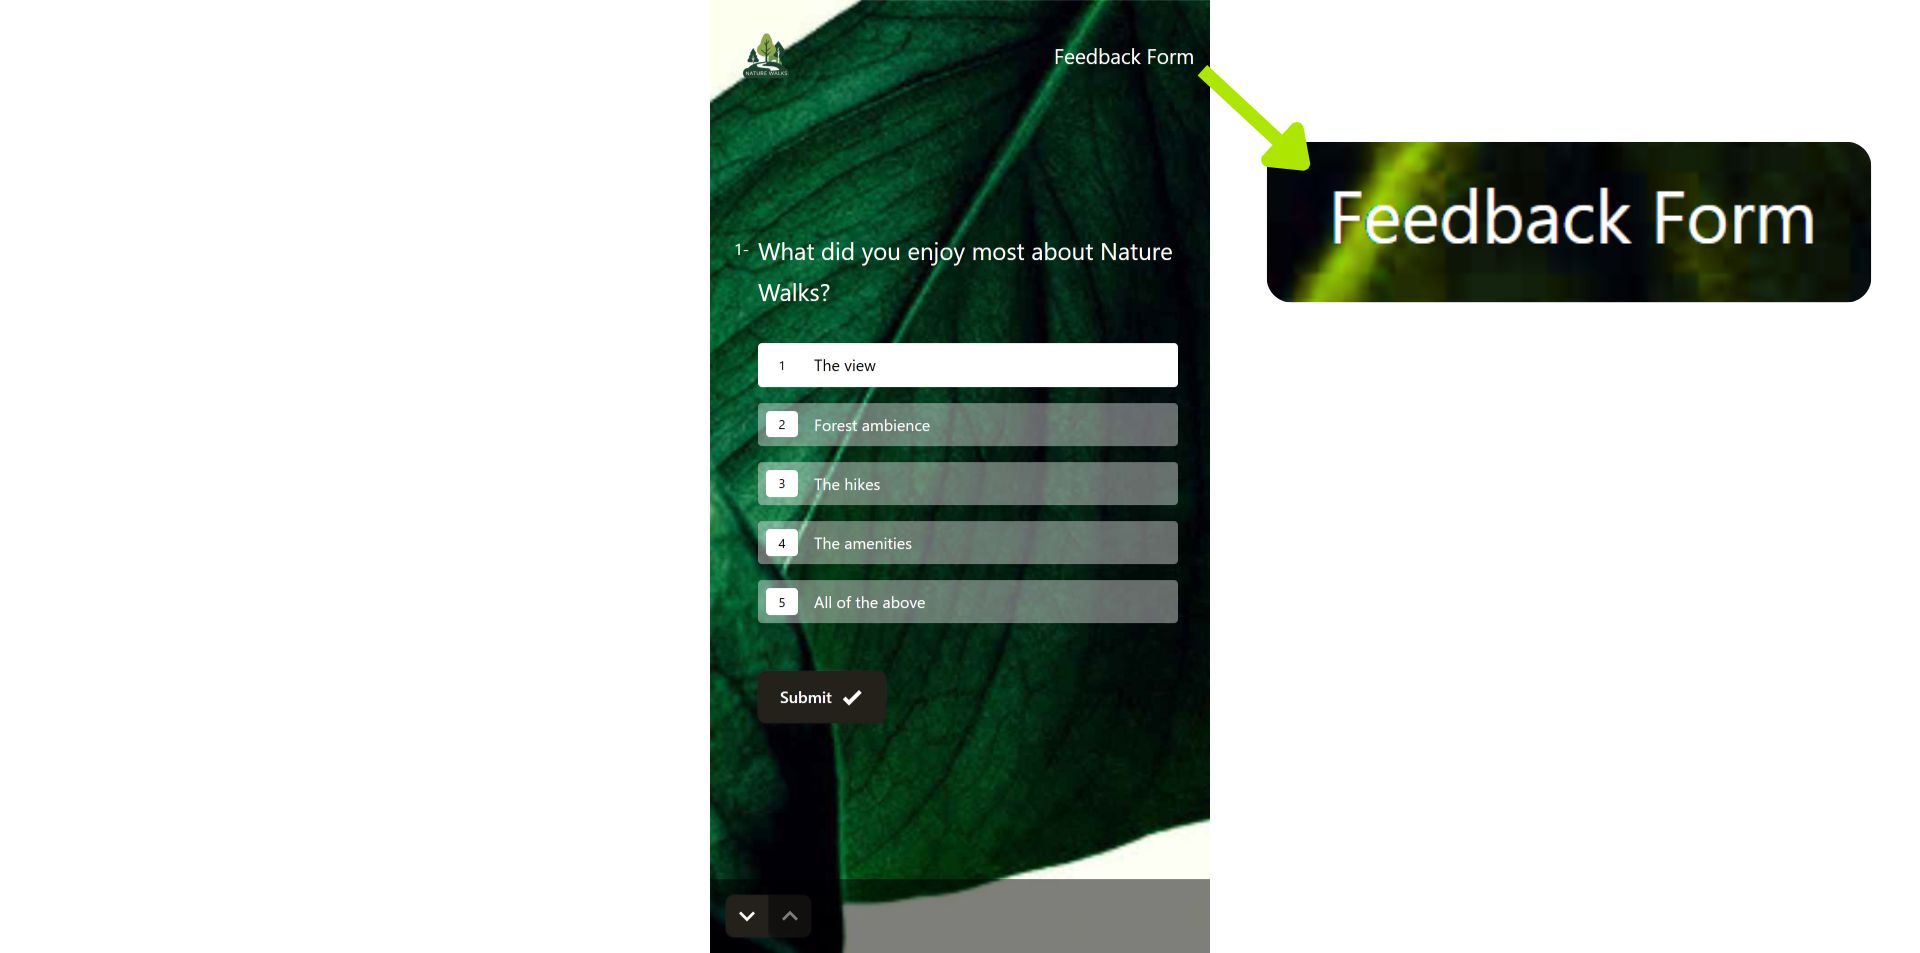
19. Type in your desired Header Text here
20. Your Header Text will be displayed here
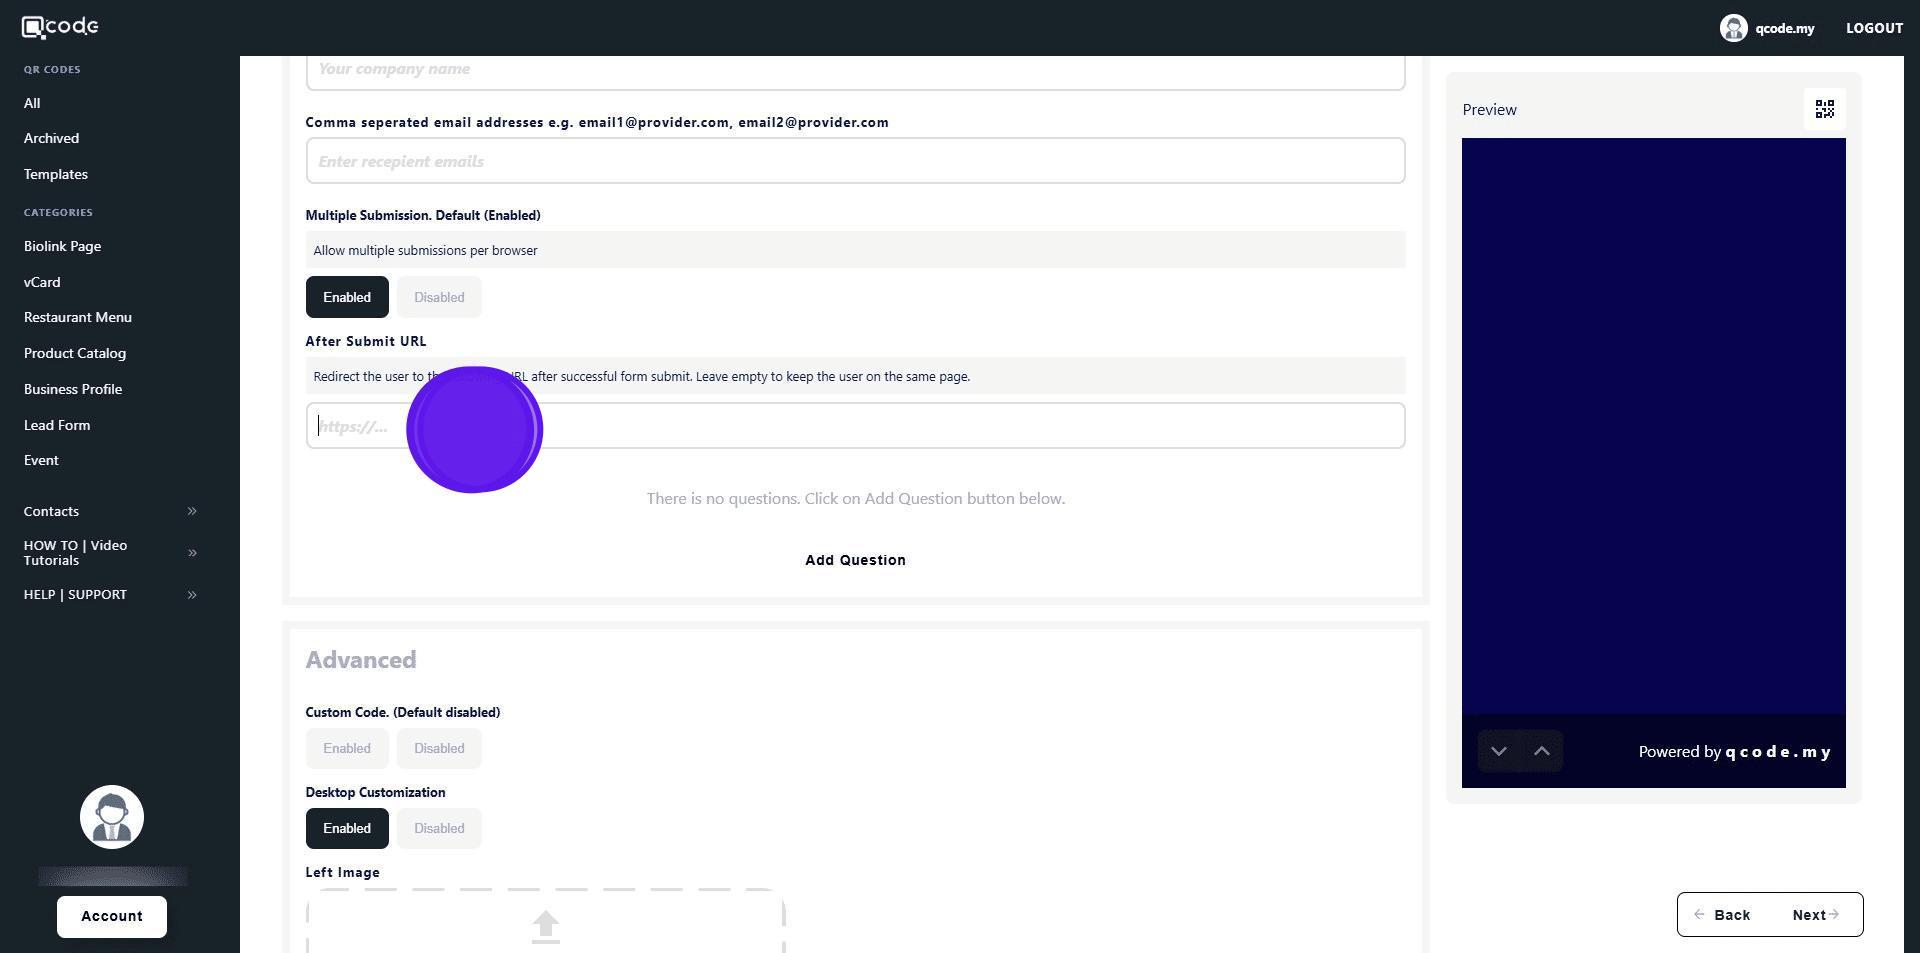
21. Insert your recipient emails here

22. Click the following button to allow multiple submissions per browser

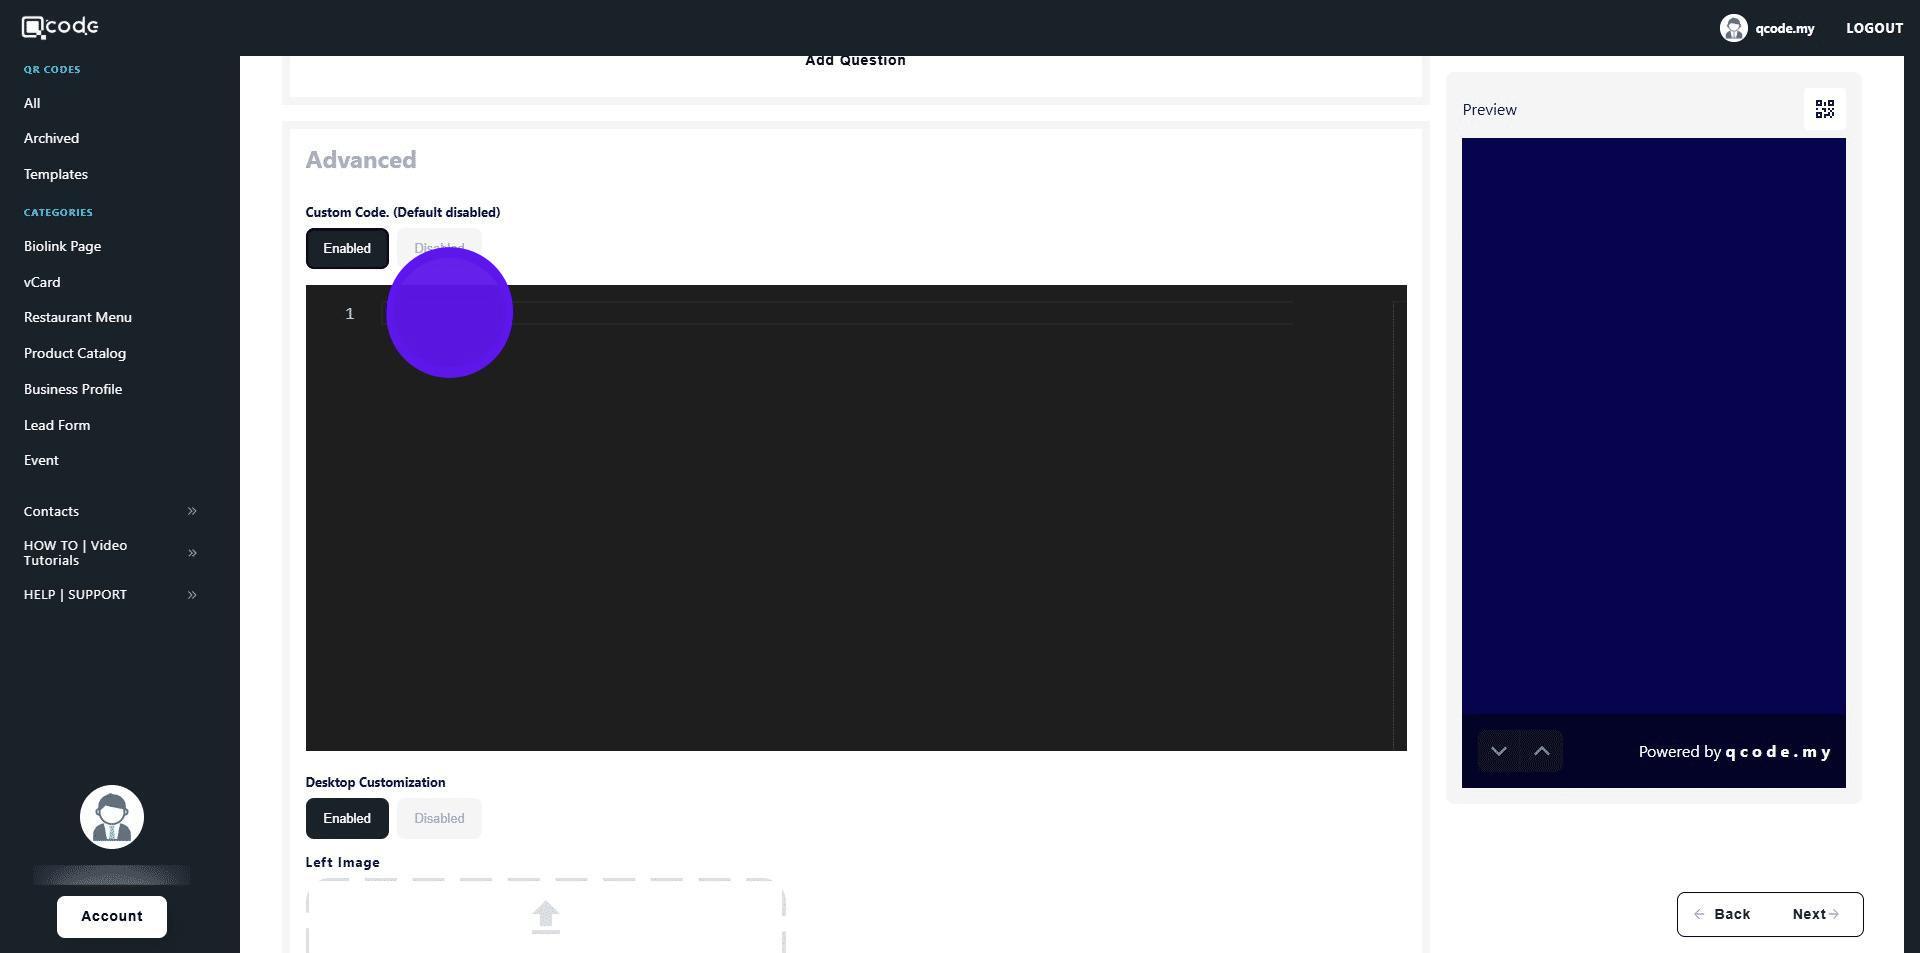
23. Type here to redirect users to your desired URL after submission
24. Click the following button to enable Custom Code (HTML and CSS only)
25. Insert your code here
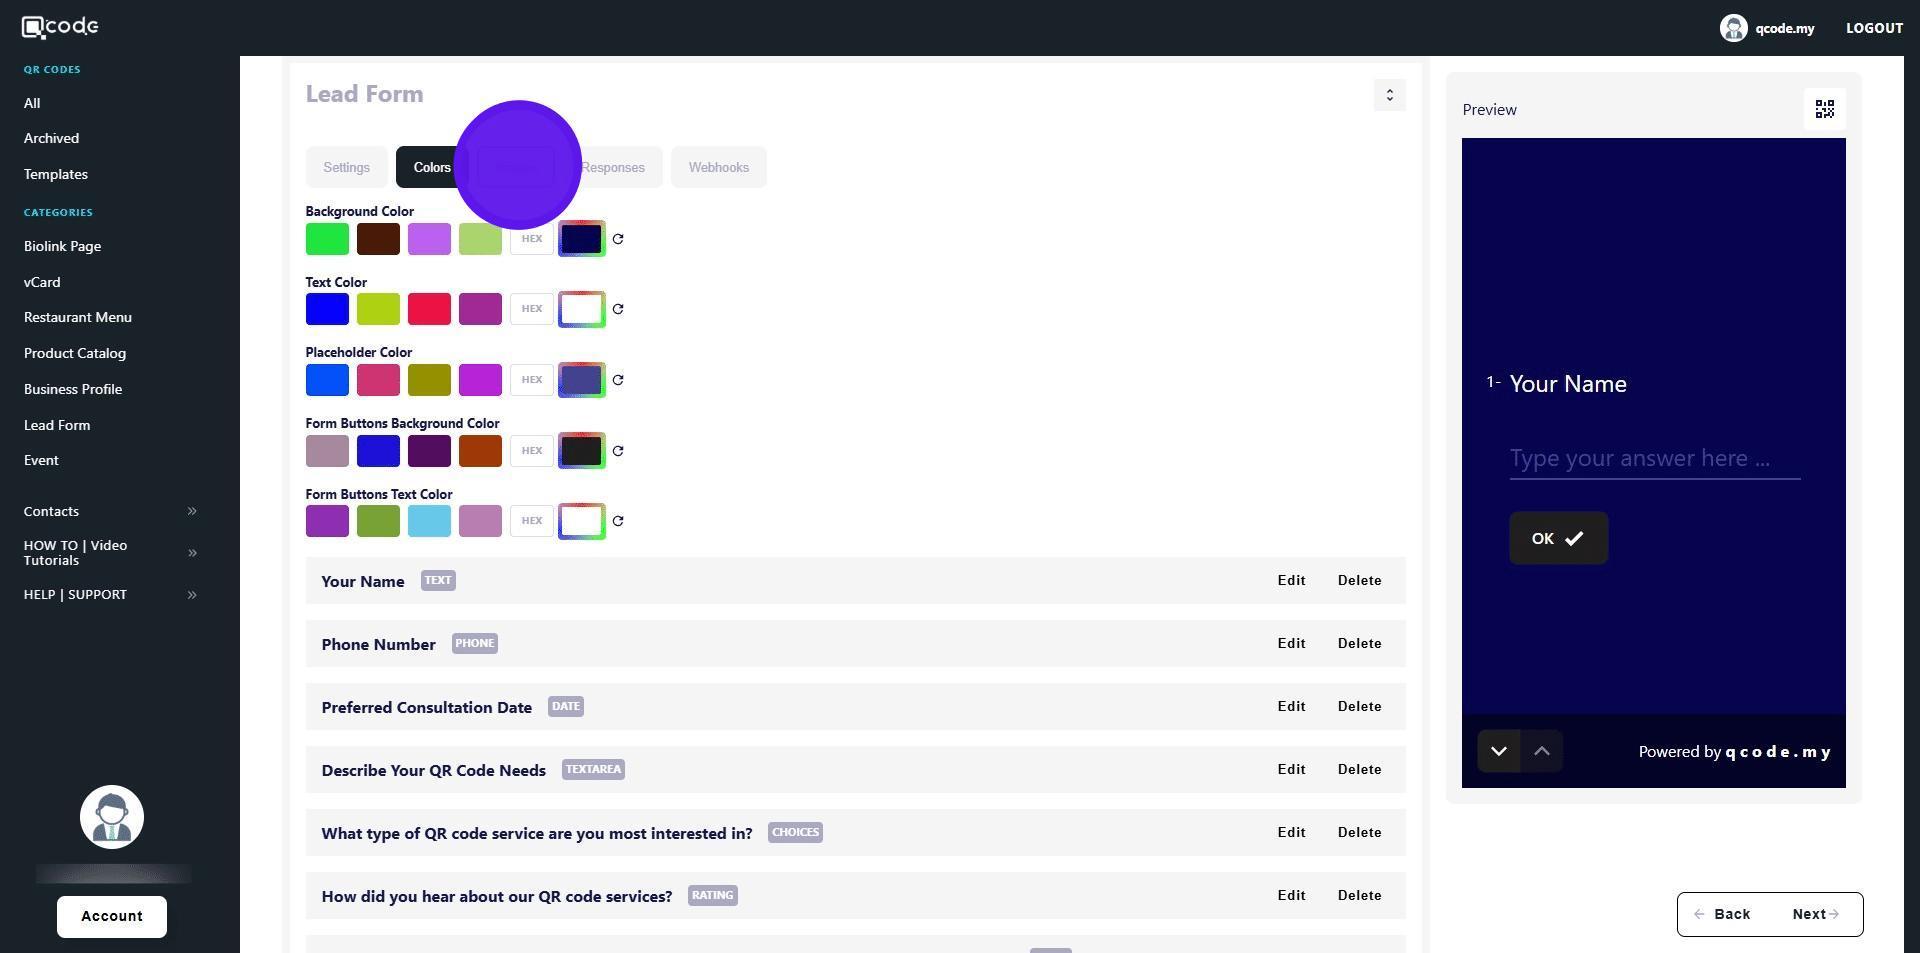
26. Click on Colors to change the colors settings of your Leads Form
27. Click here to change the background color of your Leads Form
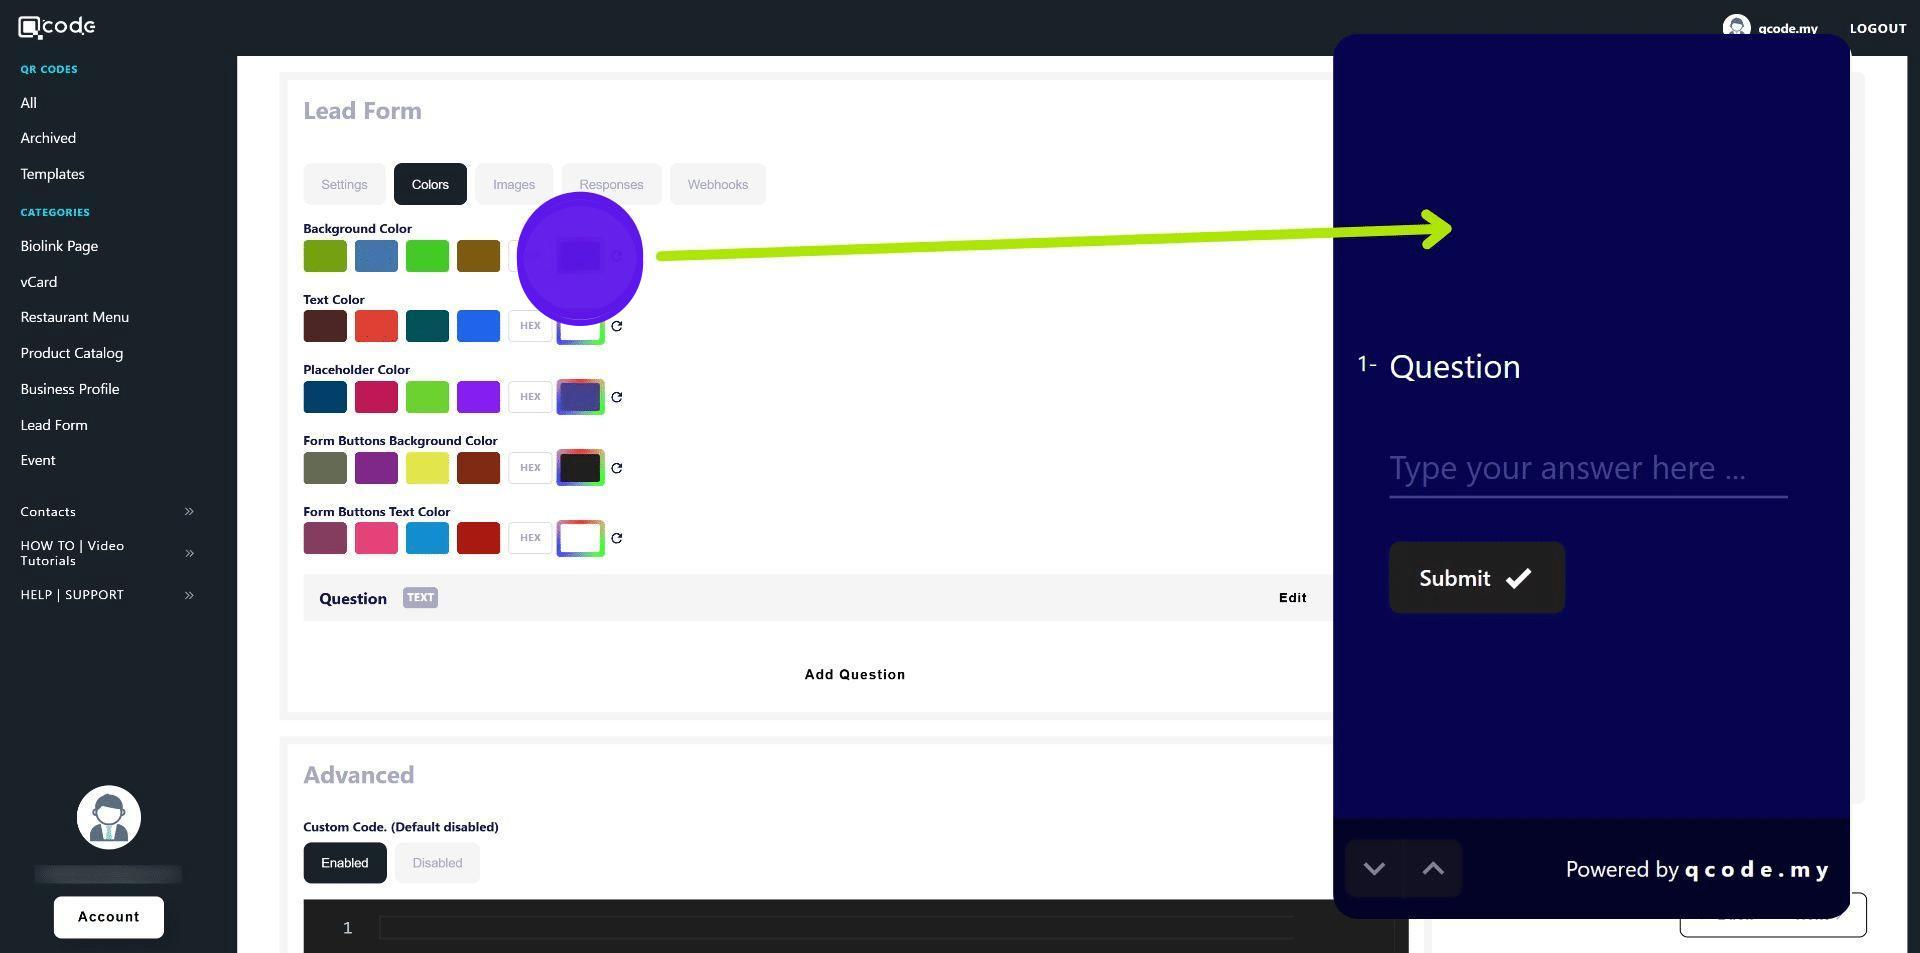
28. Click here to change the text color of your Leads Form

29. Click here to change the placeholder text color of your Leads Form
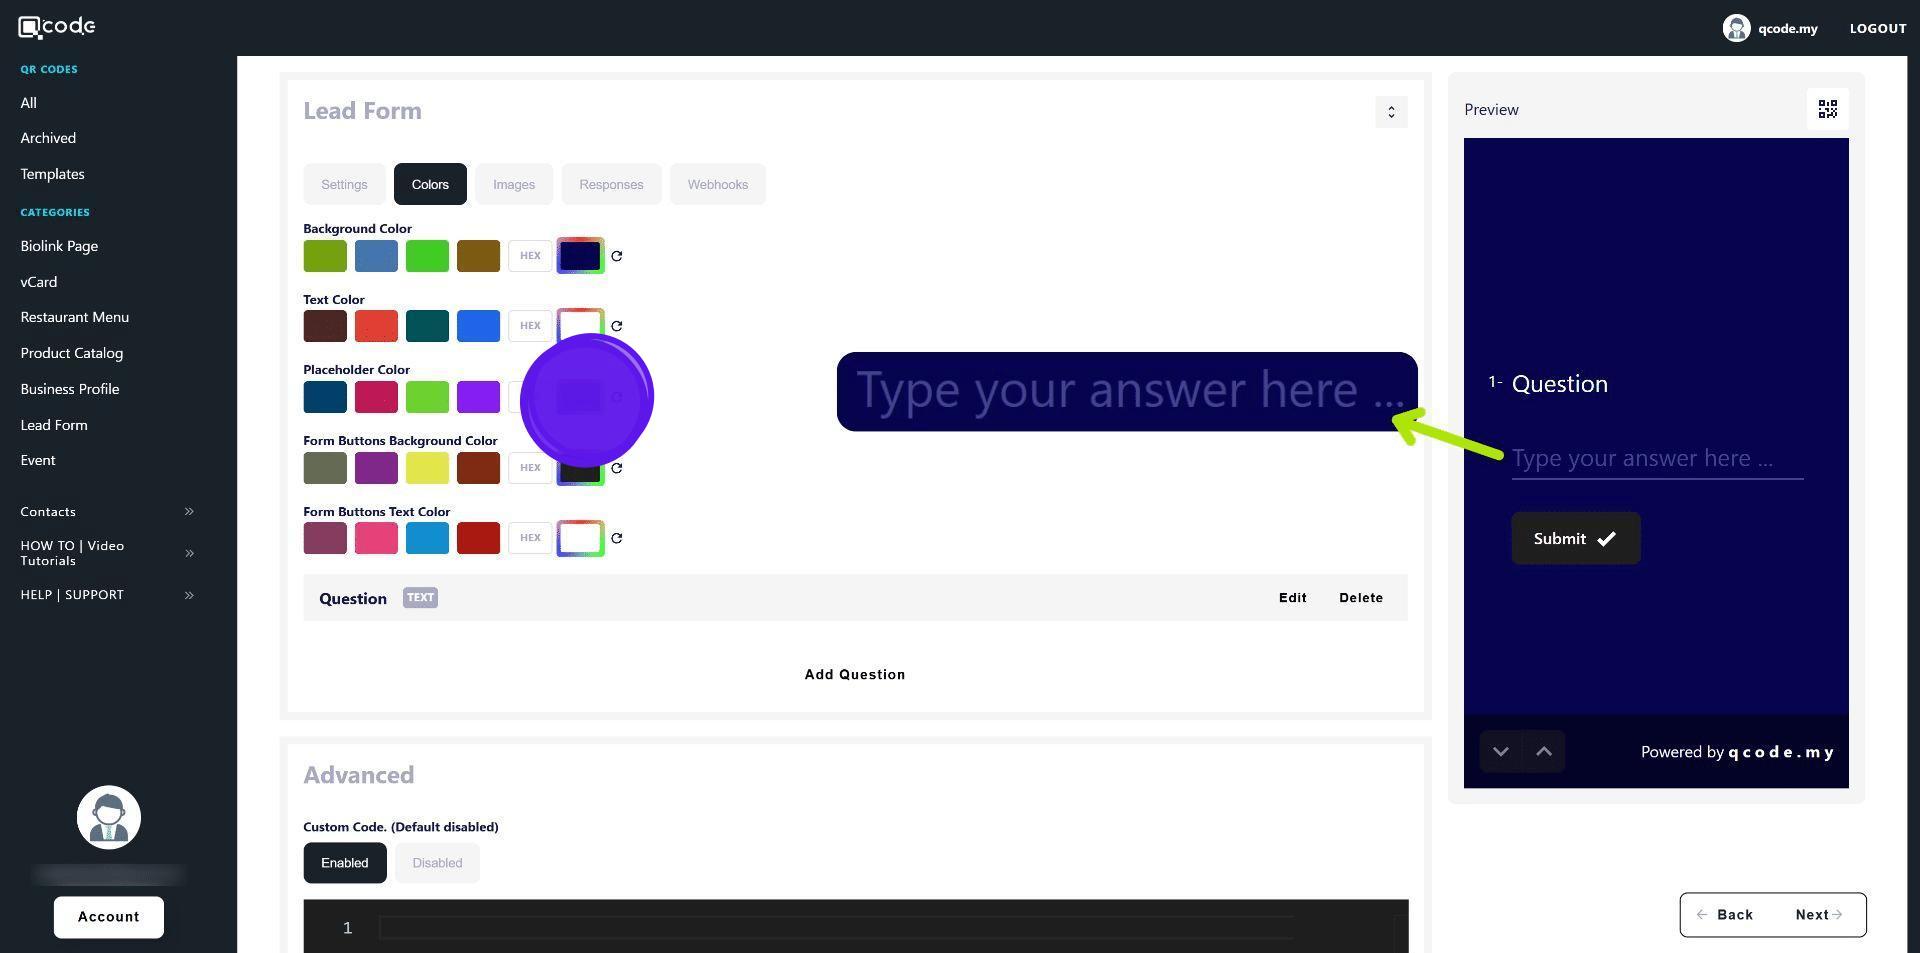
30. Click here to change the button color of your Leads Form
31. Click here to change the text color of the button of your Leads Form
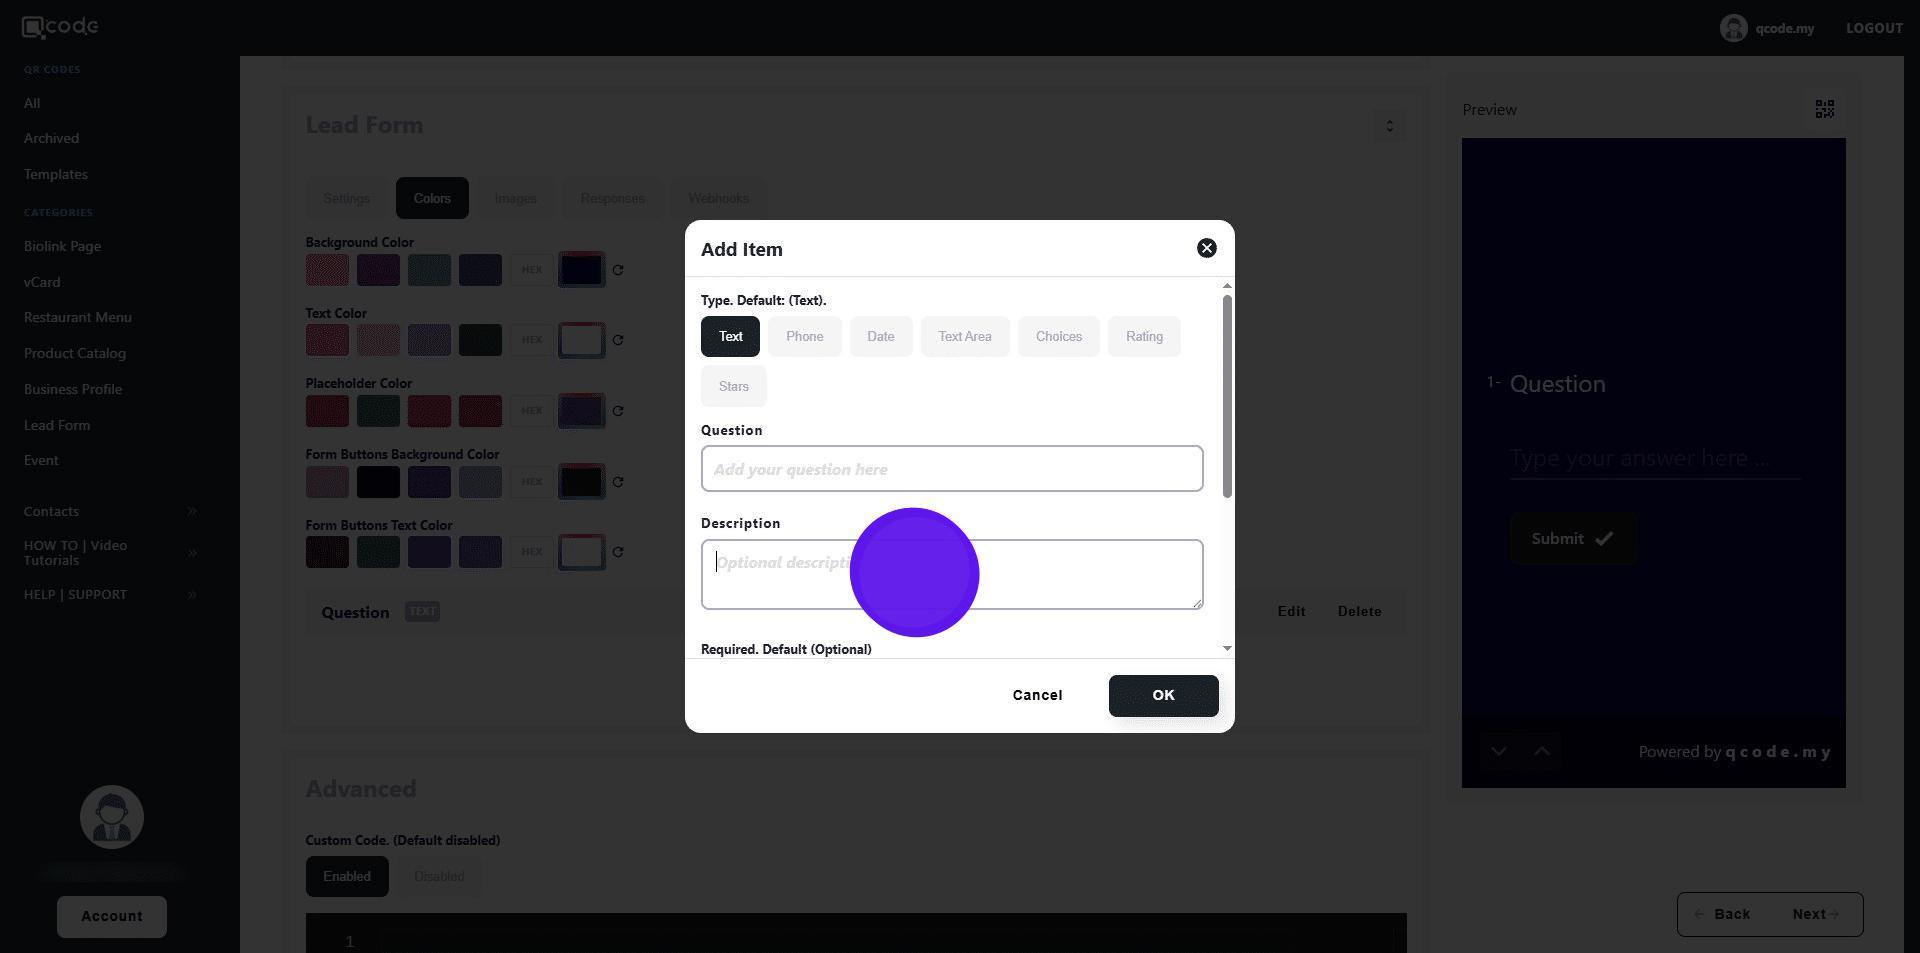
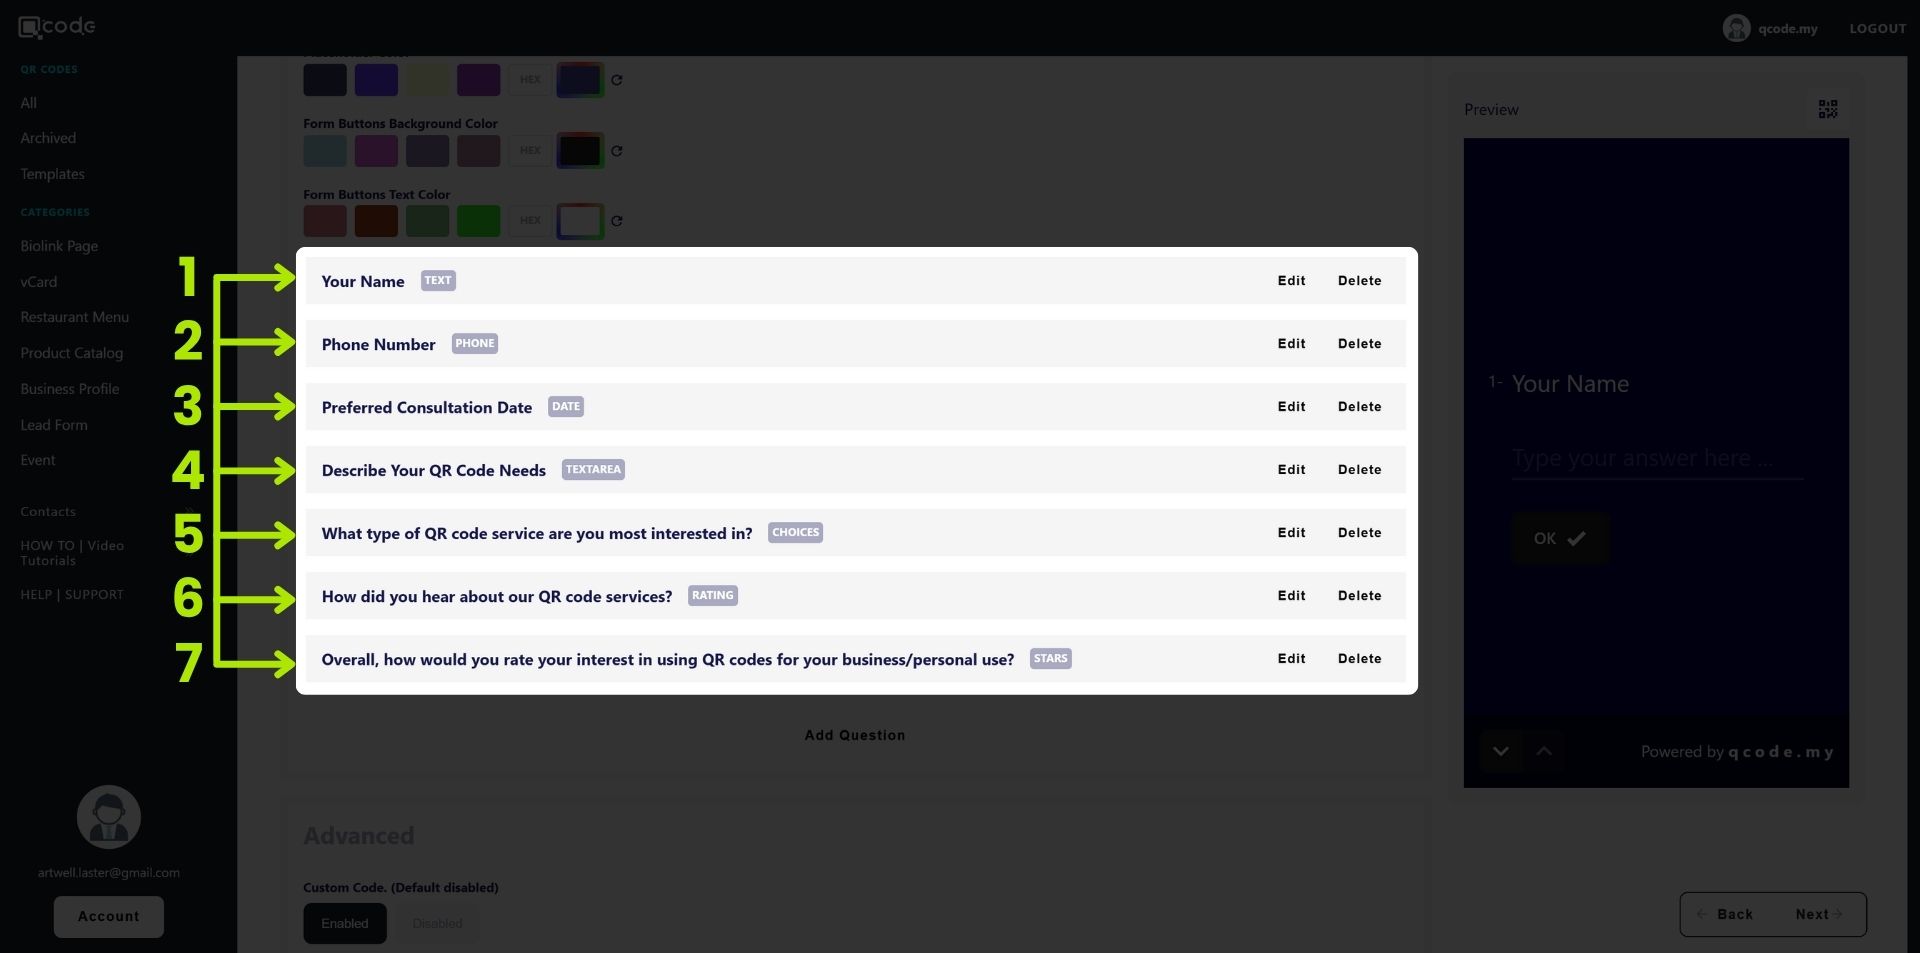
32. Click on Add Question to add a question for your Leads Form

33. Choose your desired question type here
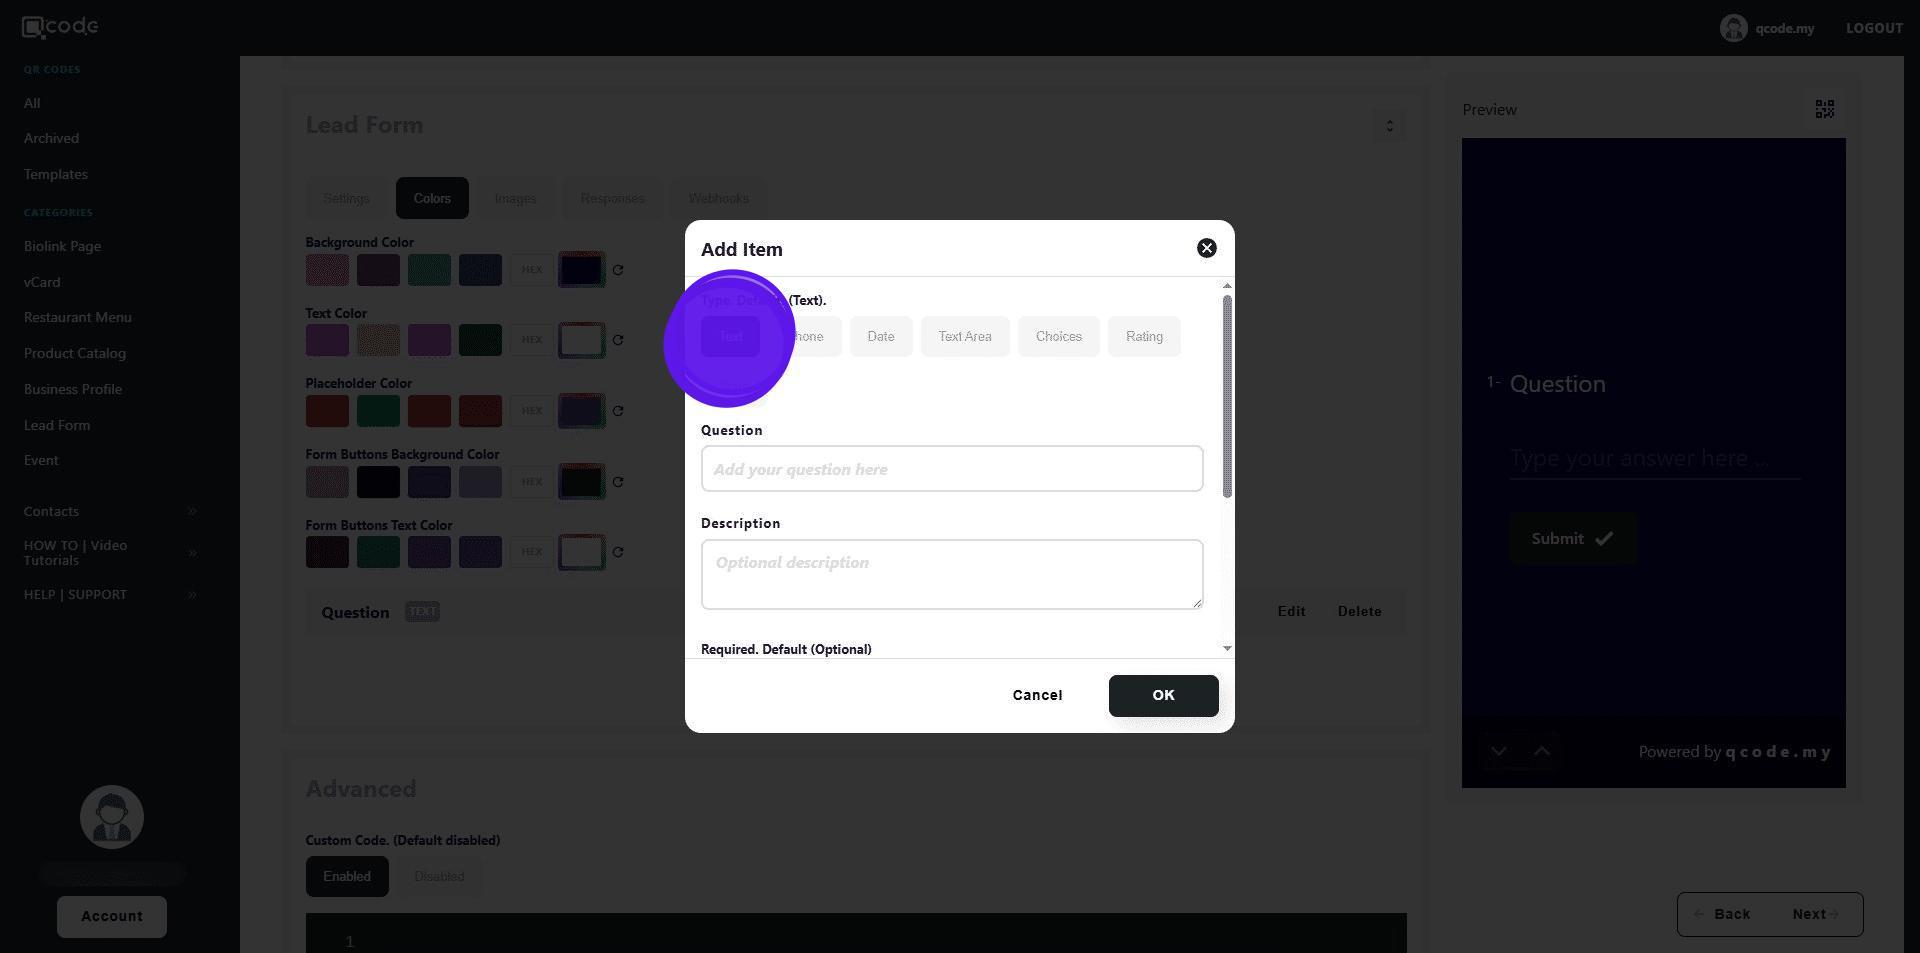
34. Type in your question here

35. Your question will be displayed like this
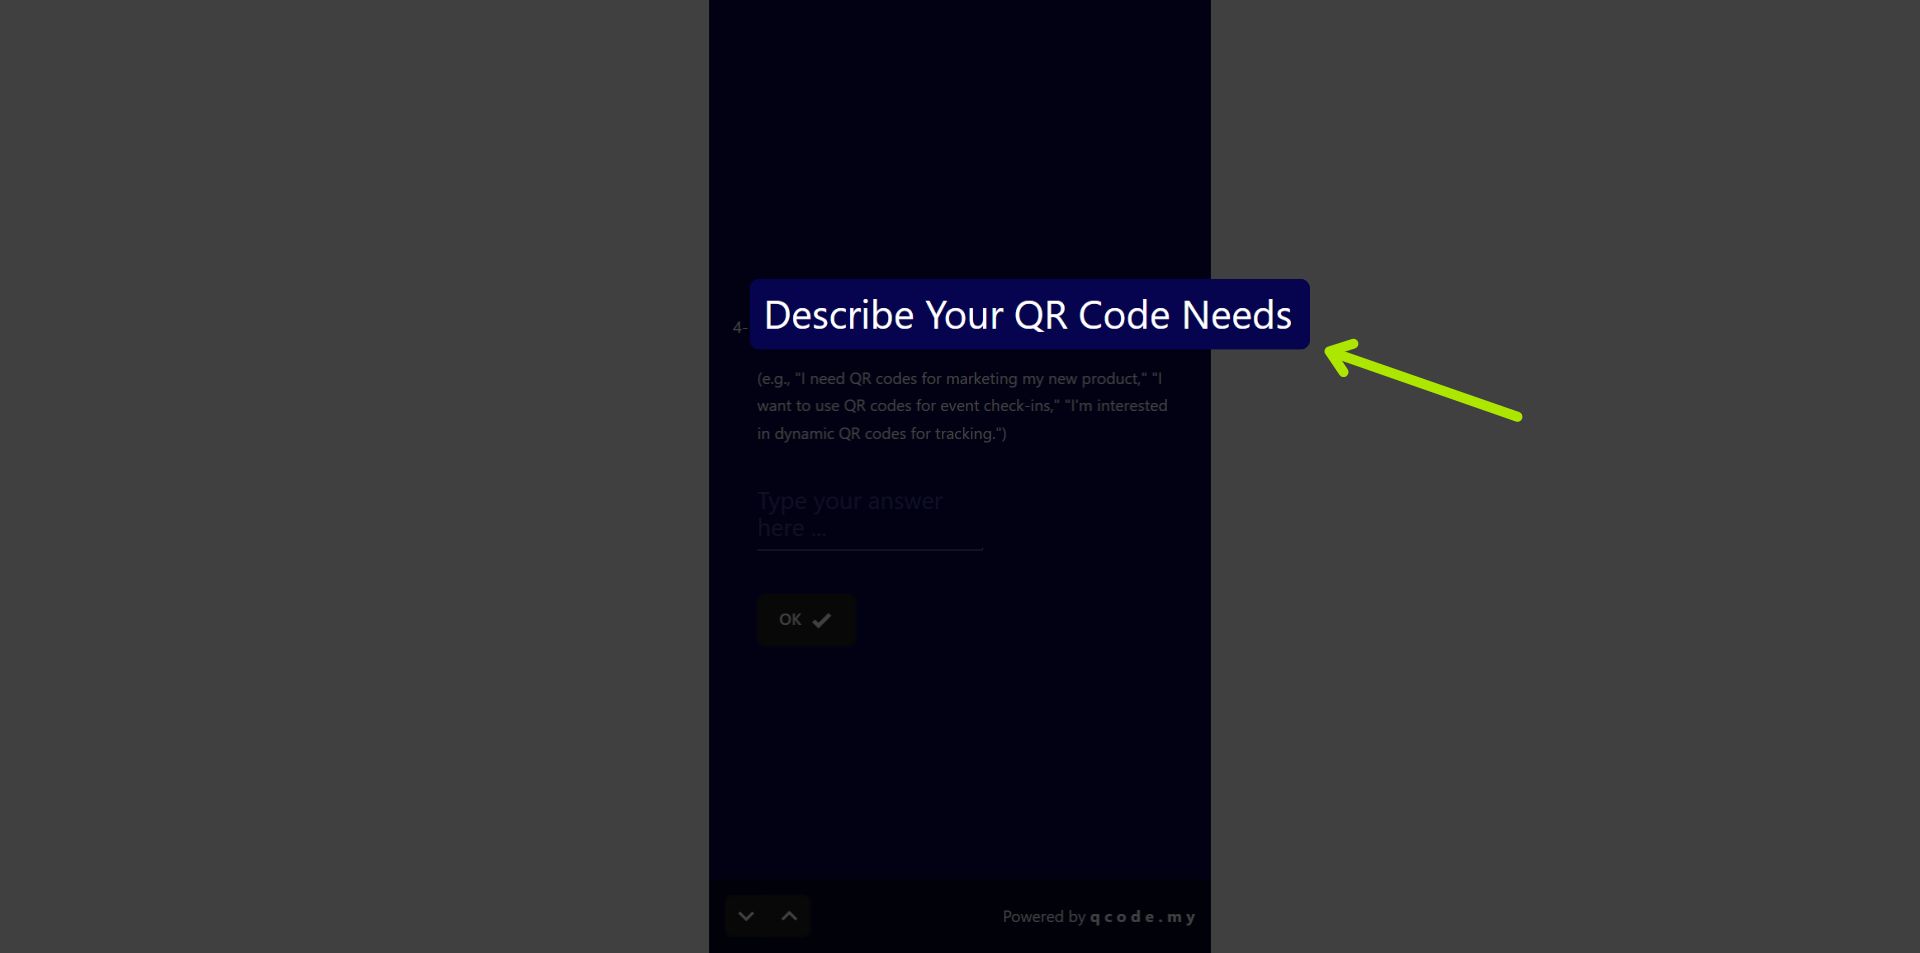
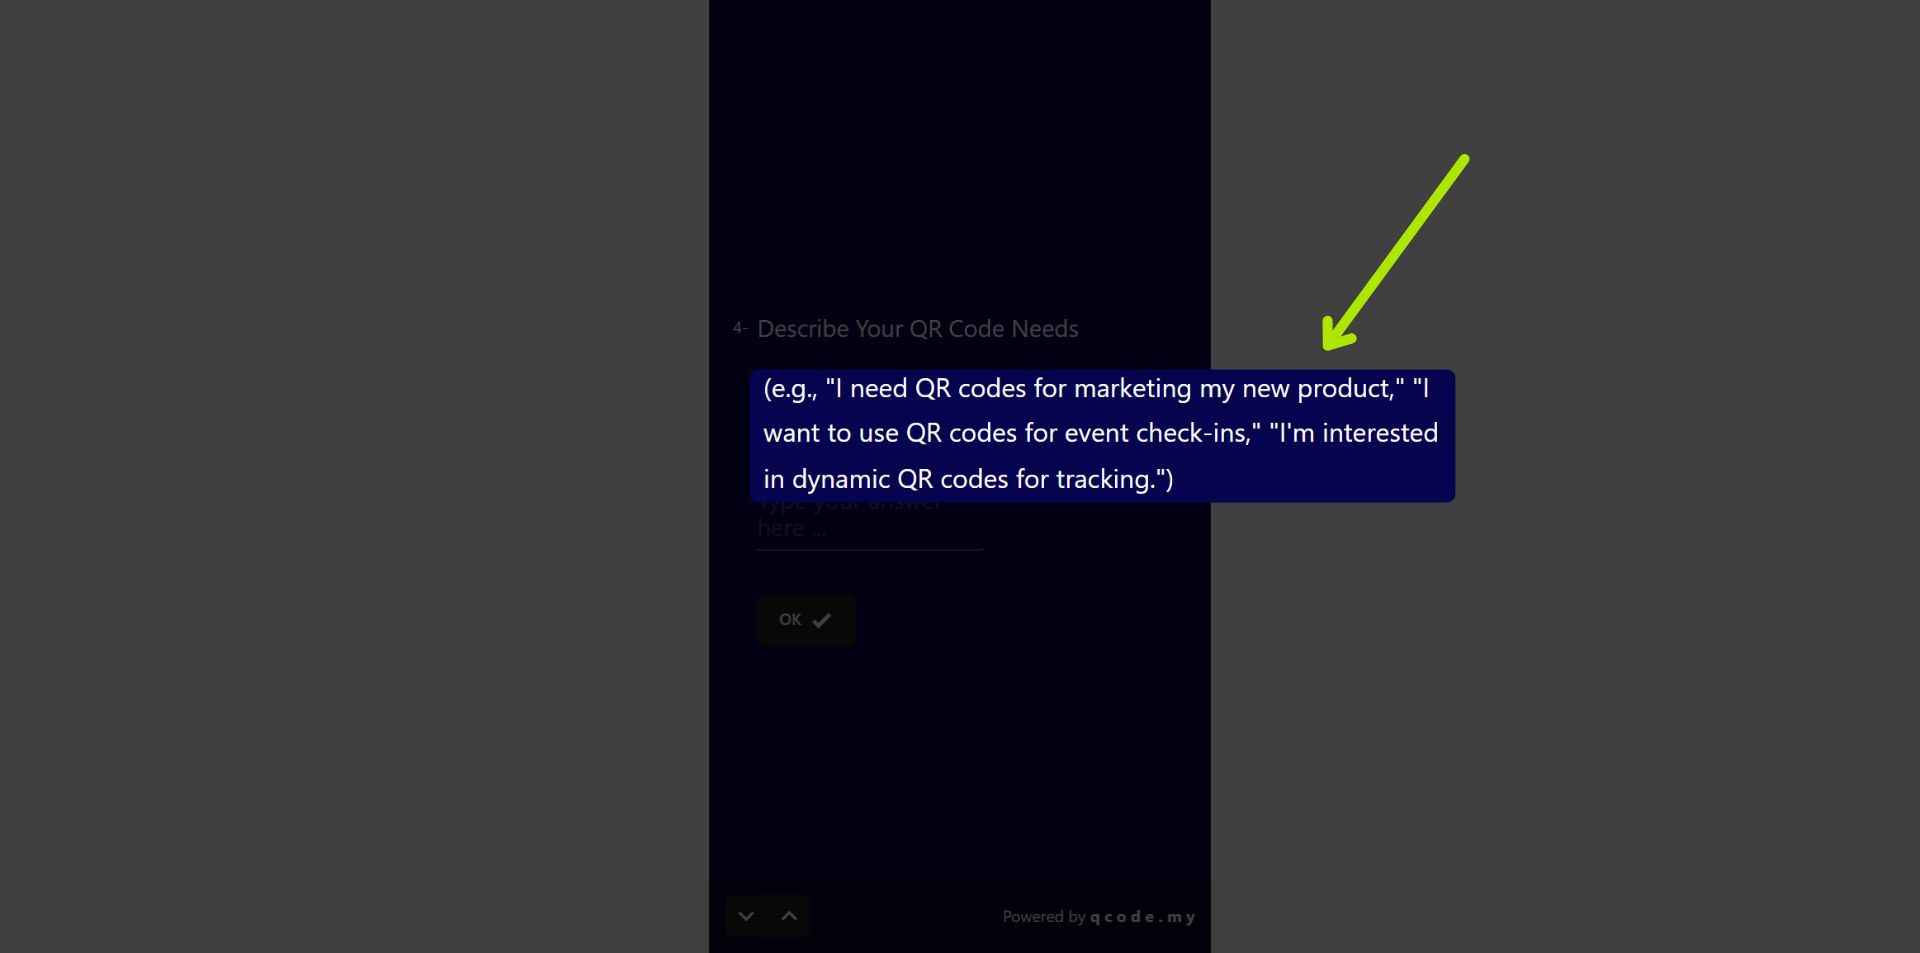
36. Type in your description here
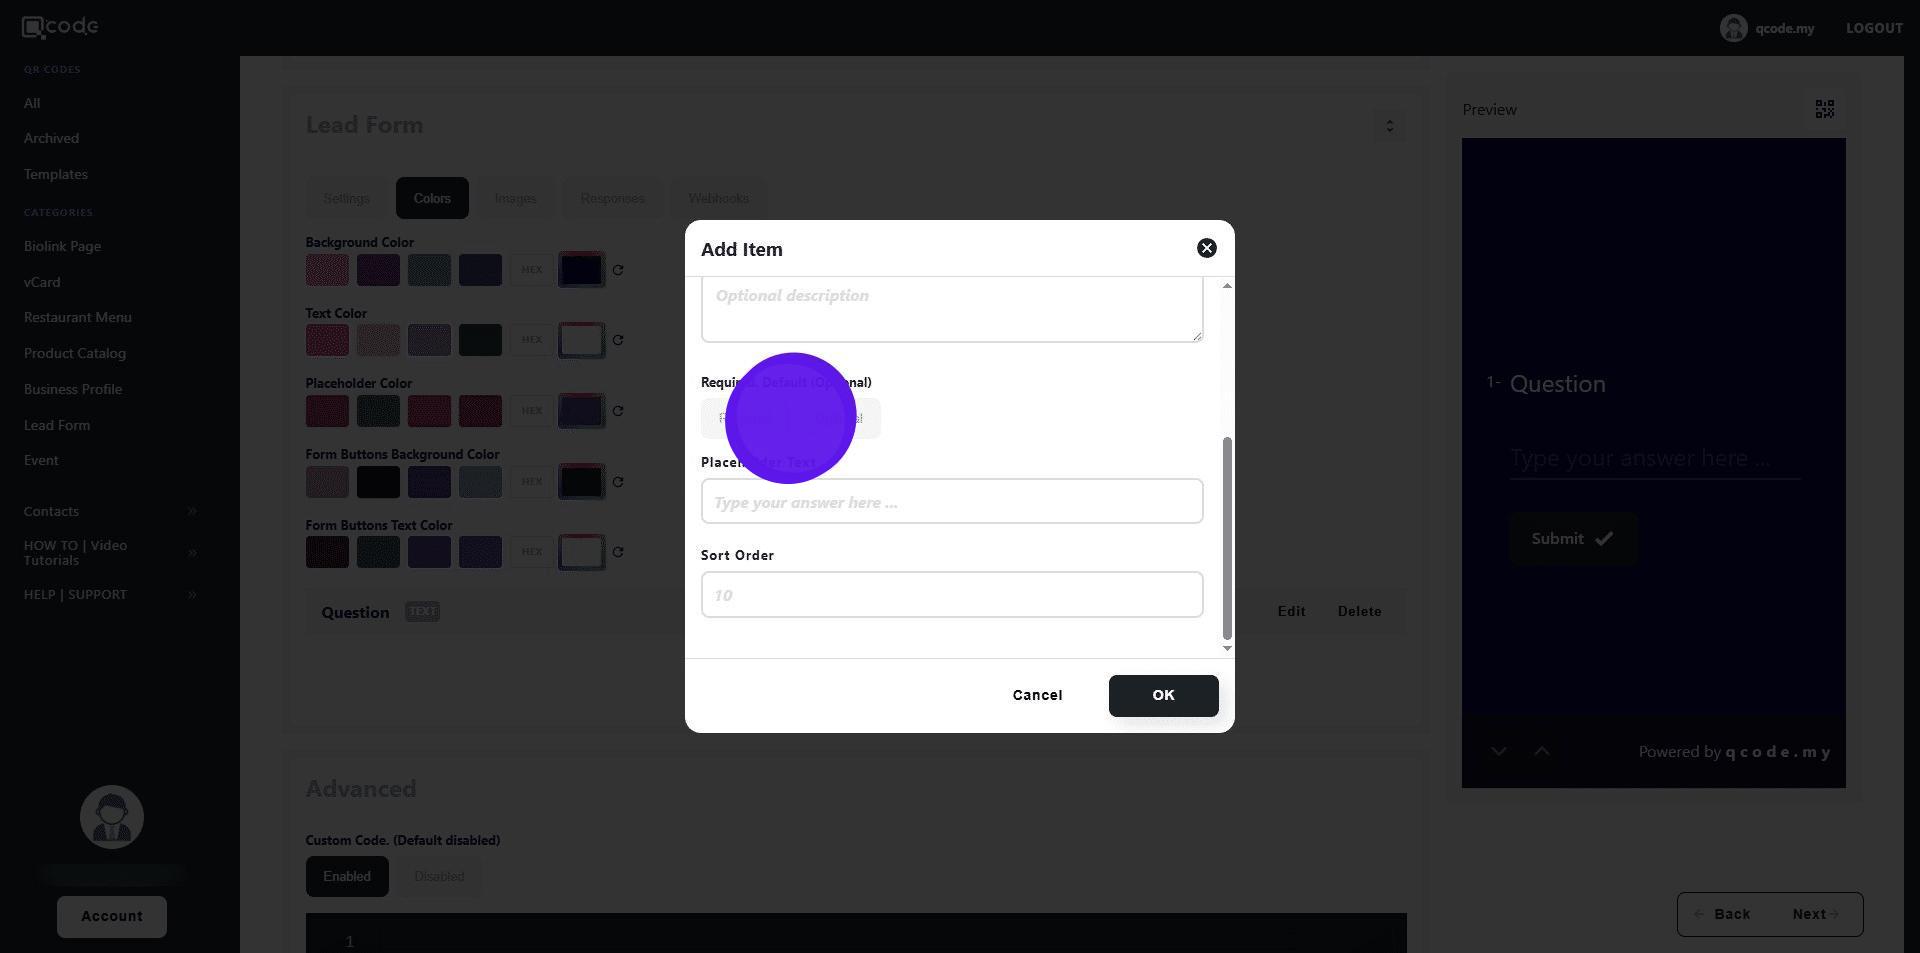
37. Your description will be displayed like this
38. You can make a question a requirement here
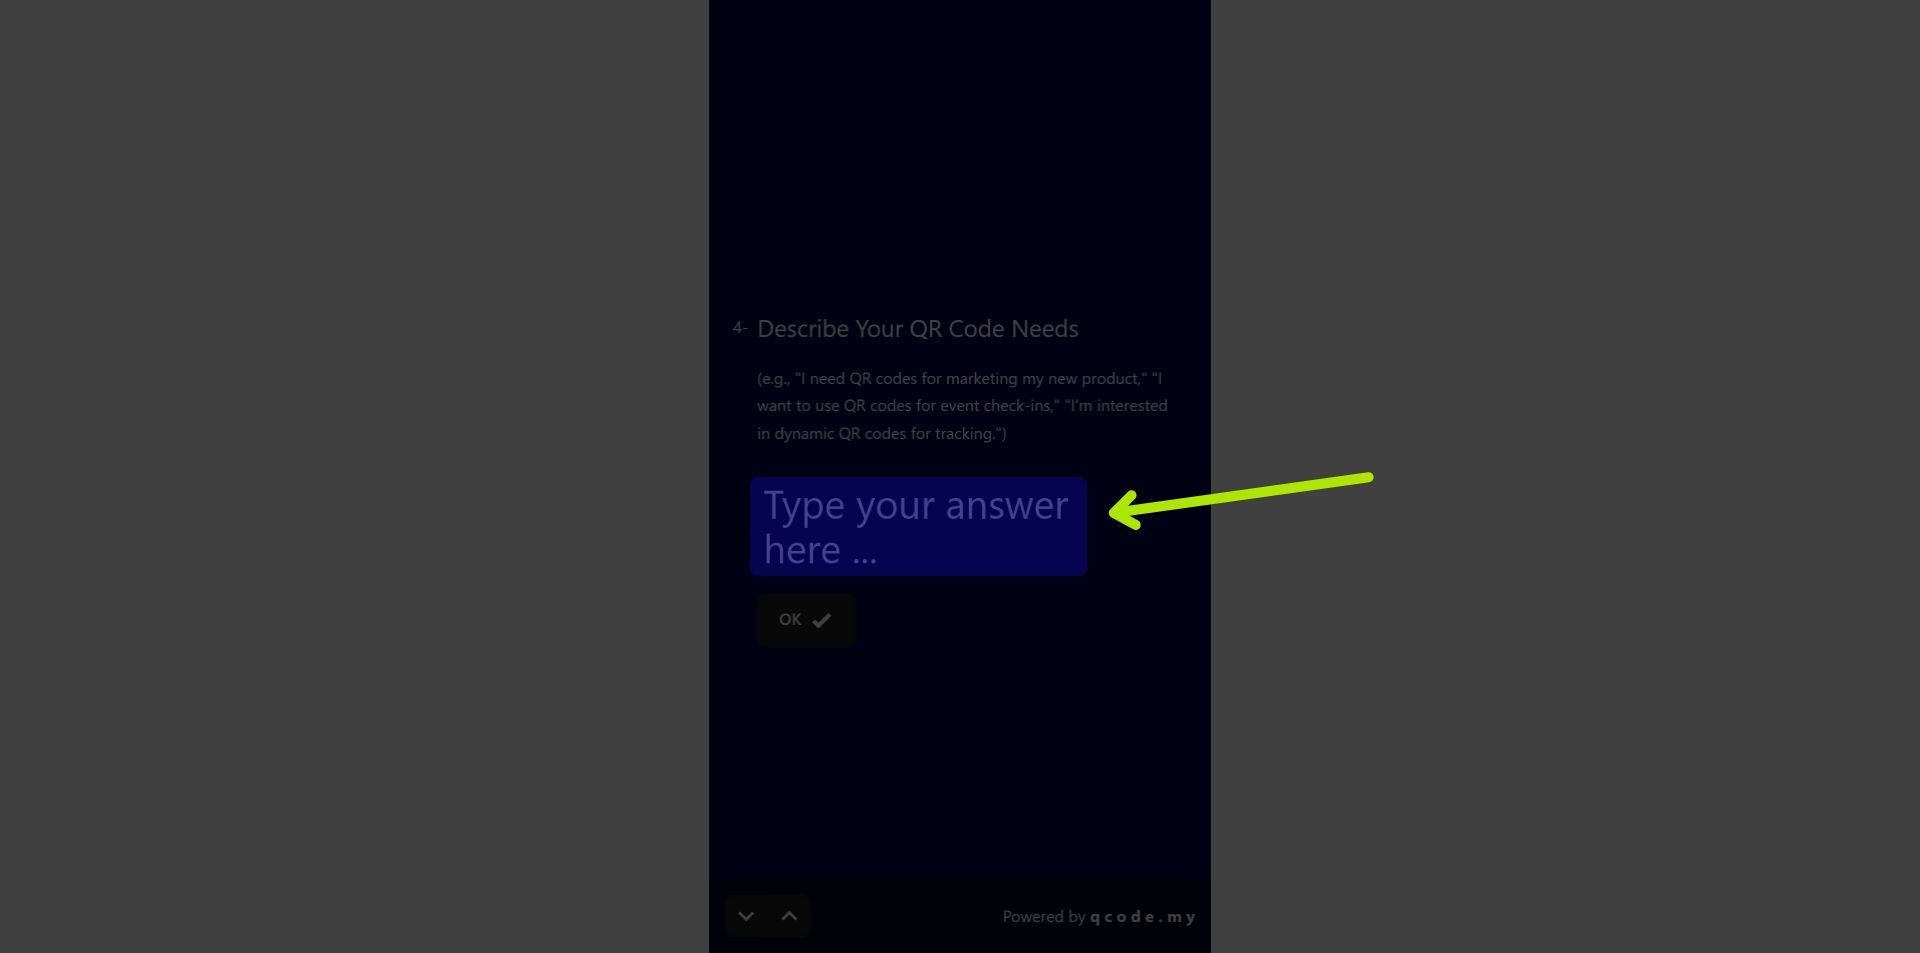
39. Click here to type in your placeholder text
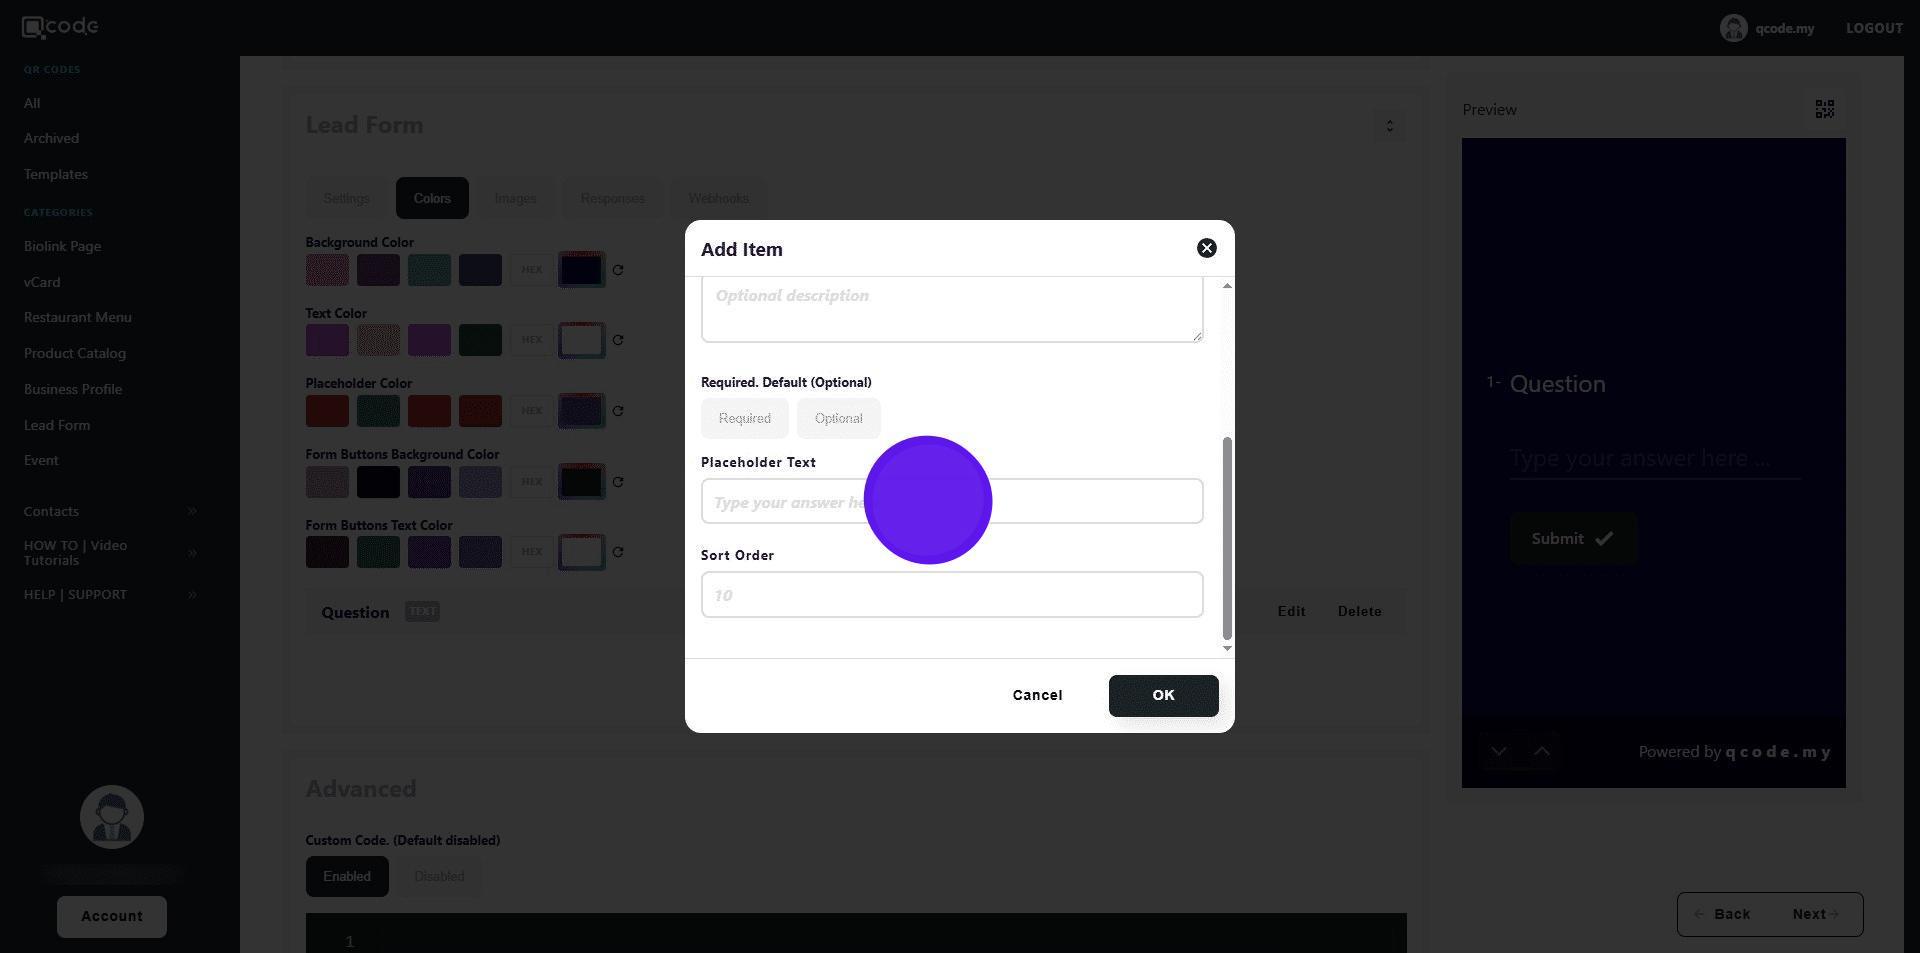
40. Your placeholder text will be displayed like this
41. Type in the sort order number here

42. This is how the sort order looks like
43. Click on OK to finish adding the question
44. Click on Images to go to image settings
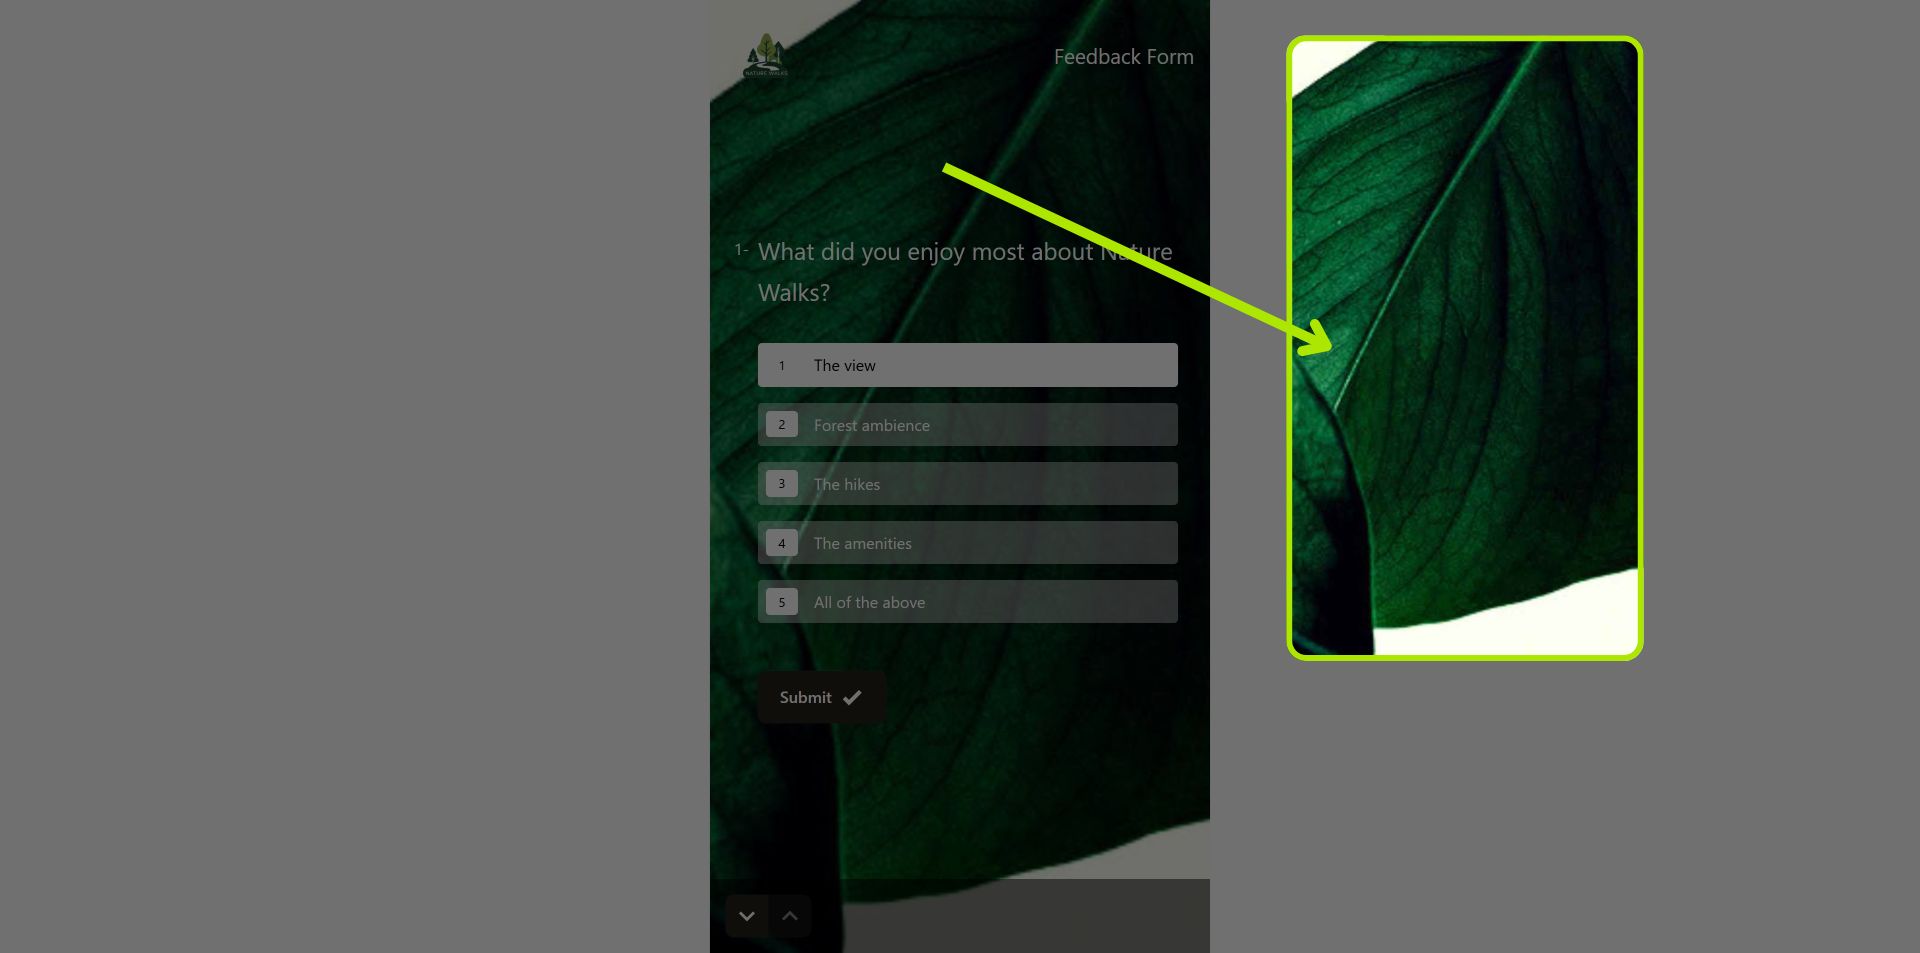
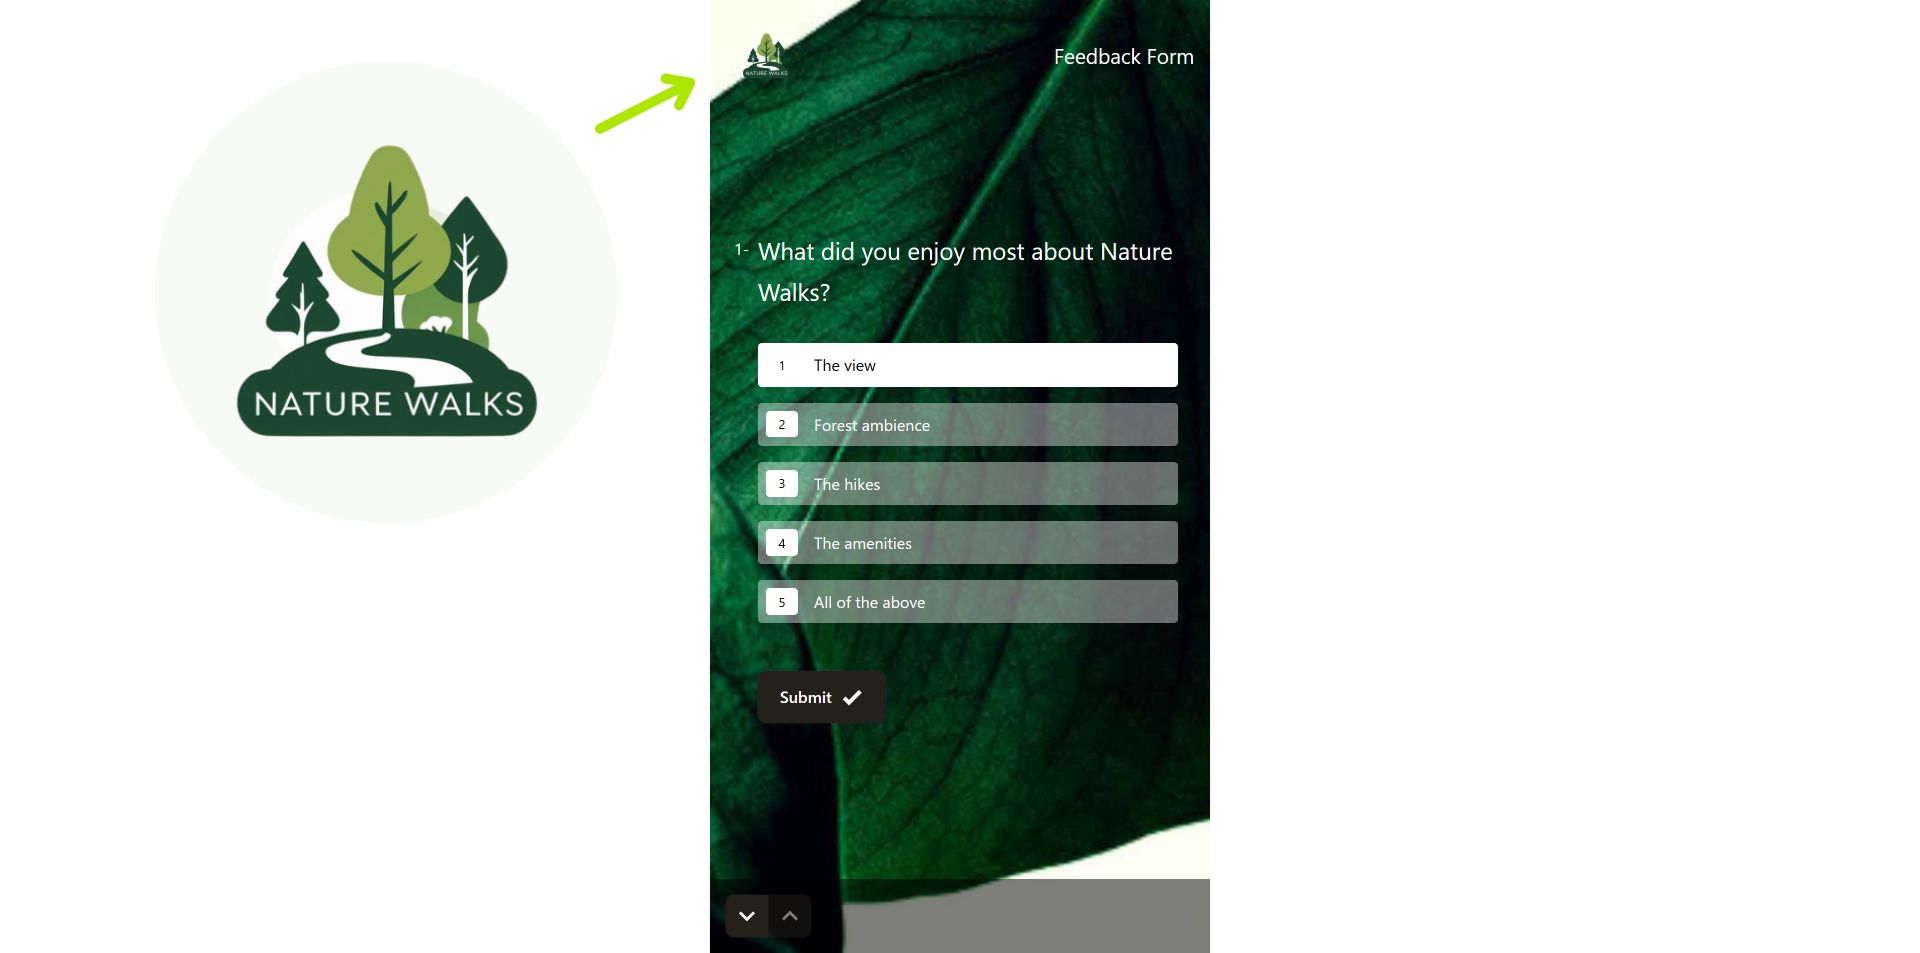
45. Click on Browse to upload an image as a background for your Leads Form
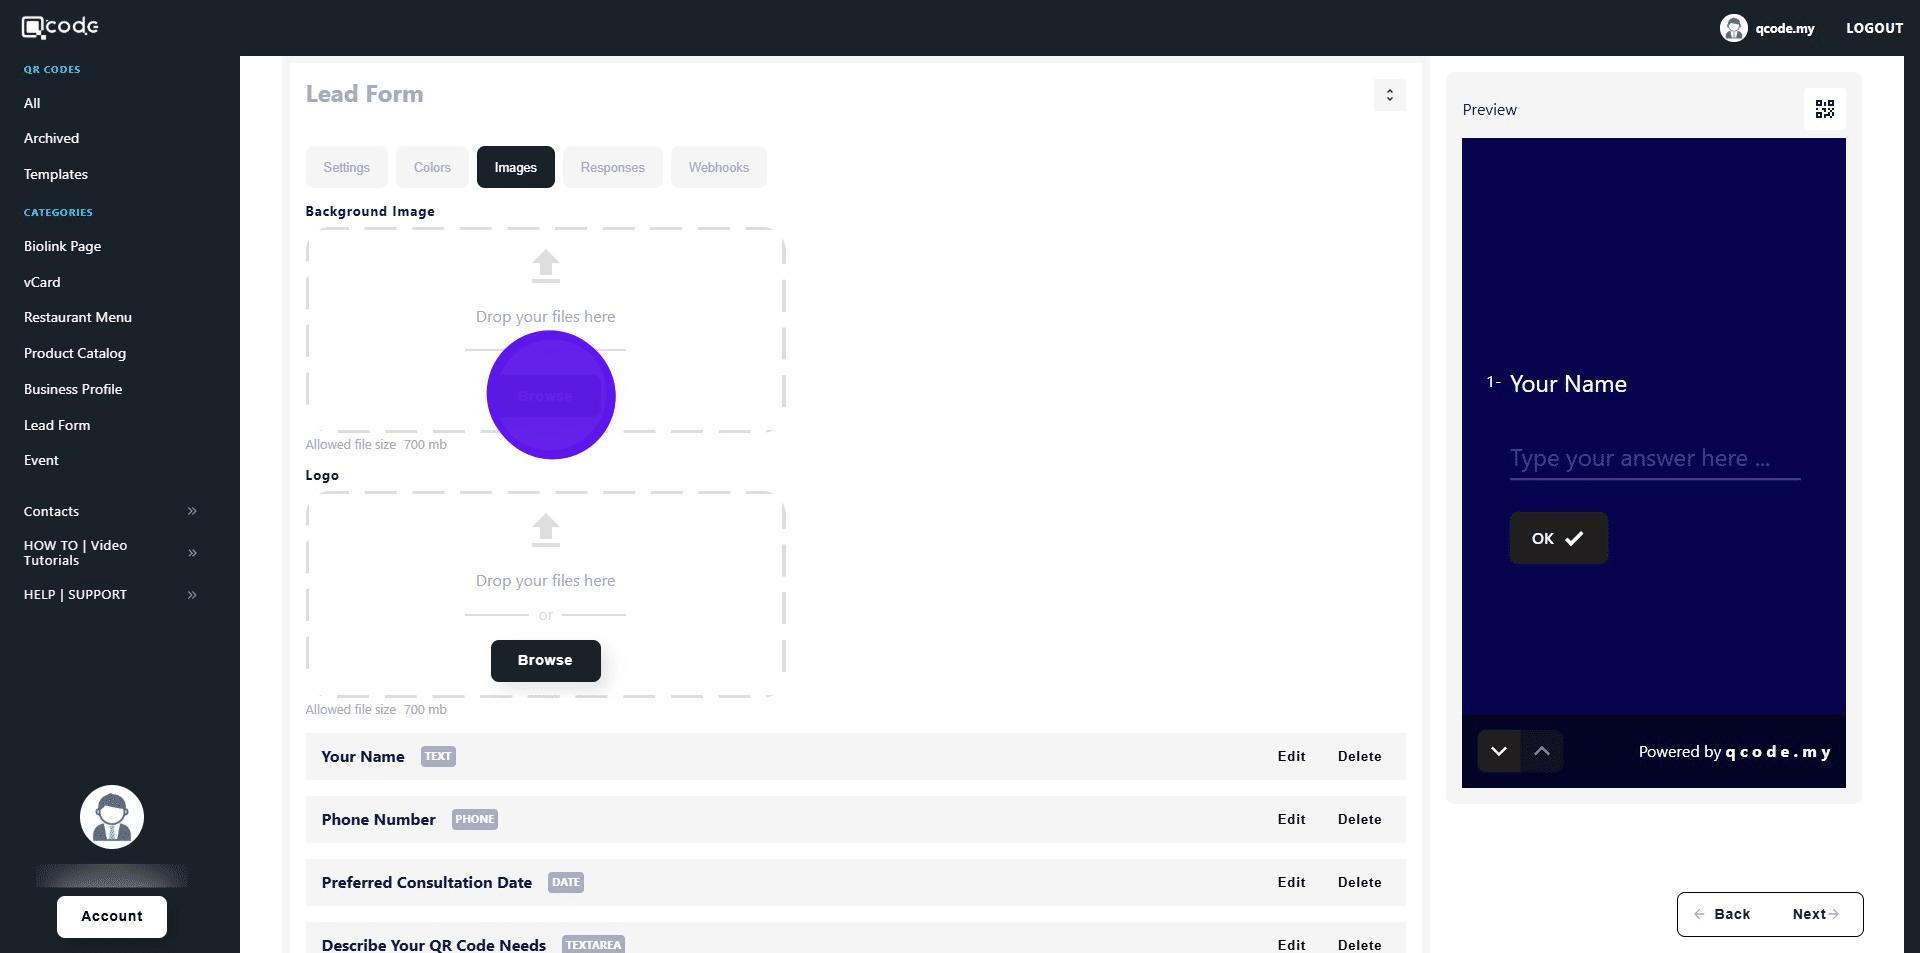
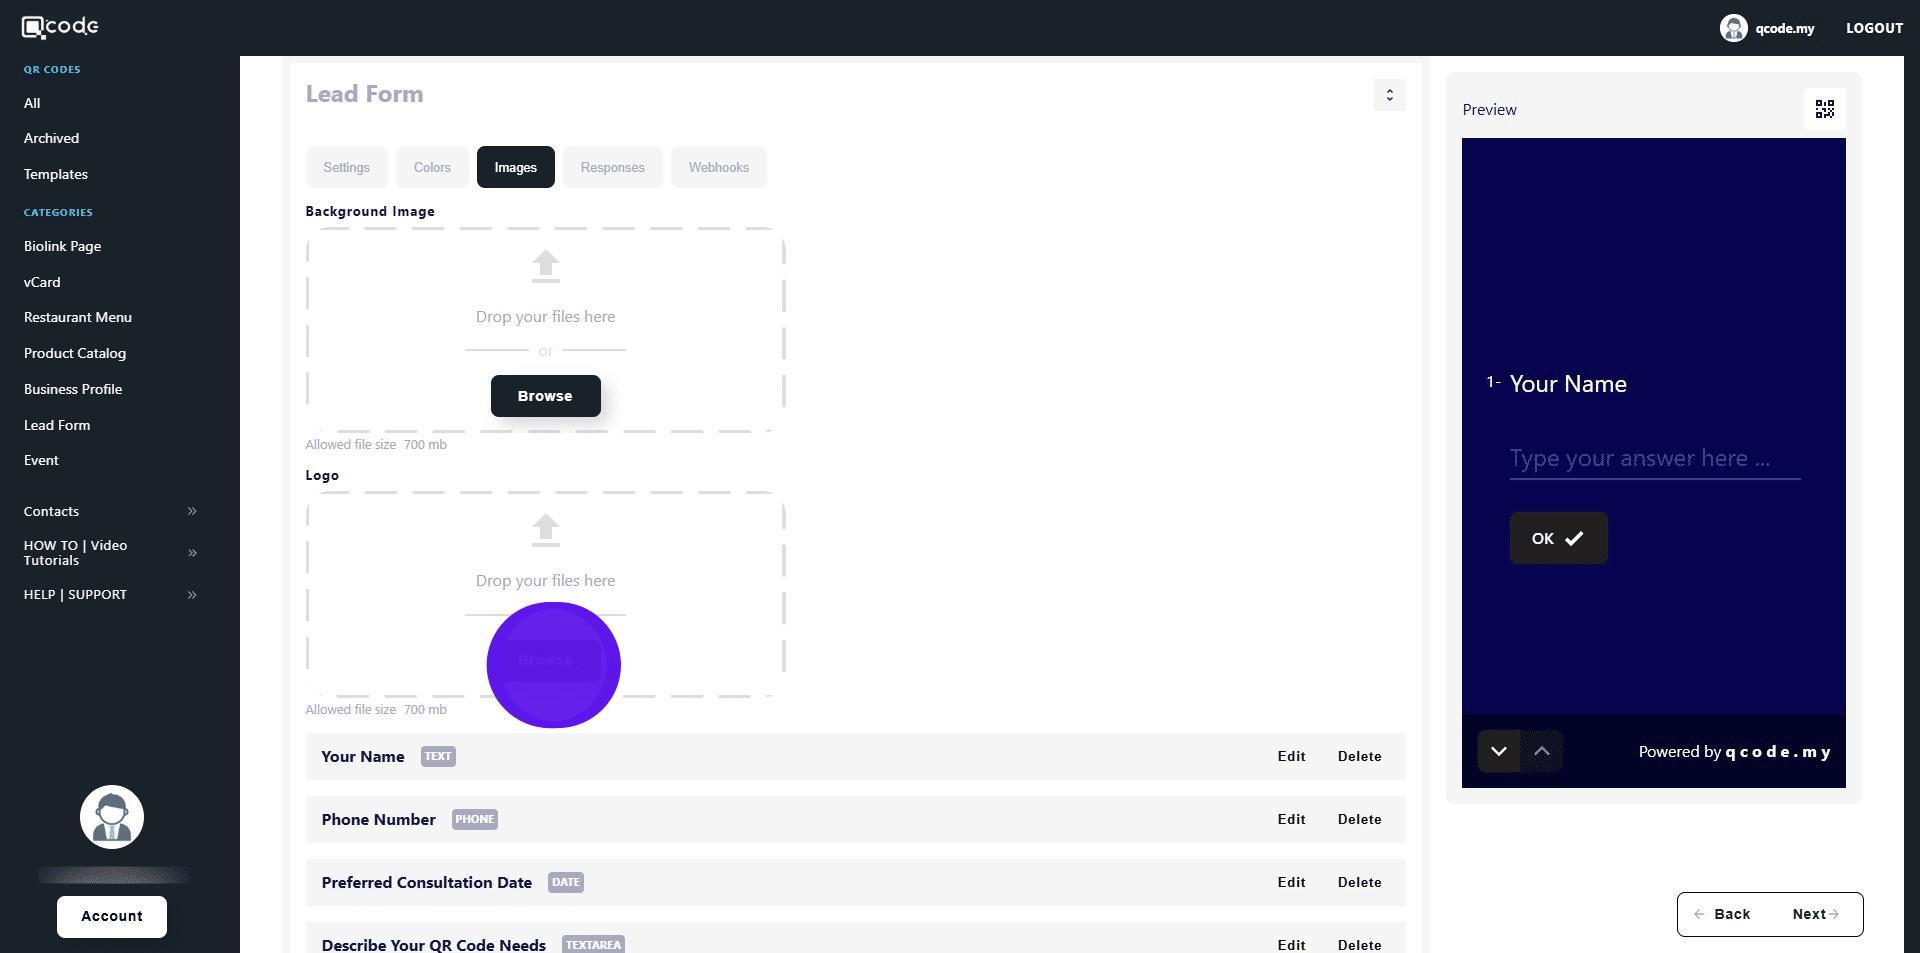
46. the background image will be applied to your Leads Form like this
47. Click on Browse to upload your logo for your Leads Form
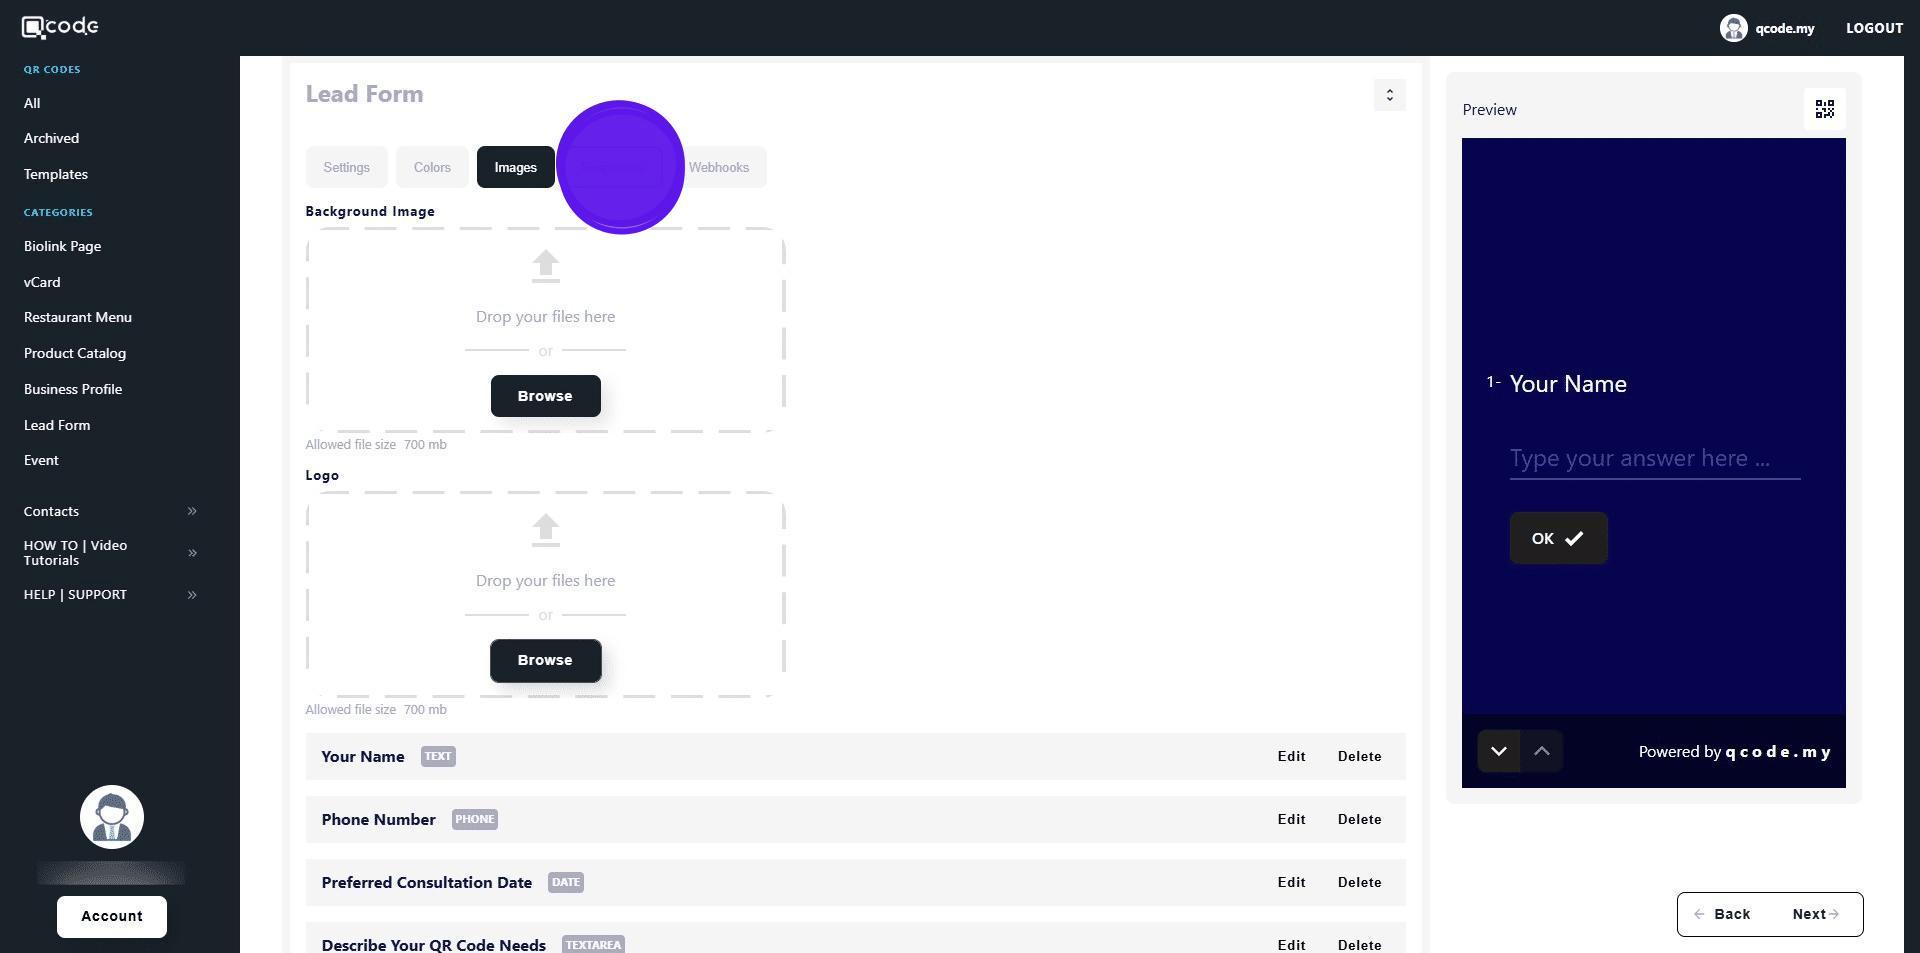
48. Your logo will appear like this
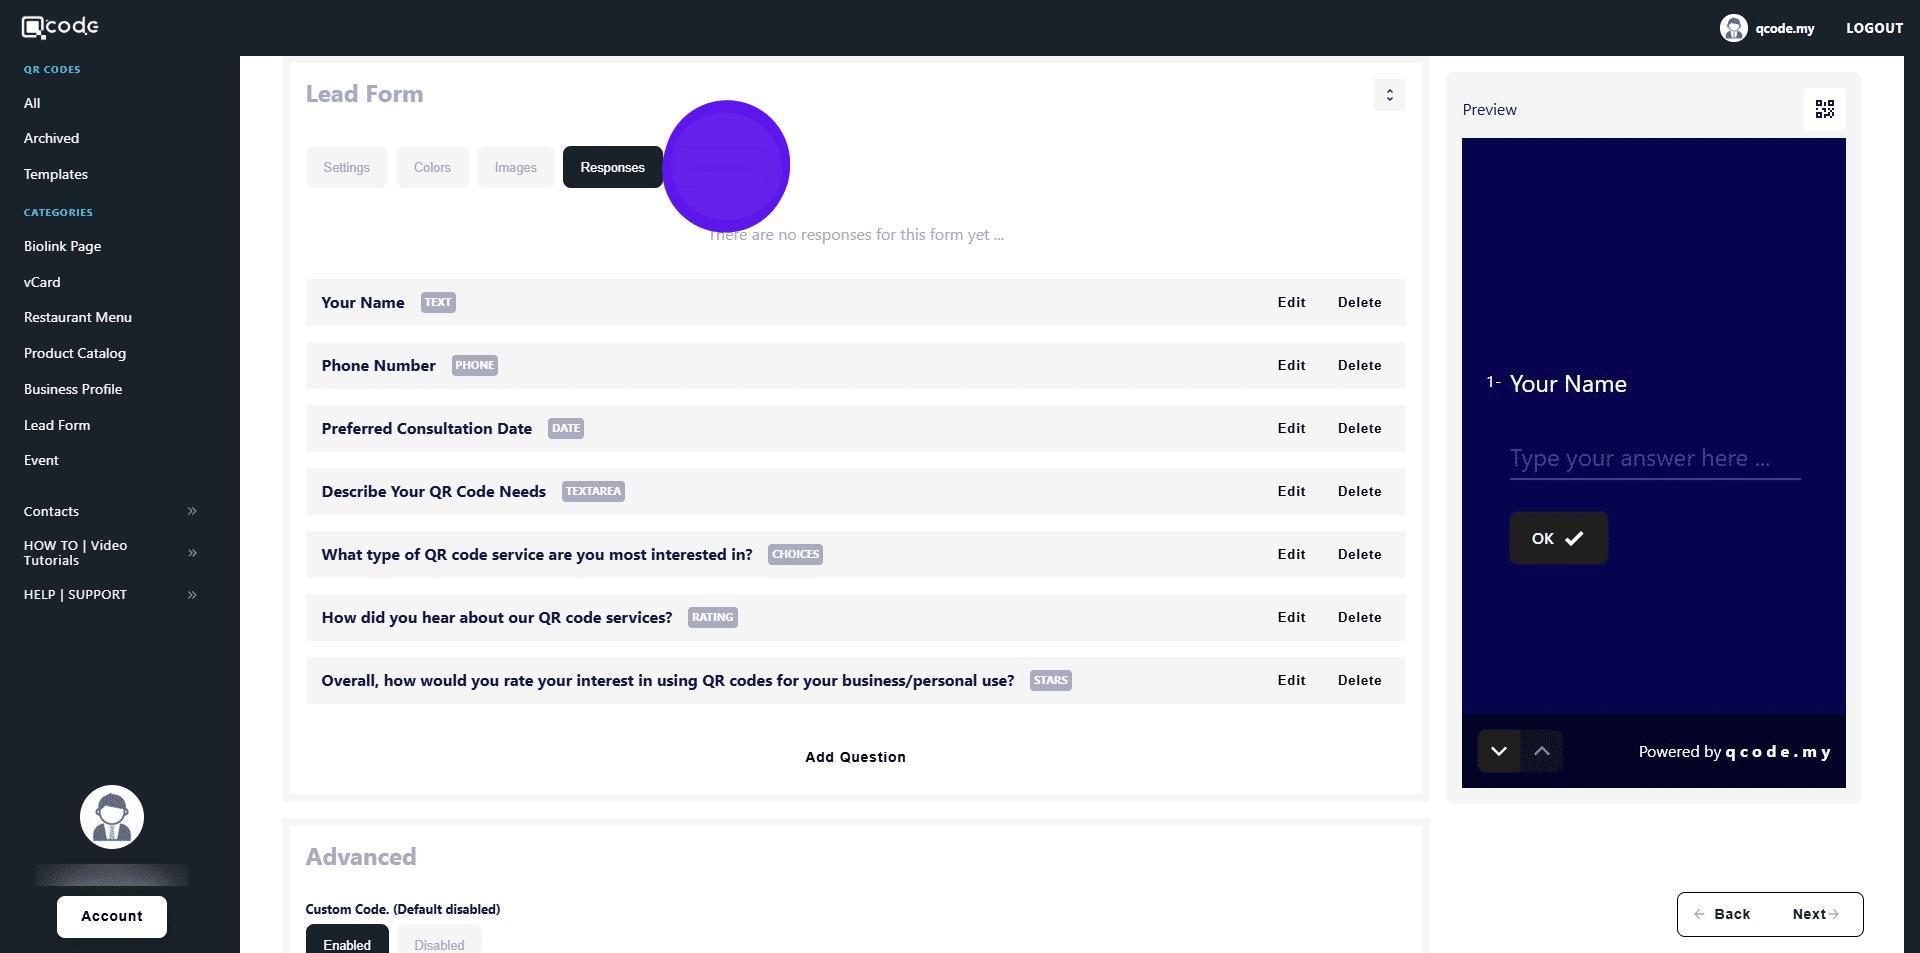
49. Click on Responses to view your Leads Form responses
50. (Optional) Click on Webhooks to open its settings
51. Insert your Webhook URL here
52. Click on the QR Code icon to customize your QR Code Click the link to learn more: https://kb.imoolah.network/guides/YUFgbQ5mkC4Zy2JfZH25
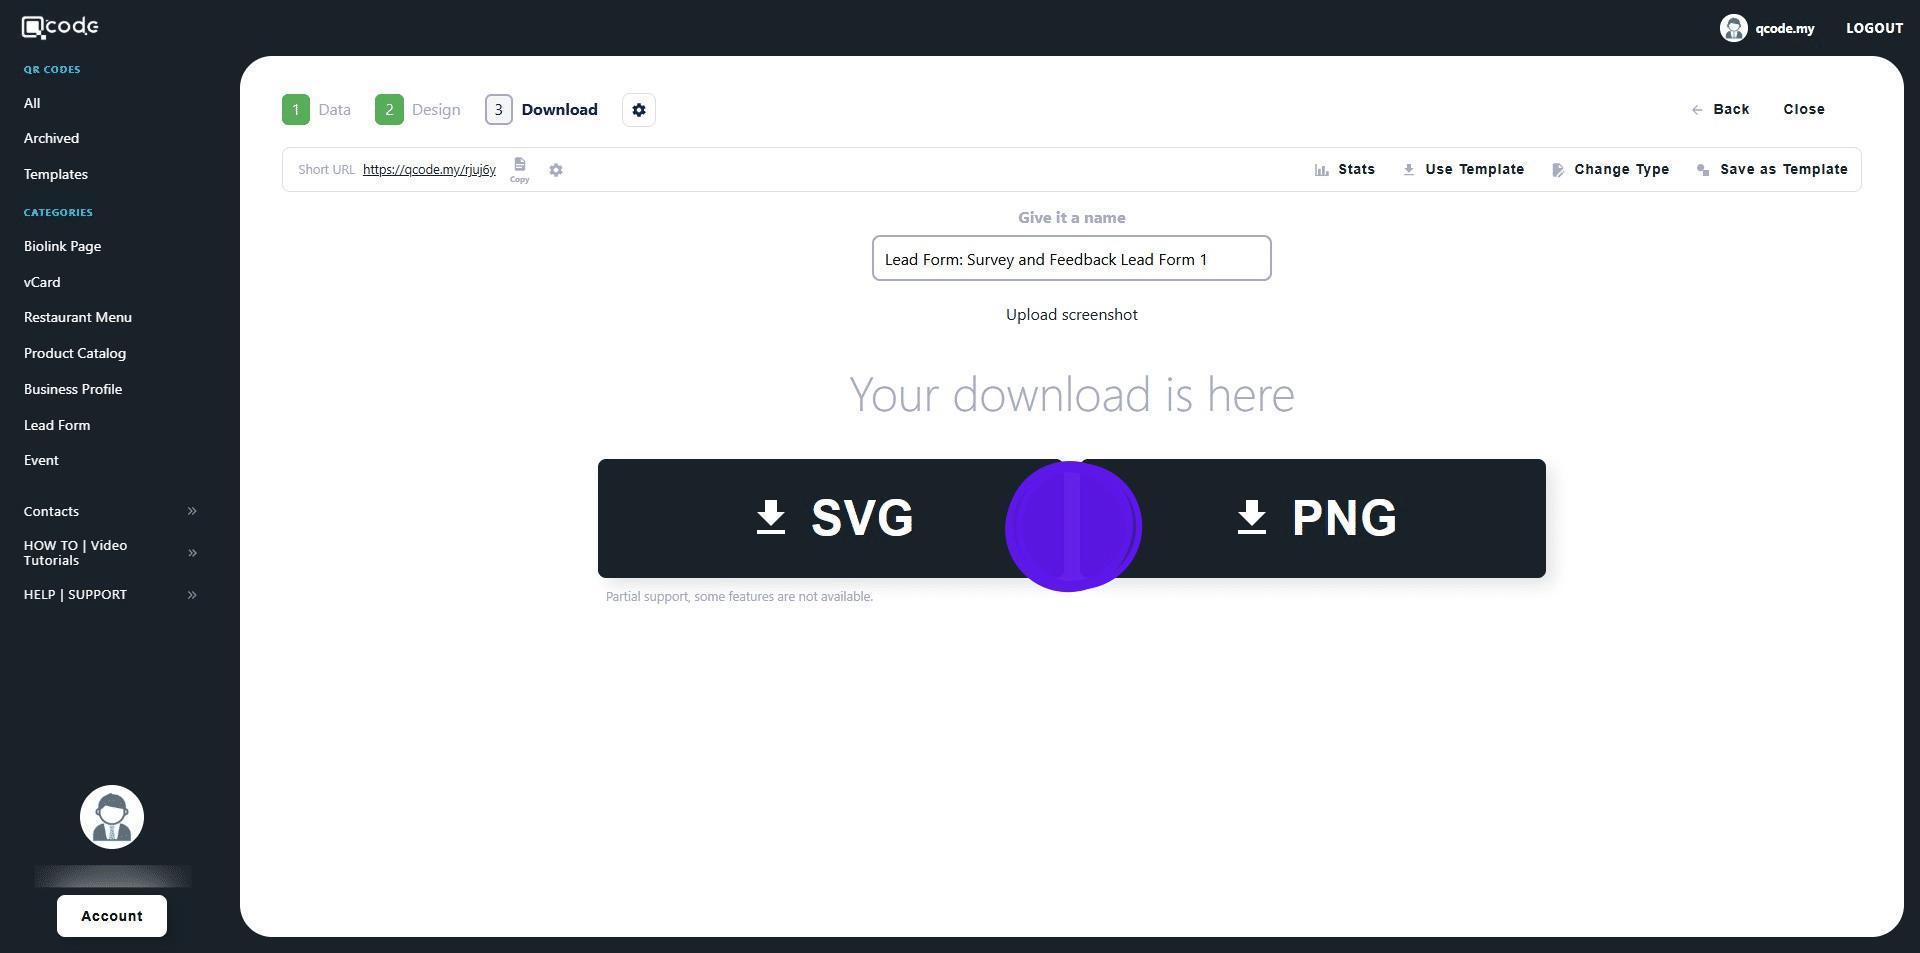
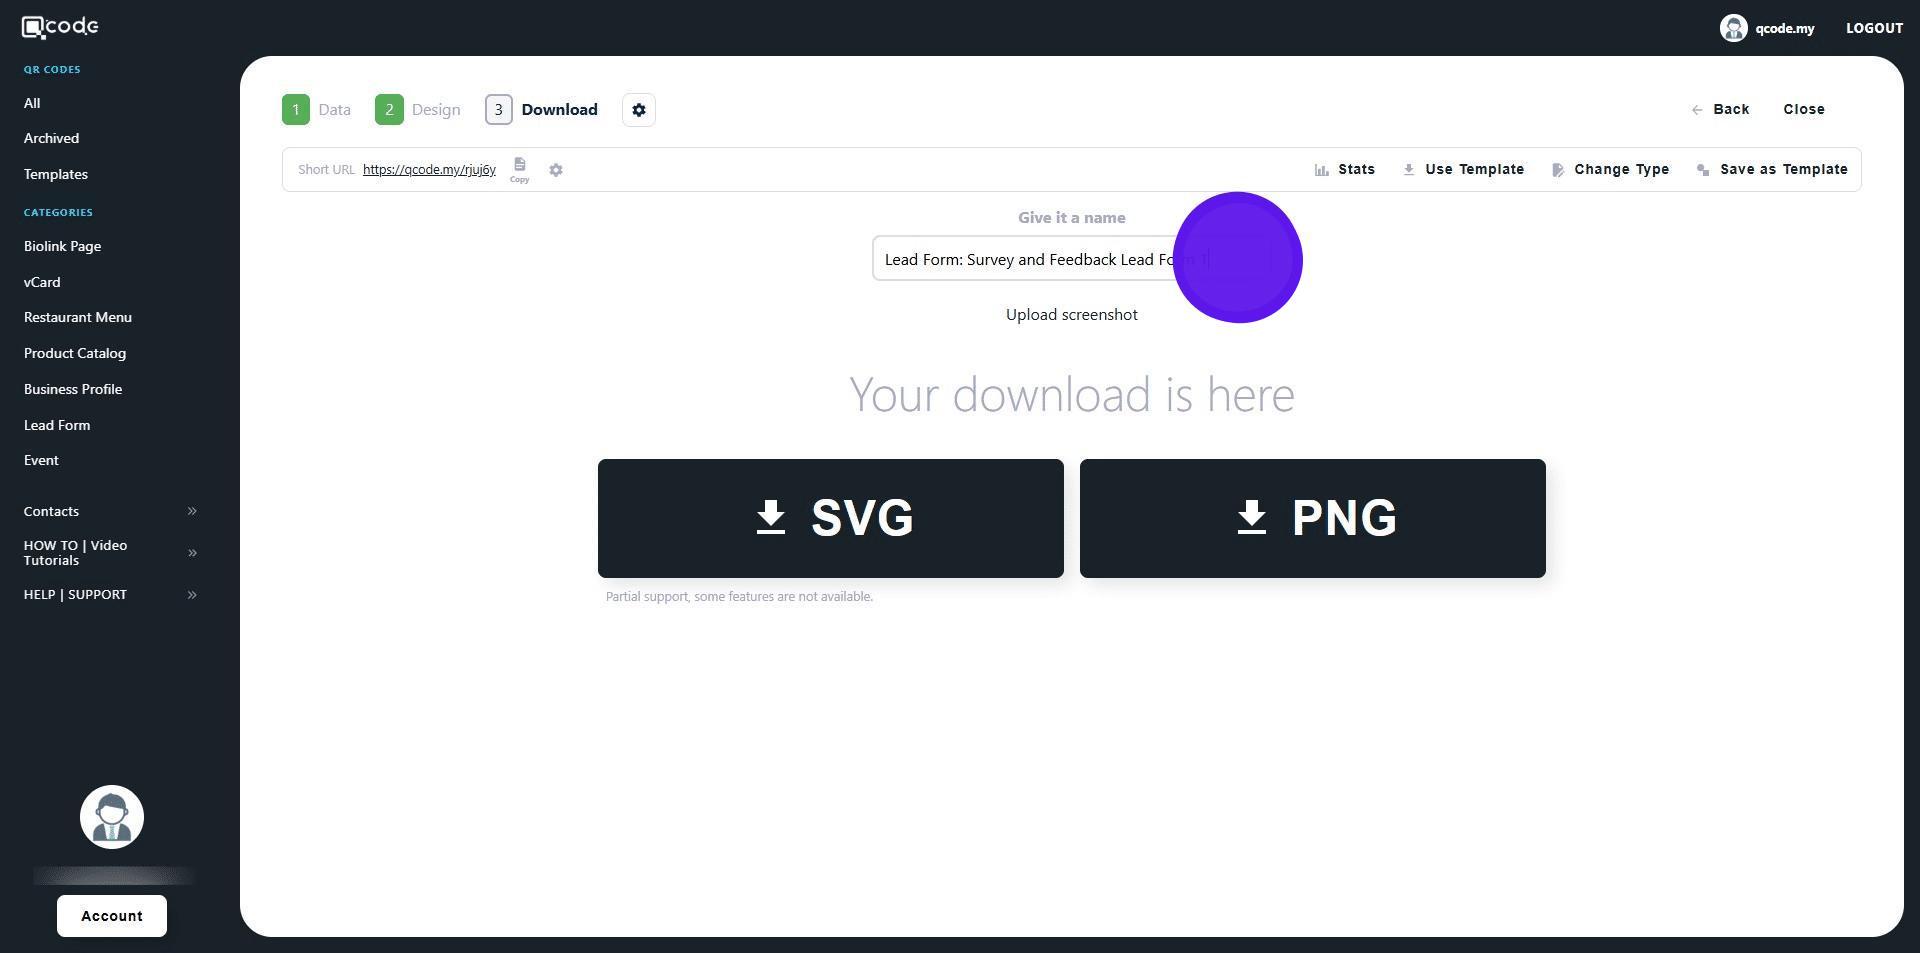
53. Click on Next to go to the final section

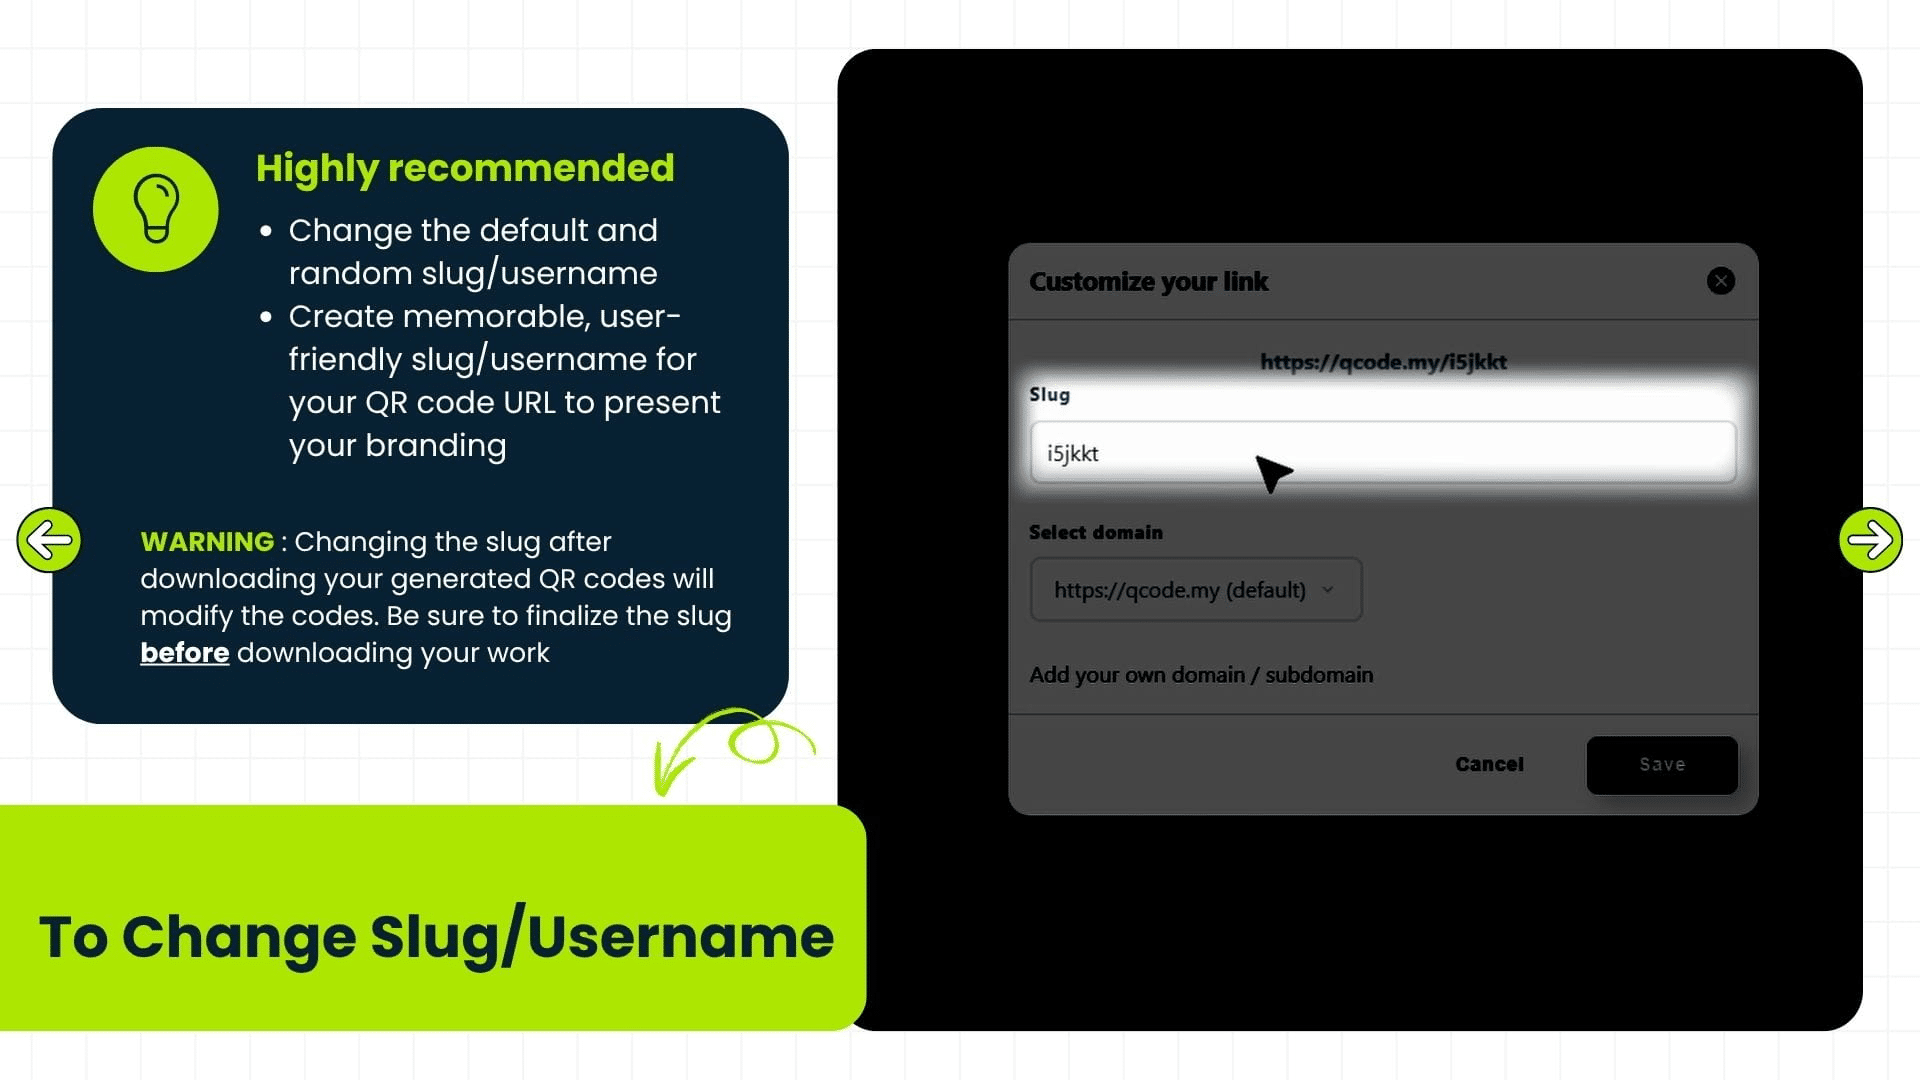
54. Click here to change the name of your QR Code
55. Click on the cog icon to change the slug/username of your QR Code. Click the link here to learn more: https://kb.imoolah.network/guides/WyWZY38vTRTbItuows4P

56. Changing the slug after downloading your generated QR codes will modify the codes. Be sure to finalize the slug before downloading your work
57. Download your QR Code as PNG or SVG by clicking on the following button